 Greetings friends, what a Blog series we are seeing regarding the new Veeam Restore Portal that Veeam Backup for Microsoft 365 v6 brings. I think I have covered plenty of different topics, pretty much all of them regarding day-to-day operations. If you have missed some of those, please find the full list here:
- Veeam: How to add new URLs to be able to log in on the new Restore Portal from Veeam Backup for Microsoft 365 v6
- Veeam: How to enable multi-tenant on the new Restore Portal on Veeam Backup for Microsoft 365 v6
- Veeam: How to install a valid SSL Certificate (Let’s Encrypt) for the new Restore Portal on Veeam Backup for Microsoft 365 v6
- Veeam: How to Enable the new Restore Portal (self-service) for Veeam Backup for Microsoft 365 v6
- Veeam: Veeam Backup for Microsoft 365 v6 – New, and Enhanced API Endpoints around Security
- Veeam: What’s New in Veeam Backup for Microsoft 365 v6
So, speaking with colleagues, Customers, and Partners, an interesting question came as part of those conversations. “How can we restrict which users can log in to the Restore Portal?”
That is really spot on, as the Restore Portal will allow by default that all users, with access to the URL of course, can log in with their credentials and start triggering restores in place (to their own entity). Or the Restore Operators, which can restore their elements and the elements to which they have access as well.
But, what about if you love the Veeam Restore Portal, but only want to give login access to the Restore Operators, or to a few power users to perform their own restores and deny the others? Easy, keep reading.
These steps are not officially documented, meaning most likely not officially supported just yet. It is basic Azure AD behavior, but please make sure if you follow them, to do so under your own responsibility.
Quick Diagram of the Solution
As a quick diagram, something similar to what we have seen already, but today, I am adding quick changes so we understand what we are trying to access:
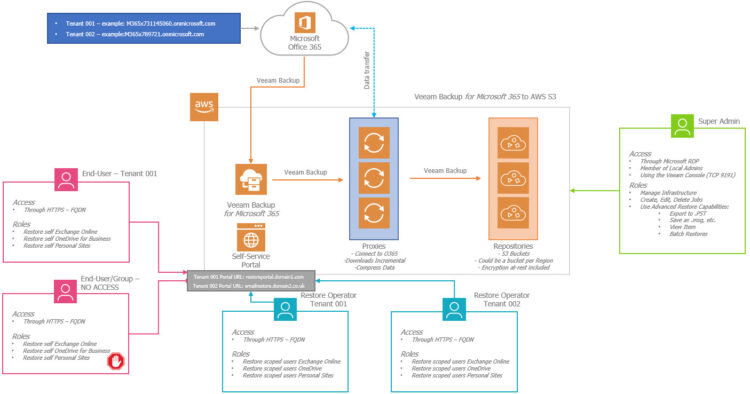 As you can see, the Restore Portal (Self-Service), will expose and accept now a few different URLs, so this will be perfect in case the Portal is being used for different Tenants, so they can log in to a familiar address within their domain, if they have the access they will be able to log in.
How to Enable User Assignment on Microsoft 365
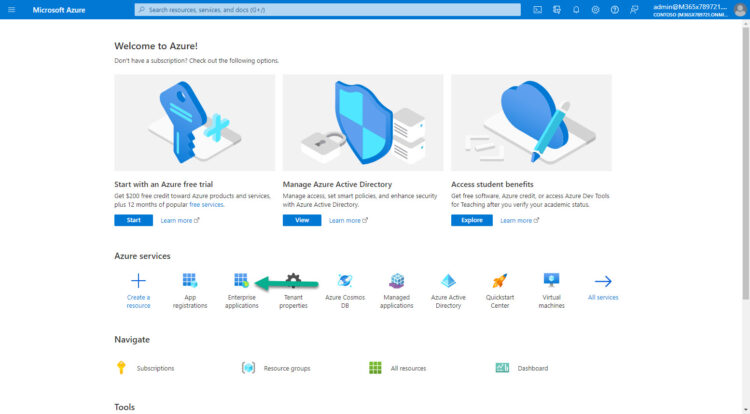
These steps need to be repeated per every tenant, in case you have multiple tenants. In this case, I am login on to my Azure AD with my main Tenant, let’s navigate to Enterprise Applications:
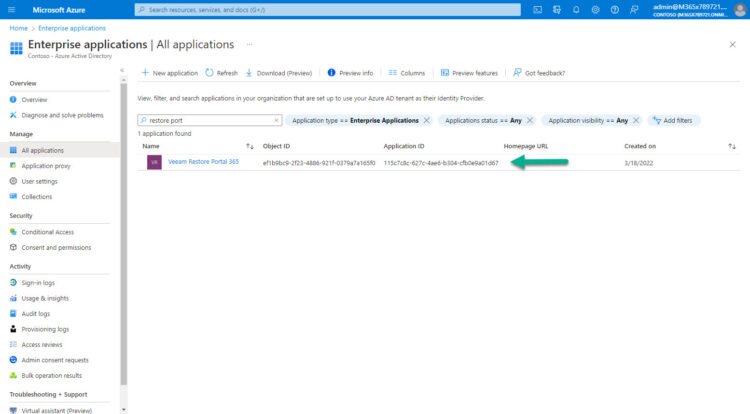
Under the Enterprise Applications, you can search by ID, or by name, make sure it is the same ID you have on VB365. Please click on it now:
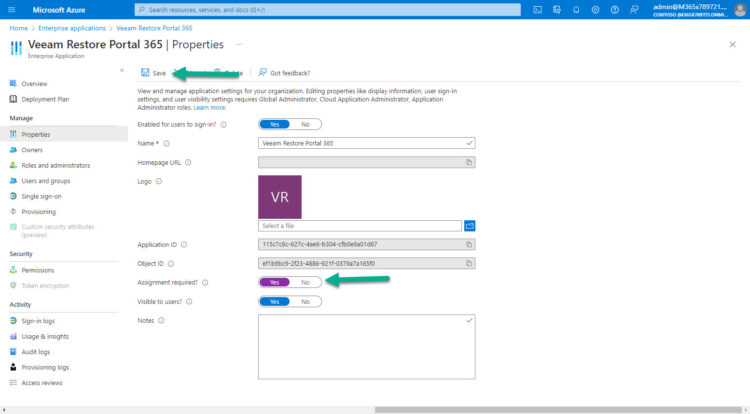
Let’s navigate under the Properties of the Enterprise Application, enable Assignment required to Yes, and click Save:
Now we should navigate to Users and groups, and start adding Users/Groups, these will have access to the Restore Portal:
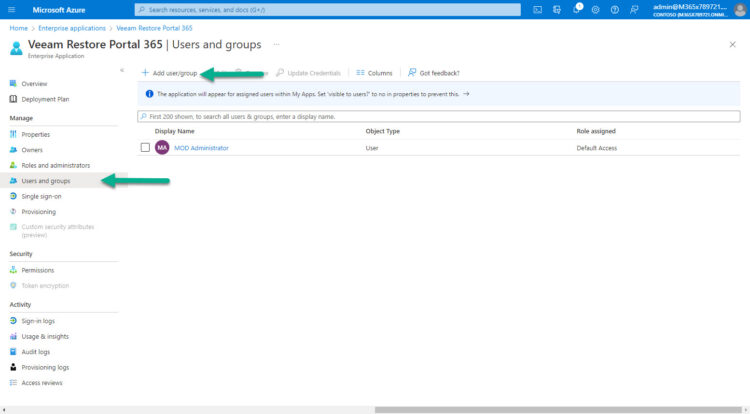
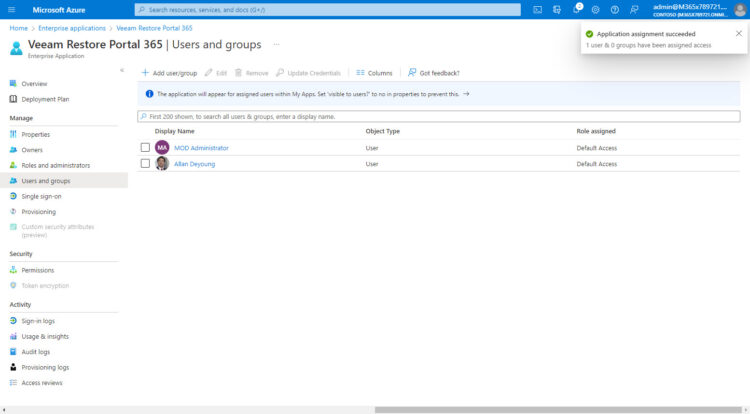
For example, I have added the Administrator, and just Allan Deyoung, nobody else:
Log in with a user that has no access to the Restore Portal
I am going to give it a try with a user, Debra, that has no access to the Restore Portal under Azure AD:
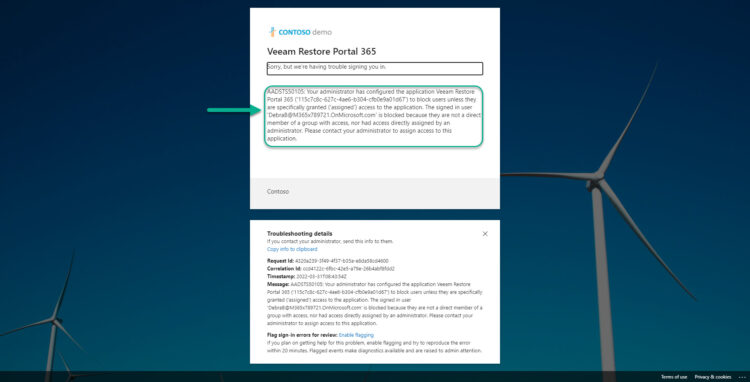
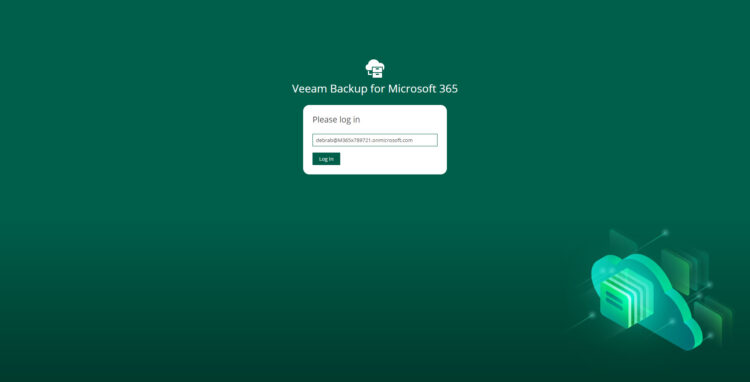 And, after we introduced our valid password. We will get a message like this, it could be more beautiful. But still, it is quite clearly saying that this user does not have access to the Restore Portal Application and that we should contact an Administrator.
Trying it with another tenant
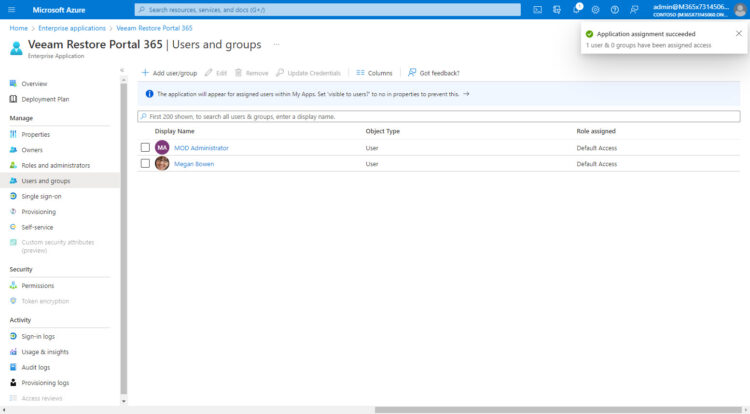
The restrictions per user need to be done per every AzureAD tenant. Meaning that if you have followed the next steps, you need to once again change the Properties of your application, the Assignment Requirement to Yes, and start adding users, for example, I have added Megan on this other tenant:
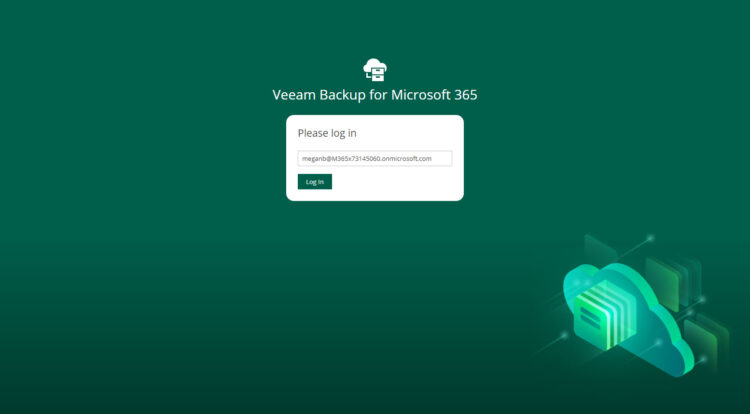
 I go to the Restore Portal, introduce the credentials, on this case Megan (whom has access)
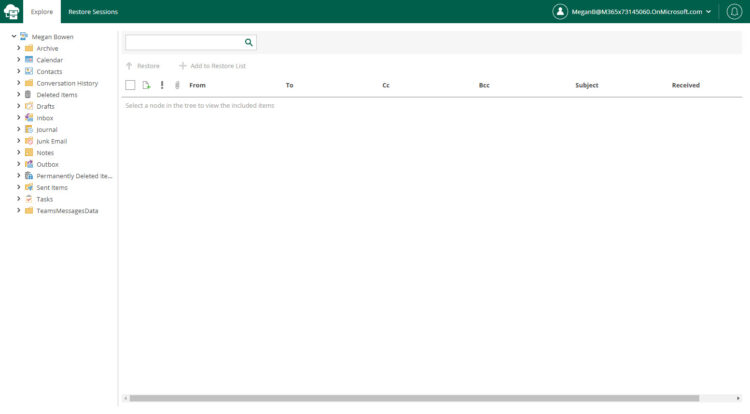
And then, voilà! The user with access to the Restore Portal can log in, and perform the usual restores:
 That’s it, I am surprised by the simplicity of these steps. Please give it a try and let us know.

Leave a Reply