
 Greetings friends, these latest days I am upgrading my home lab environment to be ready for the upcoming Veeam Software Appliance. Whilst doing this, of course you would like to attach some .iso to your different Supermicro. But whilst doing it so, I faced a weird problem using the HTML5 iKVM Interface for Supermicro IPMI, I have a valid license for all my hosts and I remember this always worked.
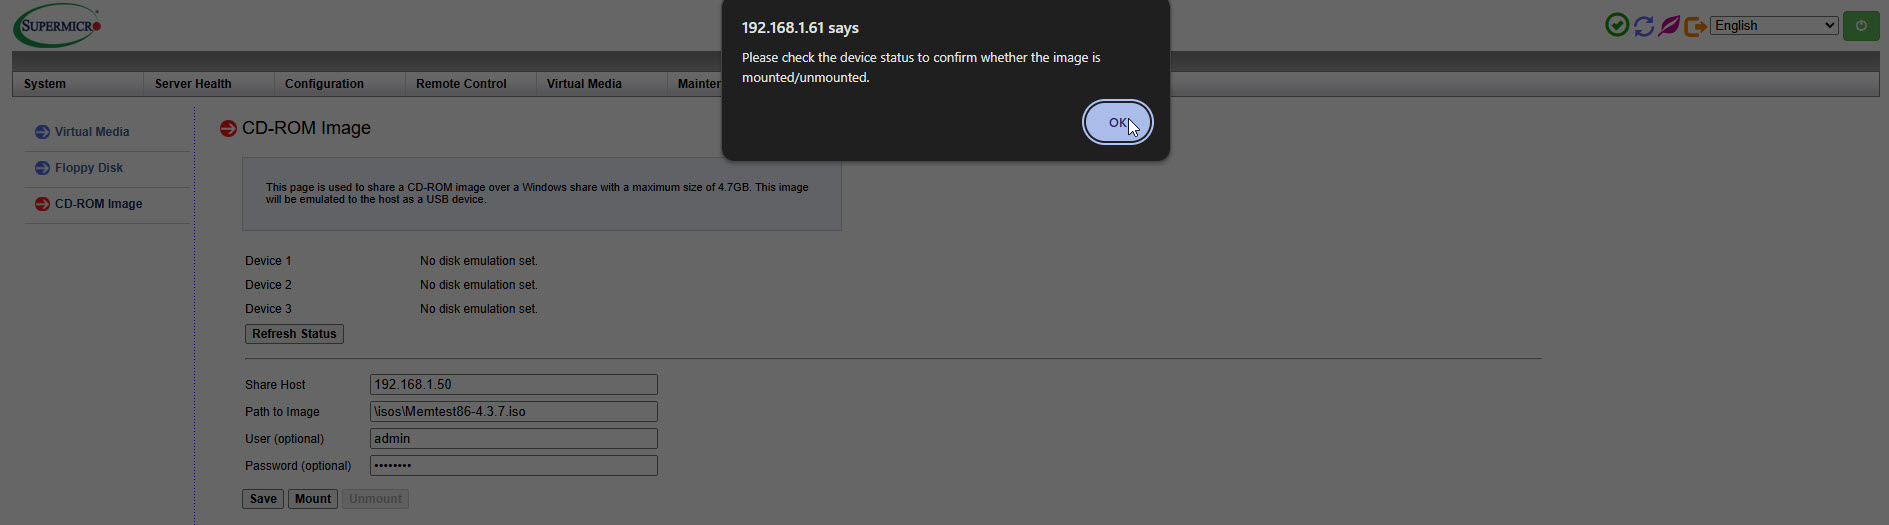
The problem I was facing it was a bit invisible, as I was adding the correct host, path to the ISO, correct user/pass (optional, but in my case required), but nothing was happening, just getting this message over and over without anything happening:
 I couldn’t find the reason, as some other Supermicro Hosts do not have this problem. The window remain like this, without the usual message about the ISO being mounted:

Re-Introducing SMB v1.x
This can be the reason why, as I have not upgraded my Supermicro e300-9d-8cn8tp for a while, because it is not common to upgrade BIOS/Firmware of servers that often, so I am currently running the next:
| 01.31.03 | |
| 04/15/2020 | |
| BIOS Version: | 1.4 |
| BIOS Build Time: | 01/06/2021 |
| Redfish Version: | 1.0.1 |
So, in this particular BIOS and Firmware, SMB v1 is still required in order to mount an .iso using the HTML5 iKVM IPMI. I have heard that using the Java version of the IPMI, or IPMIview 2.0 from Supermicro can help getting rid of this and other problems, but I do not have either Java, or IPMIview 2.0 installed. So let’s move on the resolution from the unit serving my SMBs.
How-to enable, briefly, SMB v1 on a QNAP
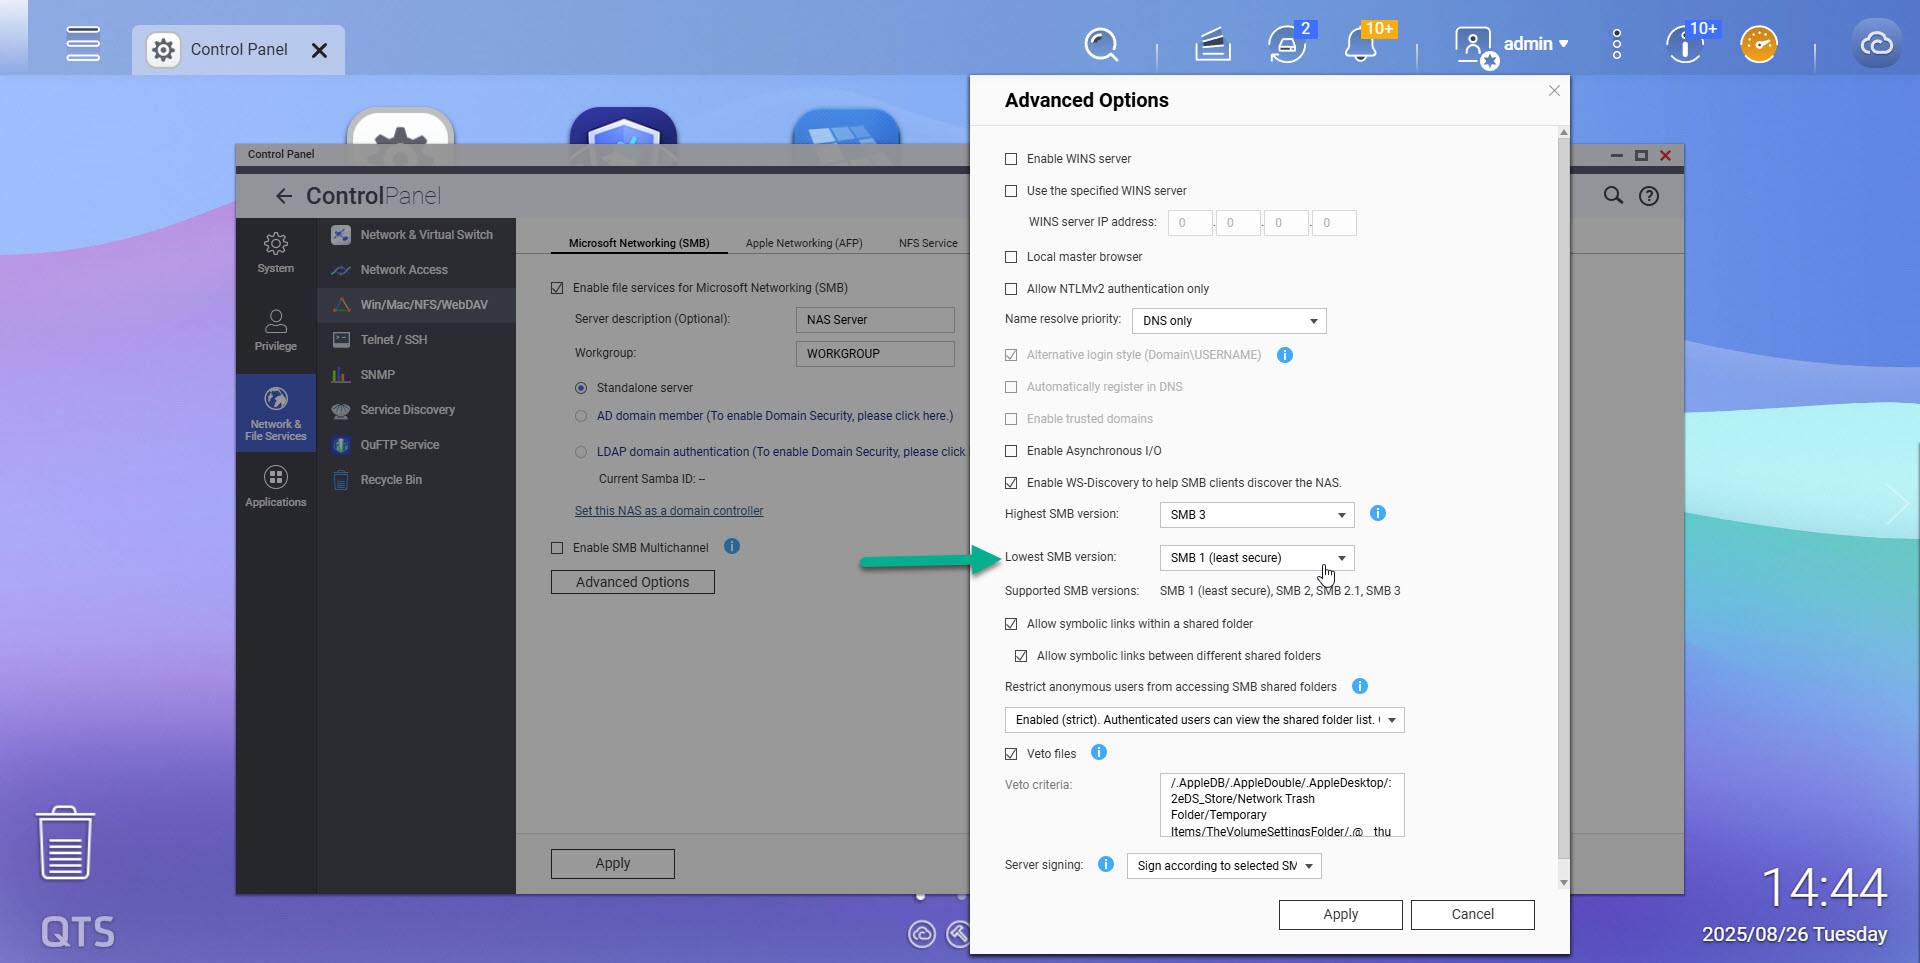
This is of course against all modern recommendations, and it should be followed temporarily and under supervision, so we mount our ISOS, perform the work and return it back to the secure and supported SMB v3 only. On our QNAP, let’s go to Control Panel > Network & File Permissions > Win/Mac/NFS/WebDAV, inside the first tab called Microsoft Networking (SMB), click in Advanced Options, and finally let’s select the lowest version of SMB to v1.
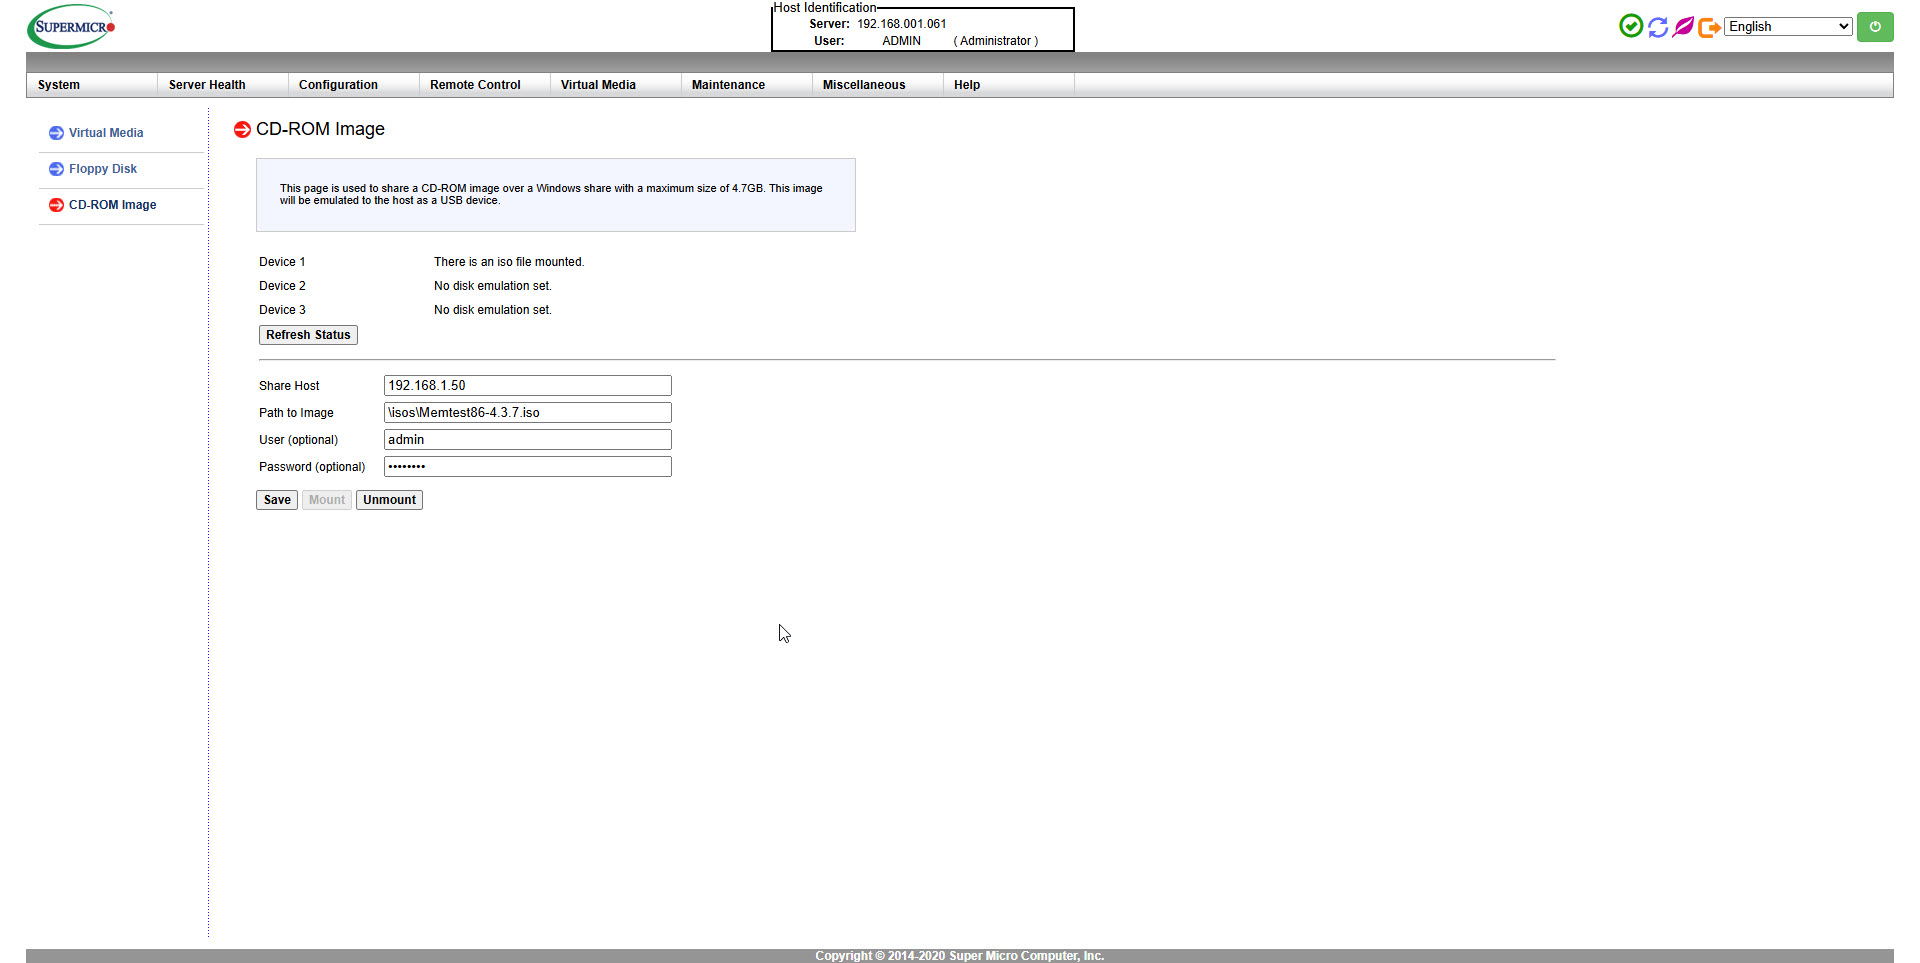
 Let’s click apply, and just like that, without even need to reload the Supermicro iKVM HTML5, we can just mount it again and see it is mounted properly:
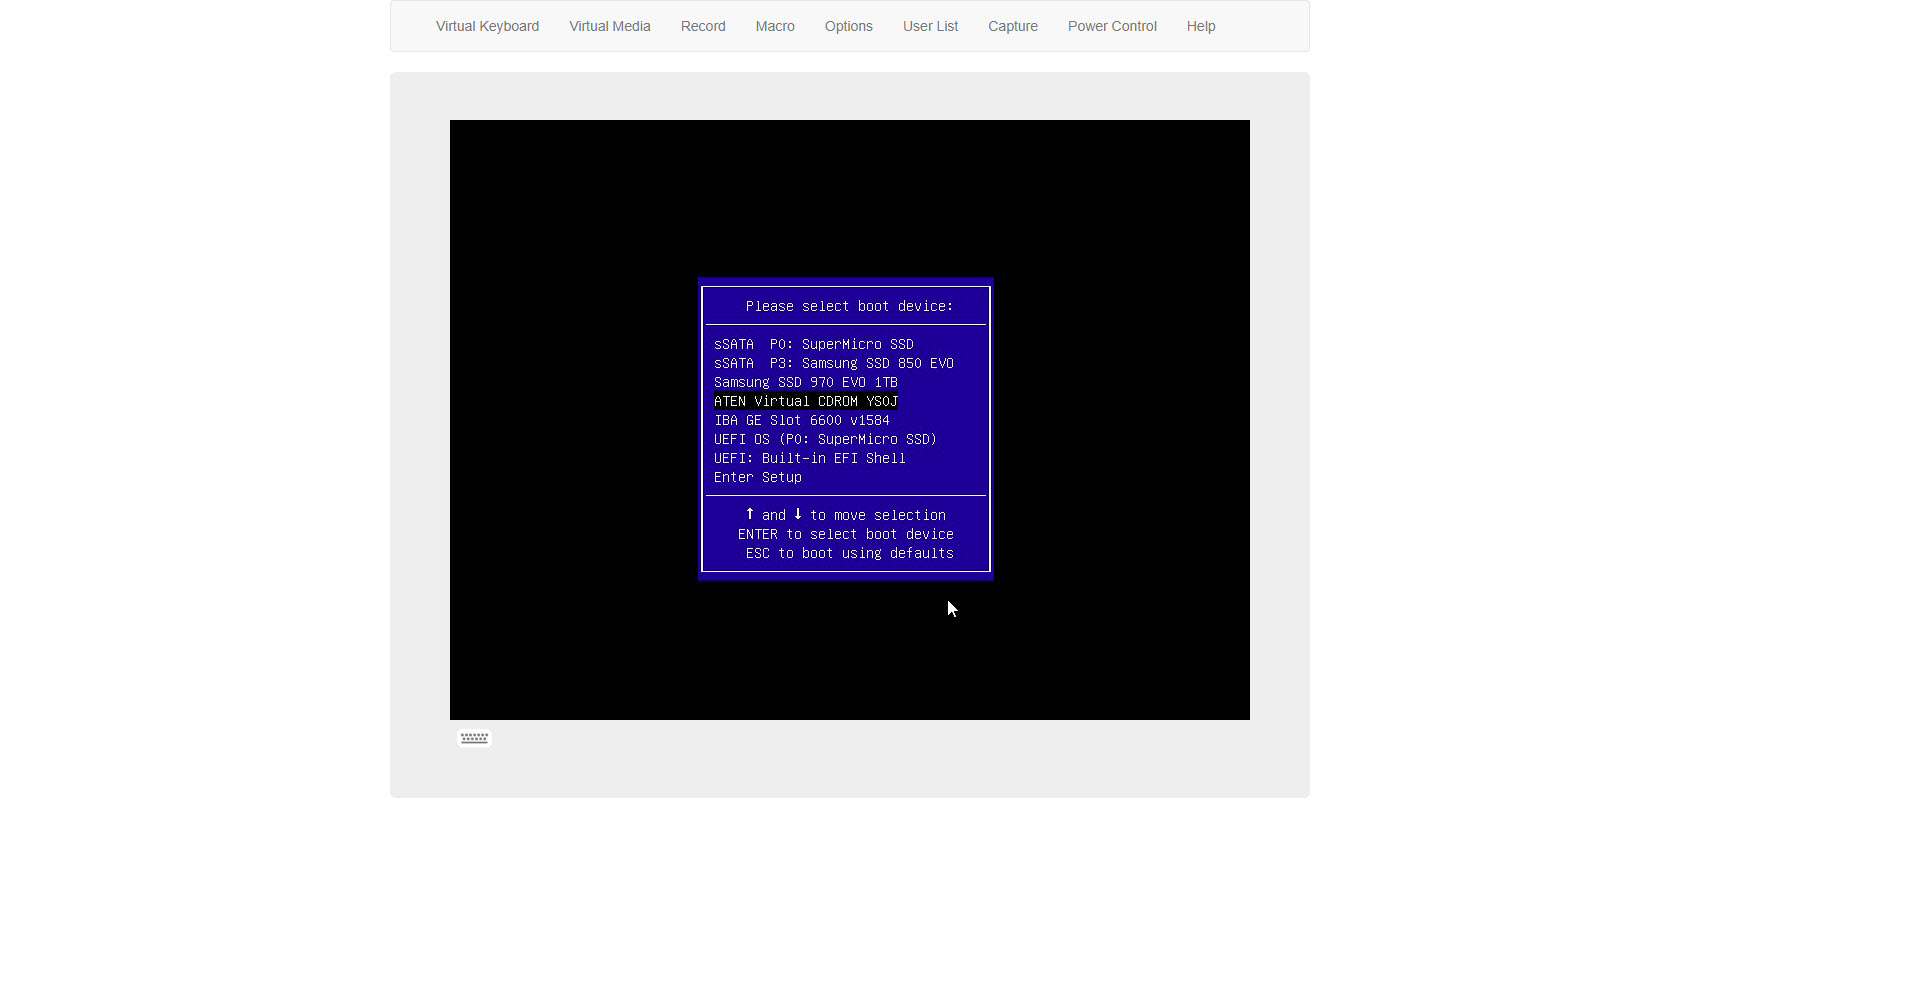
 And from here, we can now boot normally and invoke the Boot Menu so we can select the virtual CD:
 And that’s it, problem solved for this particular Supermicro, with what it seems old BIOS/Firmware. I hope this is helpful for you, I would upgrade the BIOS to the latest version to see if the problem is fixed on newest releases.
UPDATE
With the latest release of BIOS and IPMI, you can successfully mount SMB v3 🙂 So I hope it is useful in any case, as not every day one updates servers.
| 01.74.13 | |
| 08/02/2023 | |
| BIOS Version: | 2.2 |
| BIOS Build Time: | 09/03/2024 |
| Redfish Version: | 1.8.0 |
I noticed you mentioned the HTML5 iKVM interface—did you confirm the SMB share permissions and path syntax before mounting the ISO?
Yes, it was just the iKVM version, that was too old. Once updated, all worked nicely 🙂
My thoughts exactly.