
 Greetings friends, the Zimbra Community has that magic that makes you keep writing every day, commenting in forums, or contributing to GitHub with Scripts. As many of you know, I created a Script called ZimbraEasyInstall some time ago that helped us to deploy a Zimbra instance on Ubuntu in a very simple way.
 The other day I received an update to this code (thanks to Luis Perez) and now it also supports CentOS/RHEL, so today I want to show you how easy it is to install Zimbra Collaboration 8.7. x, in CentOS/RHEL in a completely automated way, here we go.
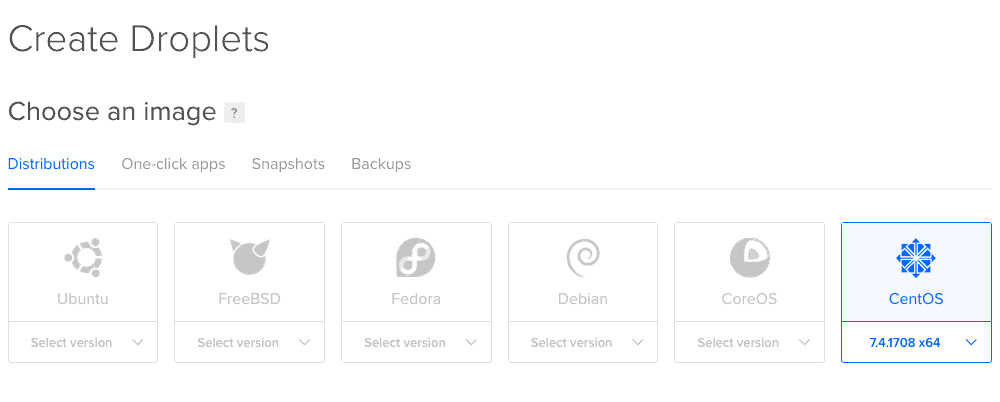
Creating a CentOS instance in Digitalocean
For this lab, I’m going to use a CentOS instance in Digitalocean, my trusted Cloud provider, let’s go there.
In my case I have selected a CentOS 7, since the script only works with CentOS/RHEL 7:
 The size if it matters, and for Zimbra is recommended this instance of 4GB and 2vCPU for testing, if we want production, you have to go to 8GB or more RAM memory.
 We can select the region we want, in my case I have selected London.
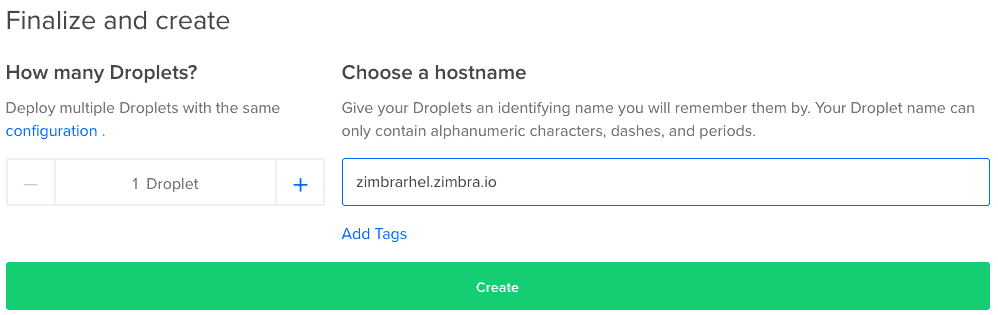
 Last but not least, the hostname that the instance will have, in my case zimbrarhel.zimbra.io
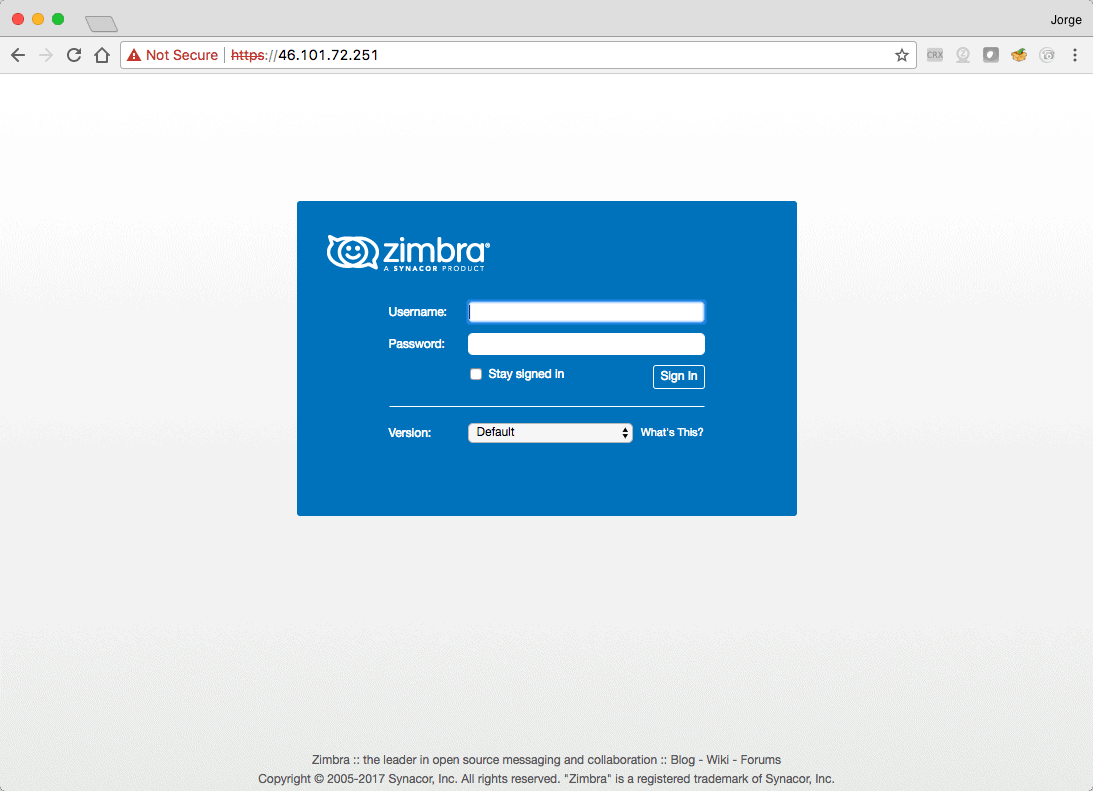
 Once we launch the instance, in a few seconds we will have everything ready:

Download and launch Zimbra Automated Installation Script
First of all, we’ll have to make sure that the Hosts file is correct, it should have something like that, special attention to the custom line:
127.0.0.1 localhost.localdomain localhost
# This line is important
46.101.72.251 zimbrarhel.zimbra.io      zimbrarhel

# The following lines are desirable for IPv6 capable hosts
::1 zimbrarhel.zimbra.io zimbrarhel
::1 localhost.localdomain localhost
::1 localhost6.localdomain6 localhost6
And we’ll reboot the network to catch the changes:
/etc/init.d/network restart
That’s it, the time has come, let’s download and launch the installation script:
yum install wget
wget https://github.com/jorgedlcruz/zimbra-automated-installation/raw/master/ZimbraEasyInstall-87-CentOS-RHEL
chmod +x ZimbraEasyInstall-87-CentOS-RHEL
./ZimbraEasyInstall-87-CentOS-RHEL zimbra.io 46.101.72.251 Zimbra2017
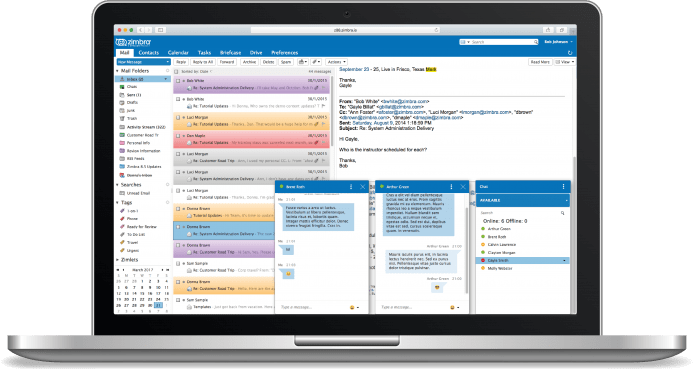
With this and in just a few minutes we will have a Zimbra Collaboration system automatically installed, if we access the VPS IP, we will have Chat and Drive and everything is working:
Related links
I think these links might be helpful for you:
[…] por Jorge de la CruzEscrito en 31 October, 201731 October, 2017 Read it in English […]