
 Greetings friends, today I bring you a very interesting post, I have already told you on previous occasions the team that I am using the Supermicro 5028D-TN4T for my homelab, I leave here some posts:
- Supermicro: Análisis del mejor Home Lab Server – Supermicro Superserver 5028D-TN4T
- VMware y Supermicro: Instalar ESXi 6.0 U1b en Supermicro Superserver 5028D-TN4T
Some time ago I told you how to monitor all the IPMI with PRTG too, so we can have very important information like temperature:
With the rising temperatures these days, I’ve been having performance problems on the server, not only that, but I’ve also seen the CPU temperature reach the always problematic 93C:
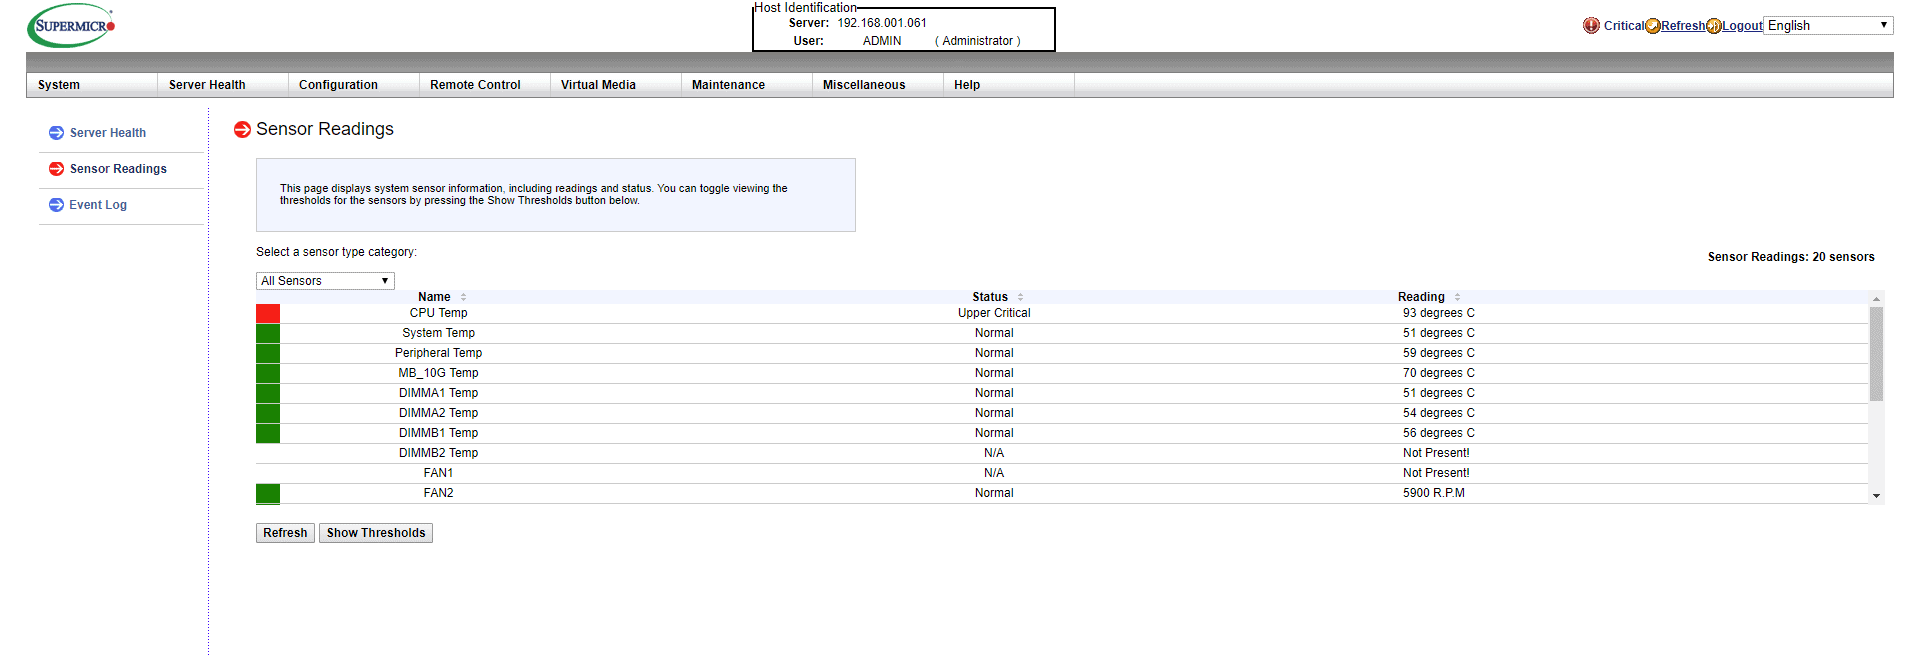 Which as you can imagine is crazy, we’re not going to have good performance and we’ll probably burn the hardware in no time.
Noctua to the rescue
I’ve known the Noctua folks, at desktop level for many years, and I’ve always recommended it, what I wasn’t sure about is that they also have fans as small as this one that comes perfect to install in the Supermicro, I leave you the link to Amazon for this Noctua NF-A6x25:
Technical comparison between the both:
Noctua (link)
- Max speed: 3000 r.p.m
- Airflow: 29,2 m³/h
- Max pressure: 2,18 mm H₂O
- Acoustic sound: 19,3 dB(A)
Supermicro (link)
- Max speed: 6500 r.p.m
- Airflow: 23,04 m³/h
- Max pressure: 5,89 mm H₂O
- Acoustic sound: 33,5 dB(A)
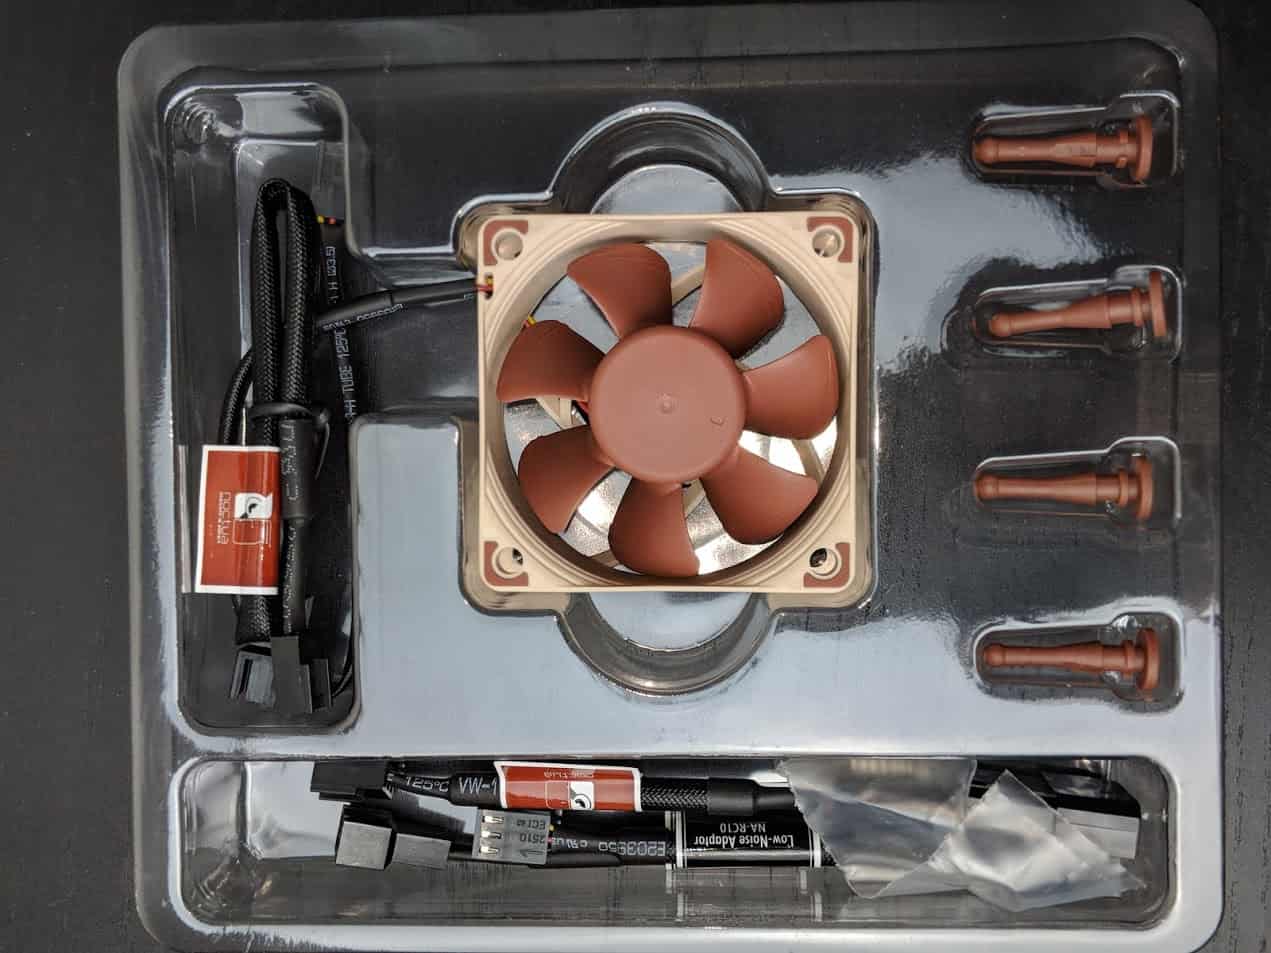
When the box arrived, I was pleasantly surprised to receive a perfectly finished product, with high quality packaging:
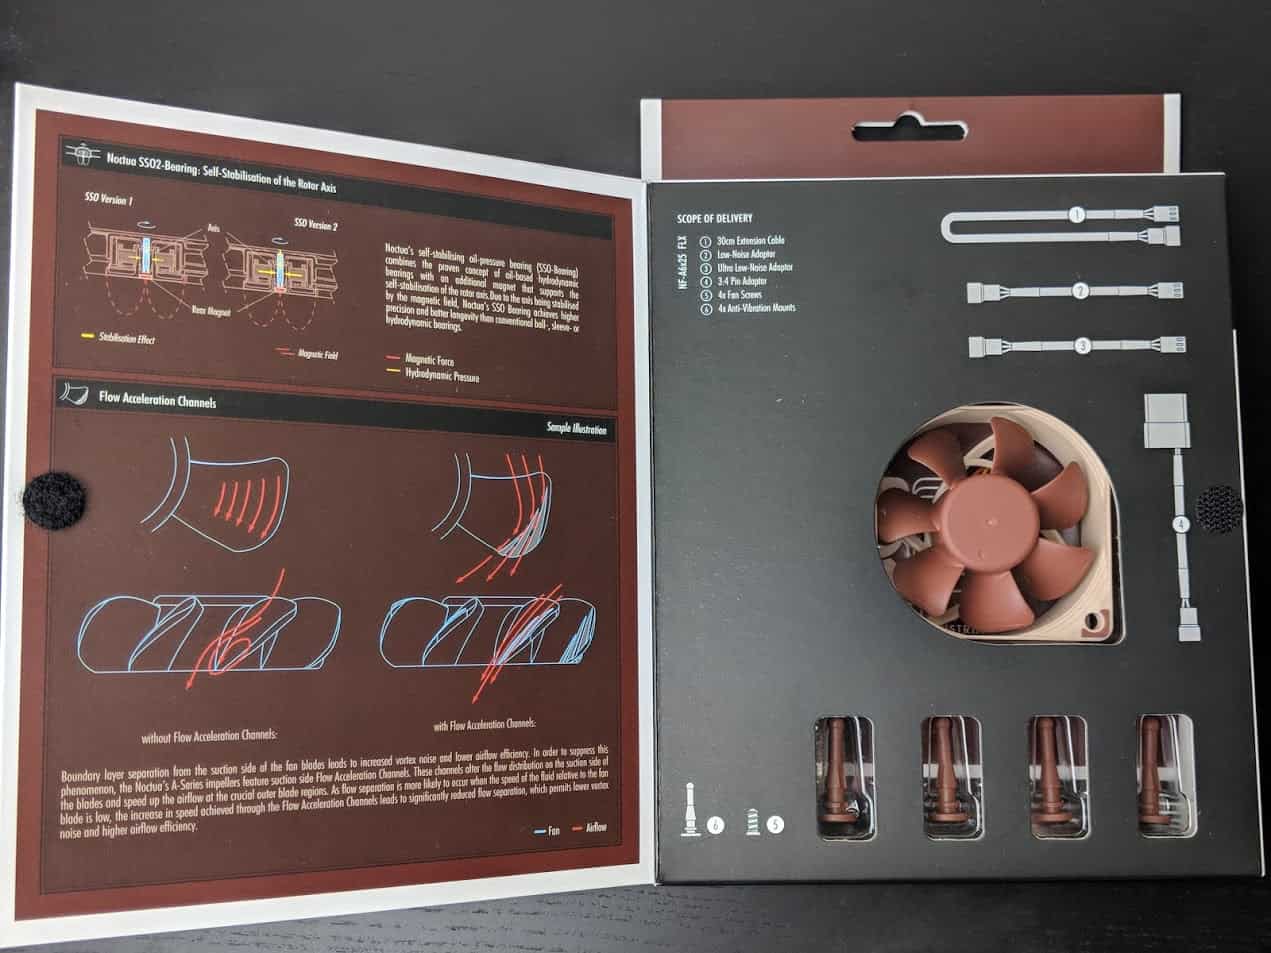 As you can see it comes perfectly equipped with:
- 4x plastic parts that replace the screws and make the fan less static
- 4x screws if you want to use them in a traditional way
- 1x 30cm cable to use as an extension cord
- 1x cable for sound reduction
- 1x cable to further reduce sound
- 1x cable to convert to 4-pin Molex
Disassembly of the standard fan
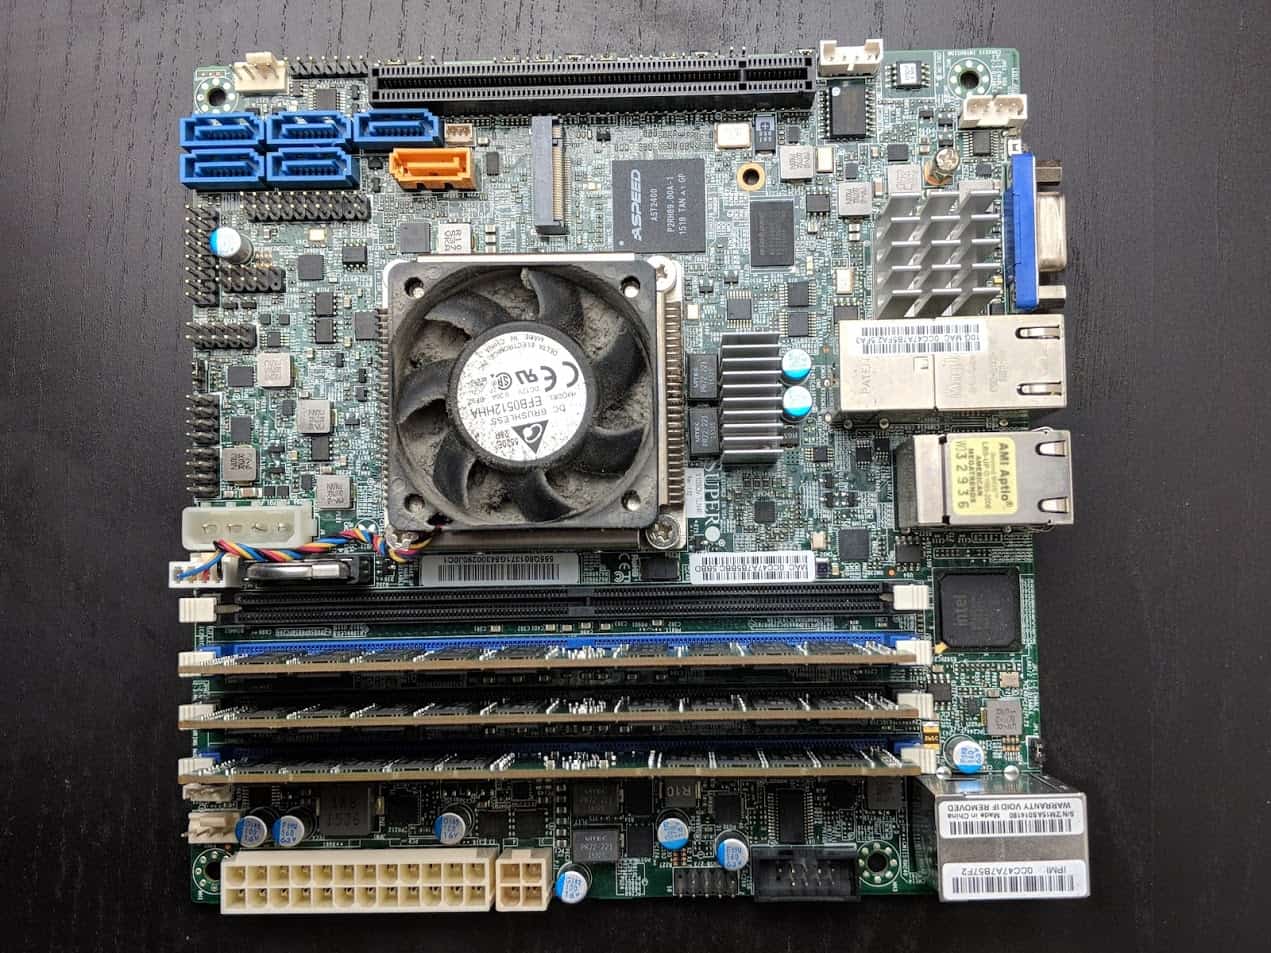
We remove the motherboard from the Supermicro case carefully, once on the table, we can observe the fan, unfortunately I have not cleaned it in a while, and this will cause that it can not operate as it should too:
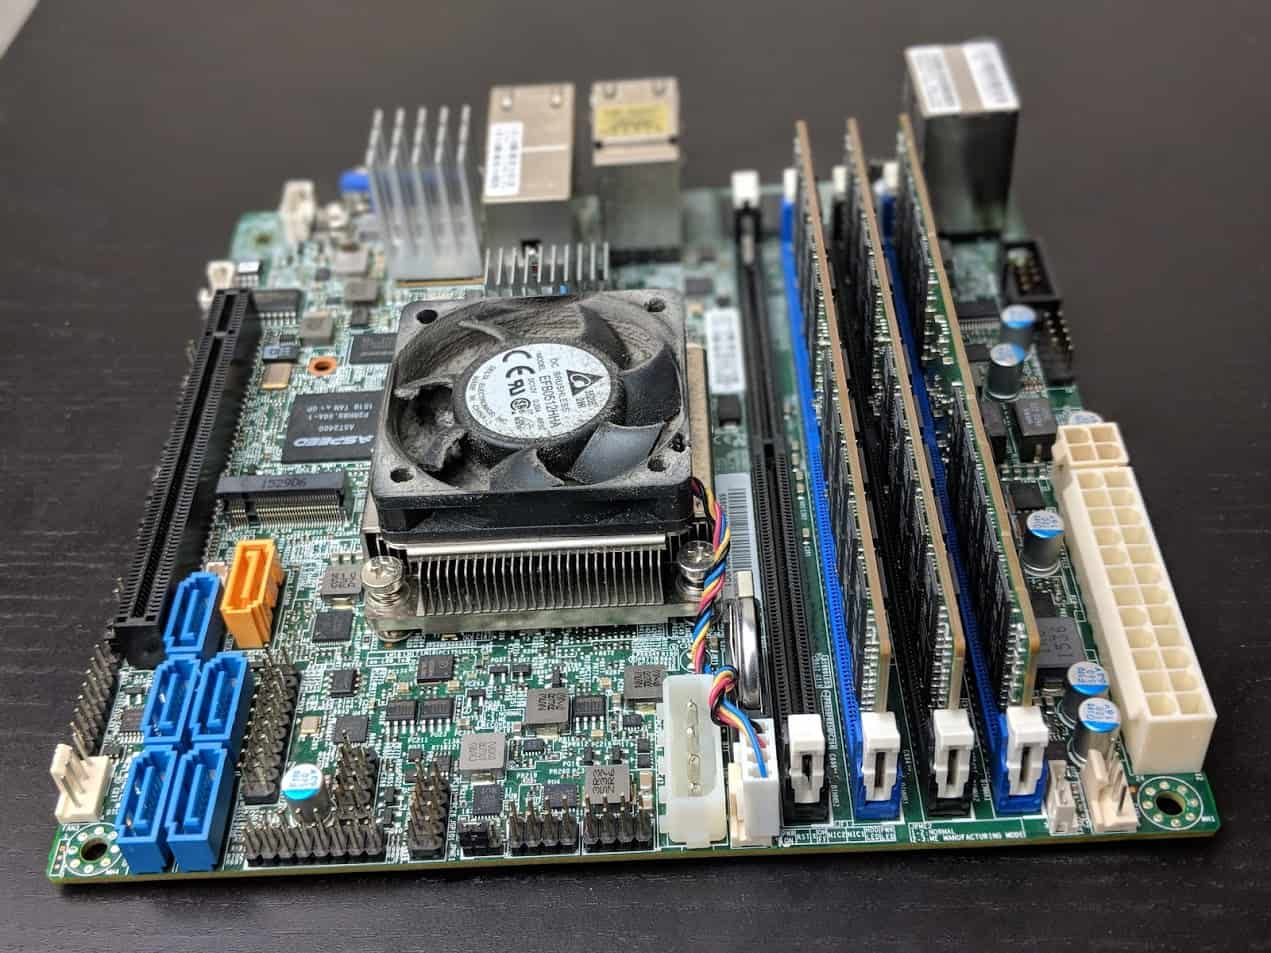
 If we look at it in perspective, we can see that the fan is screwed to an adapter that is located right on the heatsink:
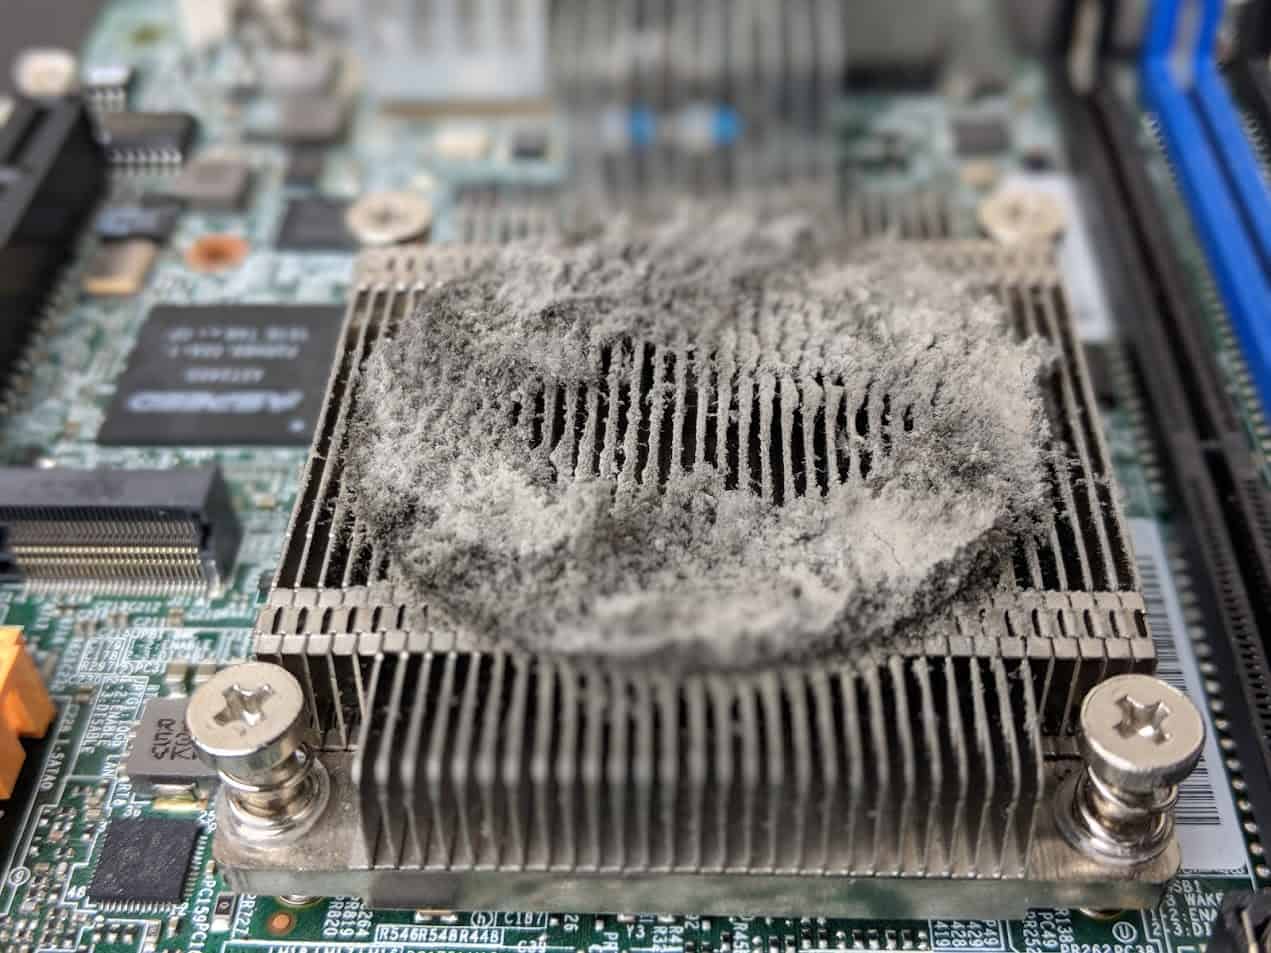
 Once we disassemble this metal piece, which has a few screws of a few mm, we will see the current state of the heatsink, which should of course be cleaned:
Assembly of the Noctua NF-A6x25
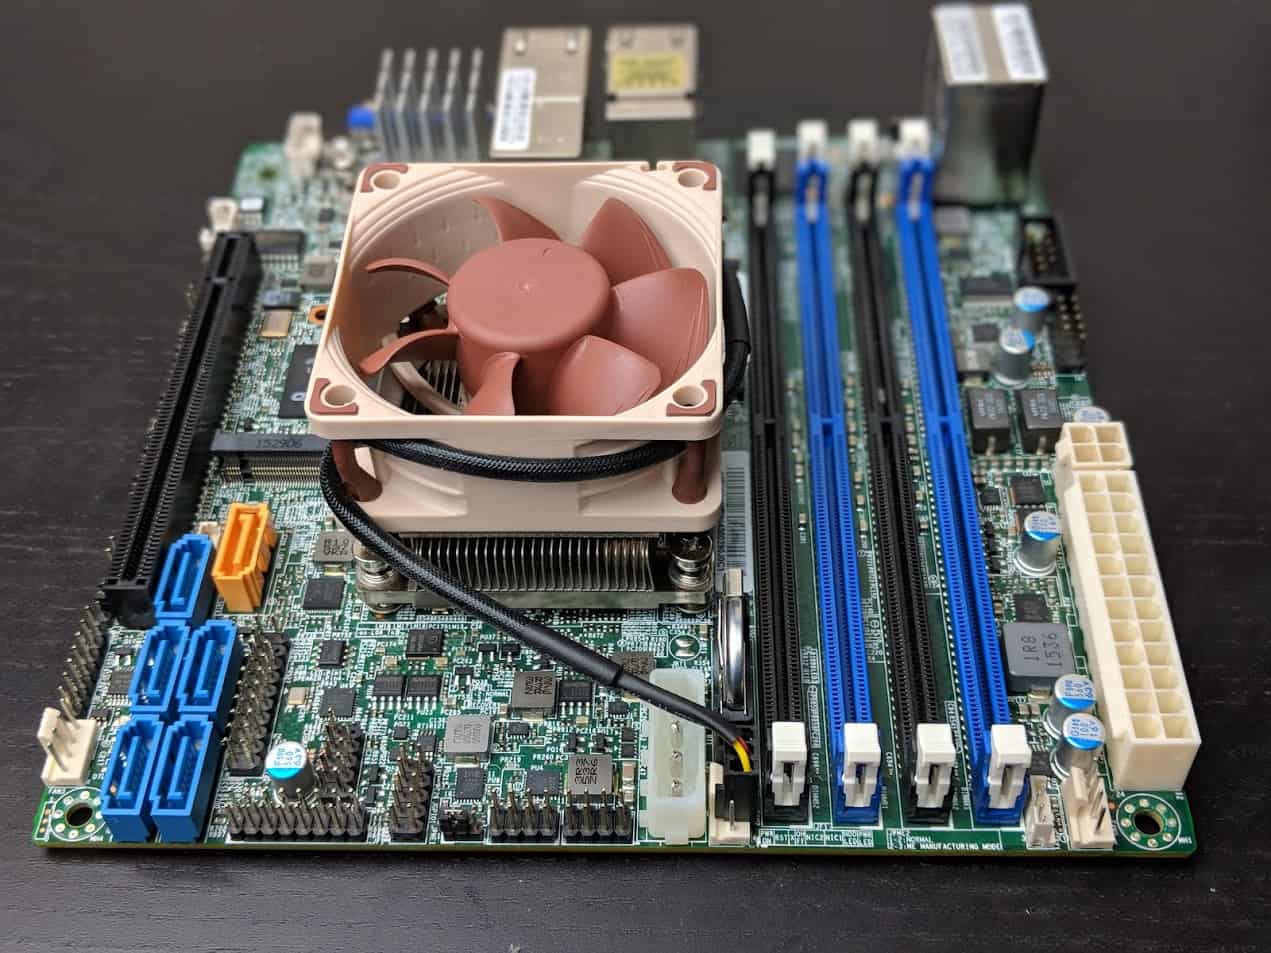
The process has been simple, I have cleaned the heatsink with compressed air and a vacuum cleaner, I have installed the Noctua using the plastic parts in the part that comes with the Supermicro bolted to the heatsink, and I have mounted it all together, the result should be something like the following: And so in perspective, please take into account the position of the fan, has a sticker on the part that faces the heatsink so you know that this sticker does not have to be seen:

Results after several days in operation, welcome back 53C
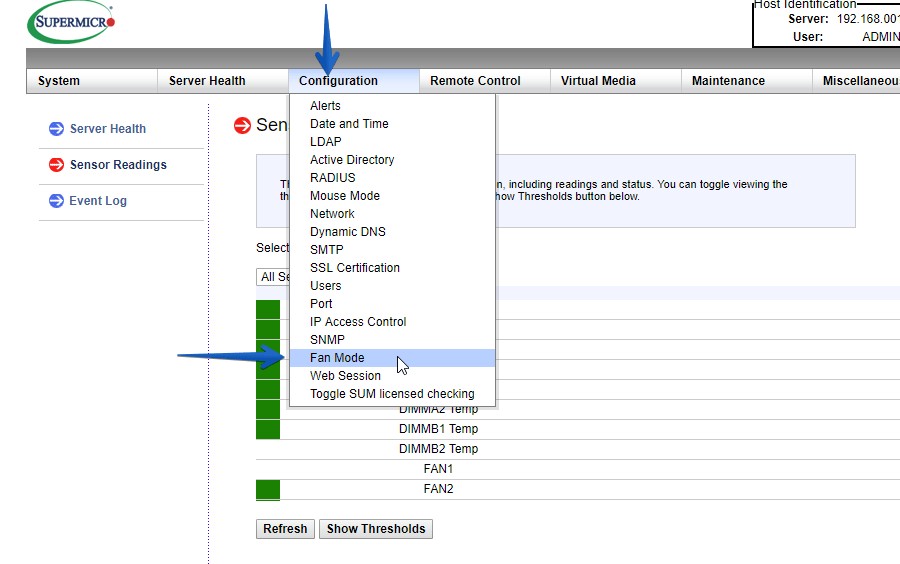
An additional step that I recommend in the IPMI of Supermicro, is to look at the option of the fans, you can find it in Configuration – Fan Mode
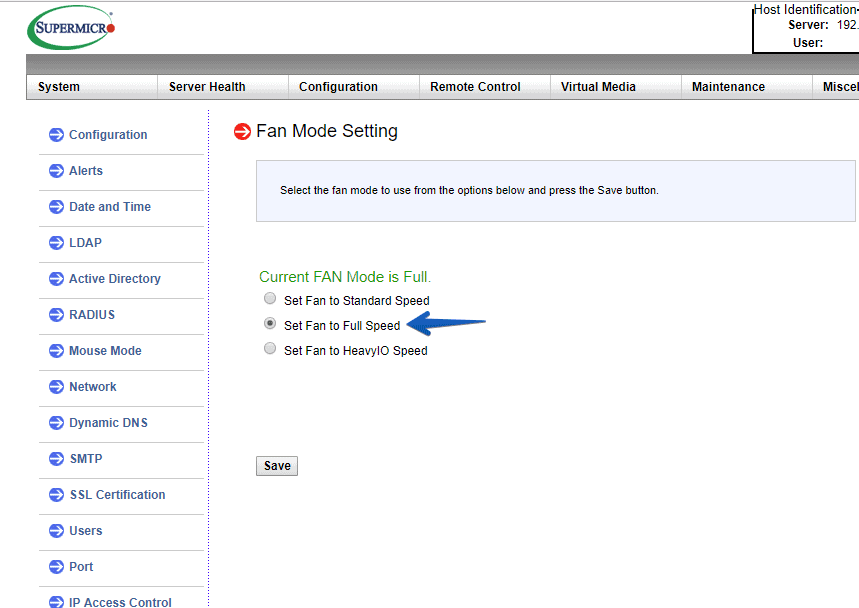
 It was at Standard, but I changed it to Full at least for the summer:
 The result after the cleaning, fan change, and options, is that I have my server at a comfortable 53C where it operates normally and my VMs are back to the power they needed, besides not worrying about burning any component:
 Just friends, I hope you enjoy it as much as I do creating the article.
More information:
Great, this article made my day and I’m now a subscriber!!! I’ve been looking for an alternate fan as the original is quite noisy when set to “HeavyIO Speed” (yes I have that option).
A quick question, have you heard of anyone being able to upgrade the CPU itself (to get a few more cores)?
I haven’t yet tried to do the math as to whether or not the PSU would need to be upgraded as well, if this is even possible.