 Greetings friends, we arrive at the fourth installment of this interesting series that you are enjoying very much. We have already seen in previous posts all that is needed to deploy backups using SLA policies, and it is now time to generate different reports and different views so that the different owners and managers of each application can know if their VMs are protected.
Using the Veeam Enterprise Manager Plugin with VMware vSphere Client (HTML5)
More than a year ago I wrote about how you could install the Veeam Enterprise Manager plugin on our VCSA to display information on the vSphere Web Client, and on the new vSphere Client (HTML5).
Starting from the fact that we have already followed these simple steps, or if we were absent-minded, here is a screenshot where it is shown in a quick way: When installing the plugin, the vSphere Client will tell us that we have to close the session and open it again:
 If we already have our domain users or groups linked to Veeam, we’ll go to the Enterprise Manager – Roles:
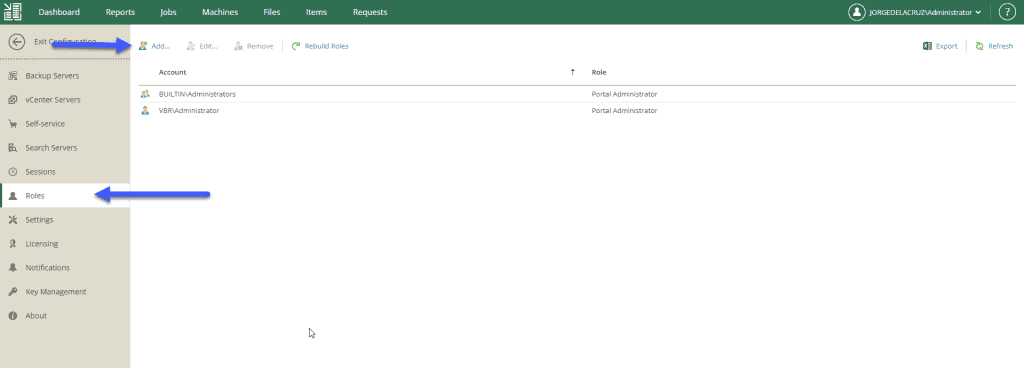 We’ll add the user or group of users, with privileges only to the folder or tag that has access, with the roles that we want to give them:
 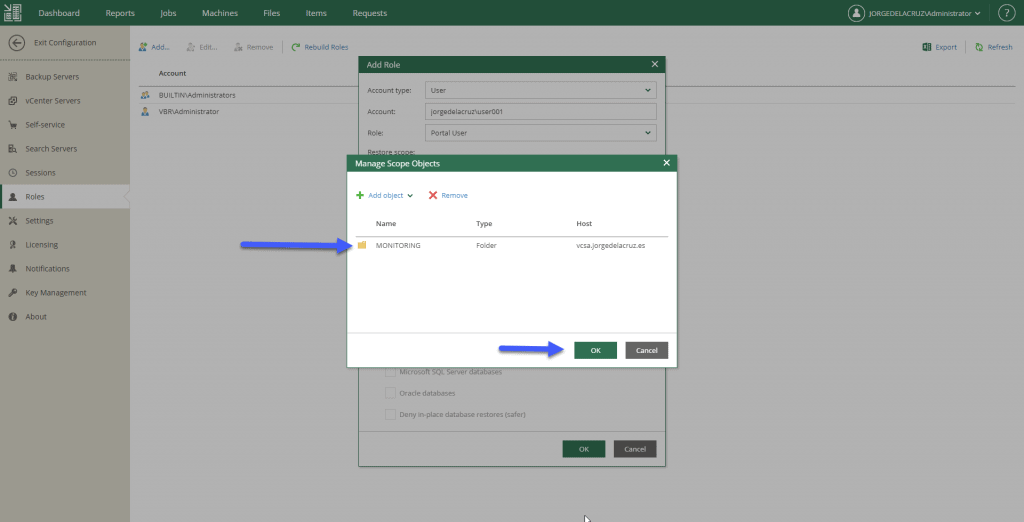 We’ll see here the user or groups:
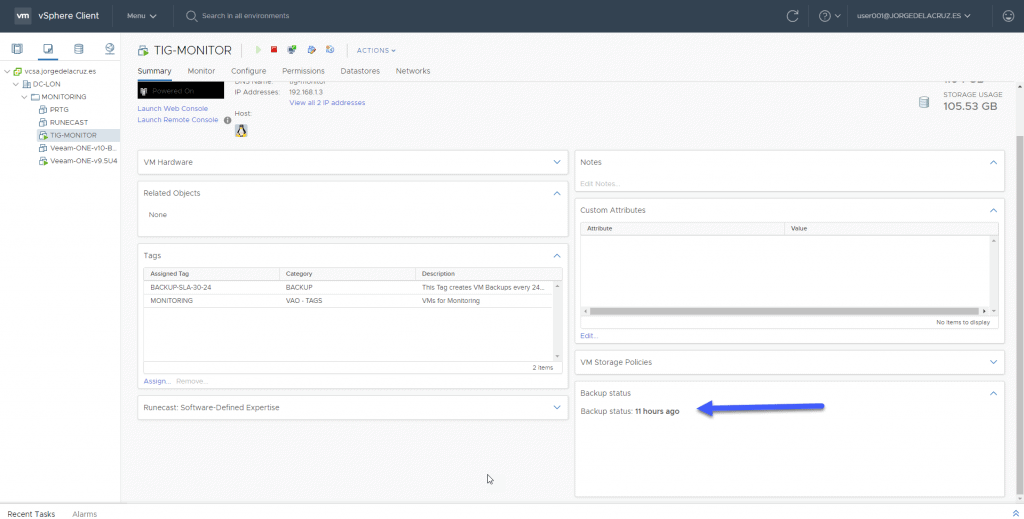
  As users, we log in again to vSphere Client (HTML5) and we’ll be able to see in each VM if it has a backup or not, and how often.
Troubleshooting and reporting using Veeam ONE Monitor Client
We will now open as the user or groups that have our Veeam ONE Monitor Client, we will be able to see that we access with the correct credentials: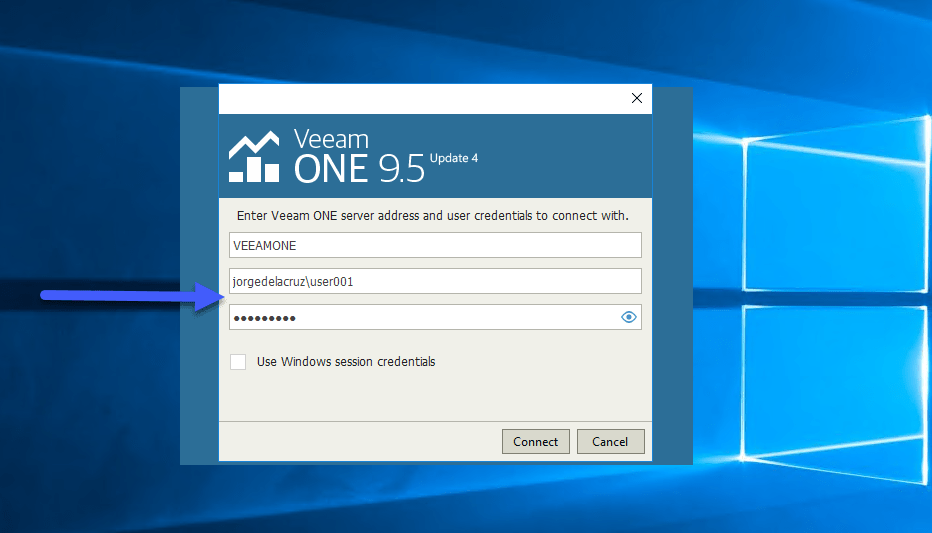
Veeam ONE Monitor Client will show us a warning about the limited scope we have: 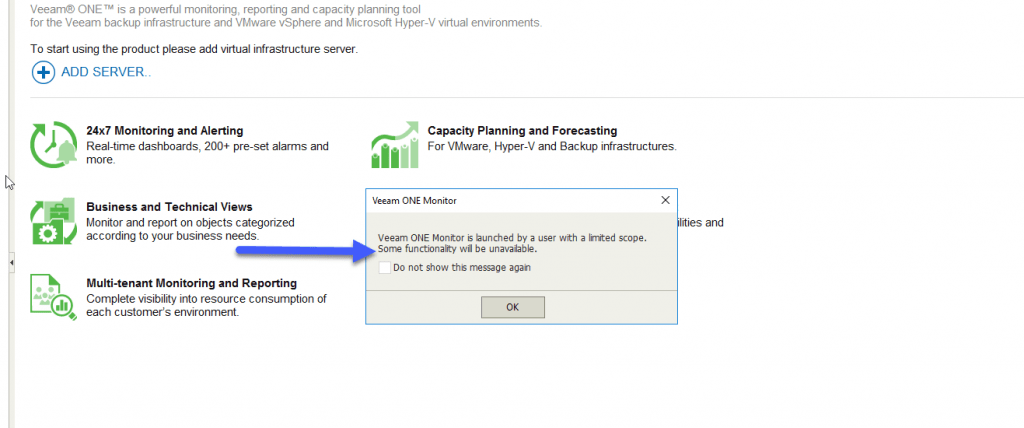 From the Infrastructure view we can see only the VMs we have access to, and it also shows us if the VMs have Backup or not:
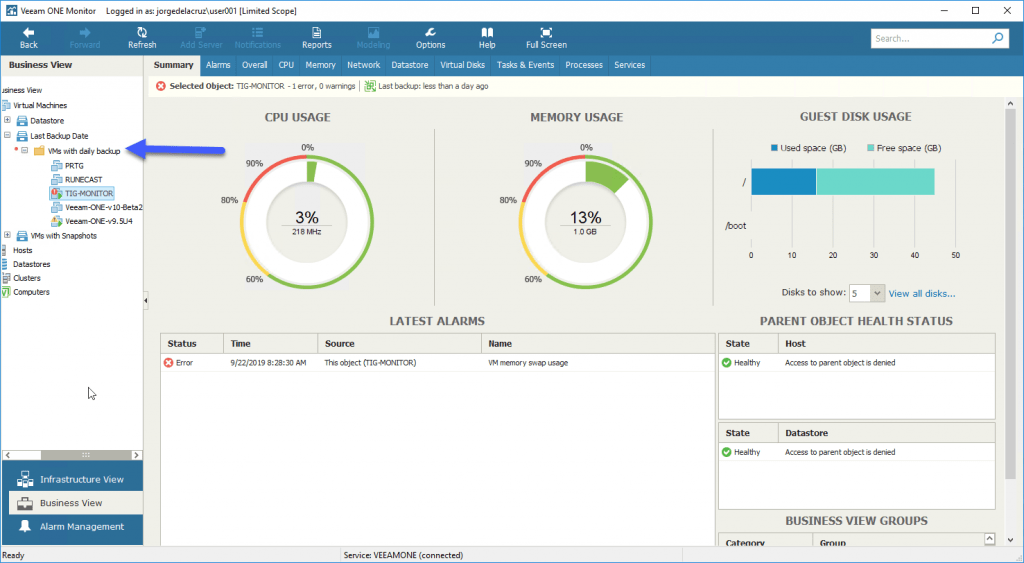
 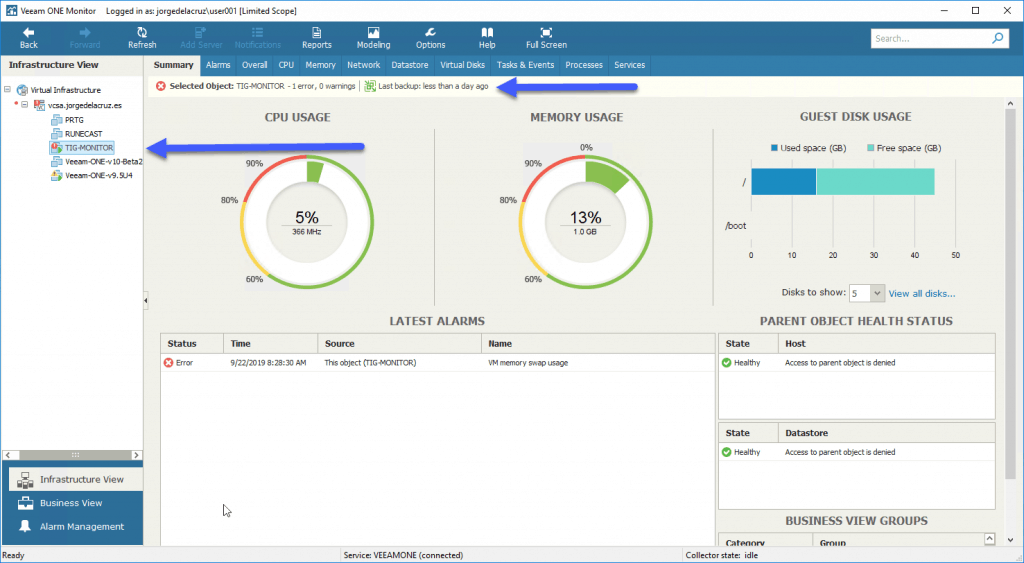 In the Business View, we can see some categories, in my case the VMs with daily protection:
Troubleshooting and generating reports using Veeam ONE Reporter
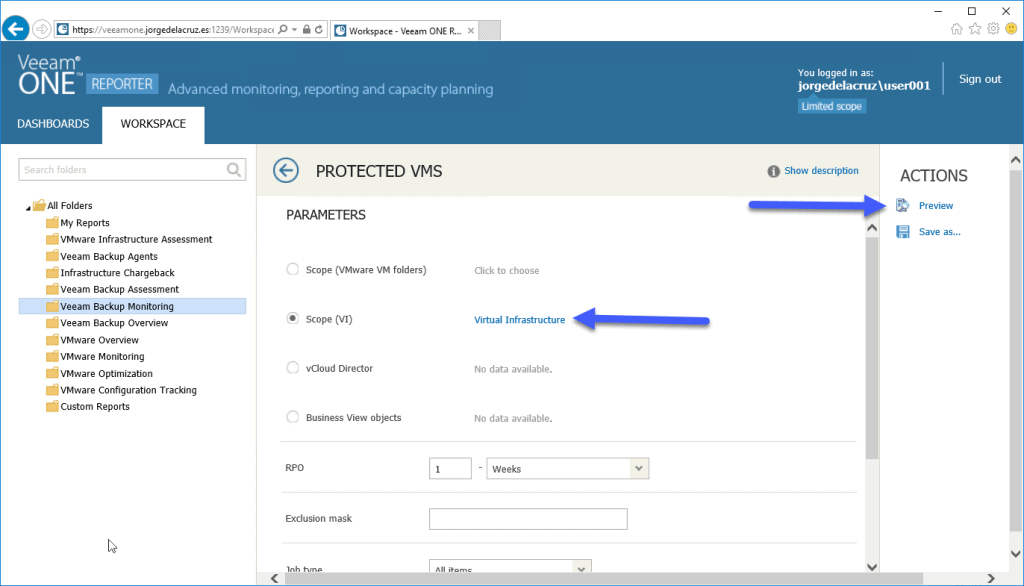
We’ll open now Veeam ONE Reporter with the credentials of the user with limited access, we’ll go to Veeam Backup Monitoring – Protected VMs: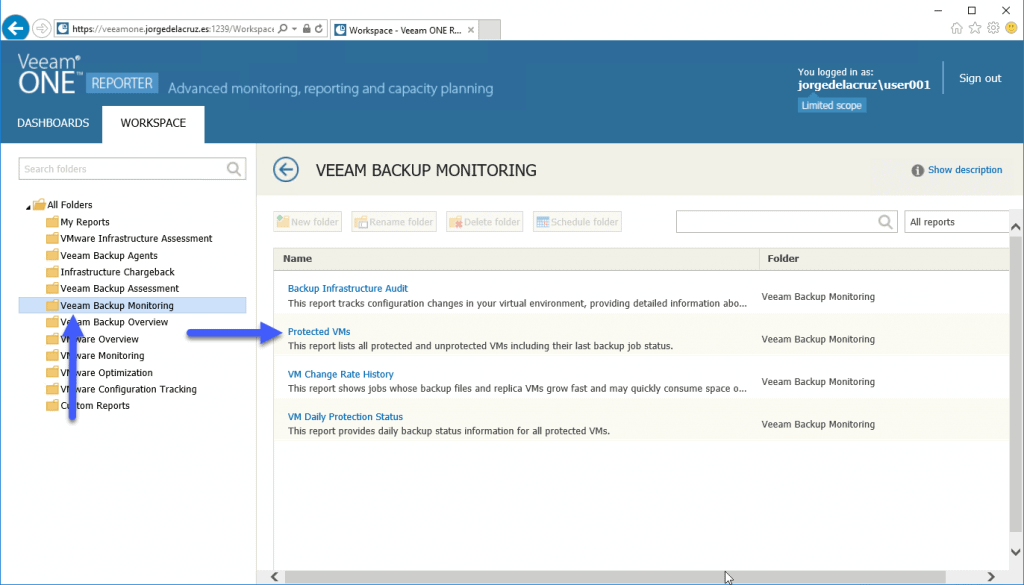 From there, we’ll select all the scope, which is limited to your VMs, and if we want we’ll touch the RPO, and other information, and click on Preview:
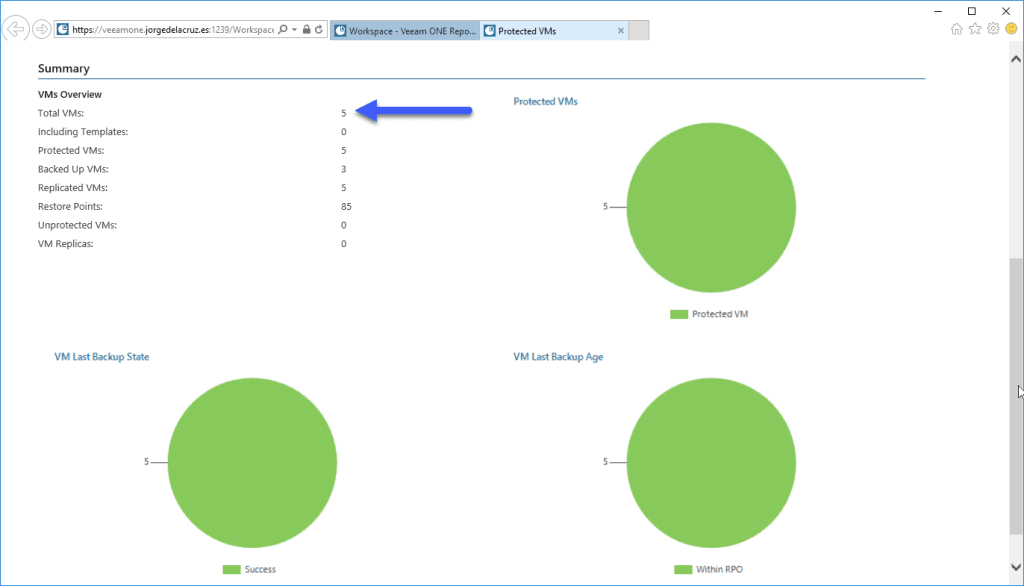
  Now we’ll be able to see all the VMs we have access to, with their corresponding restore points, all in green/all good:
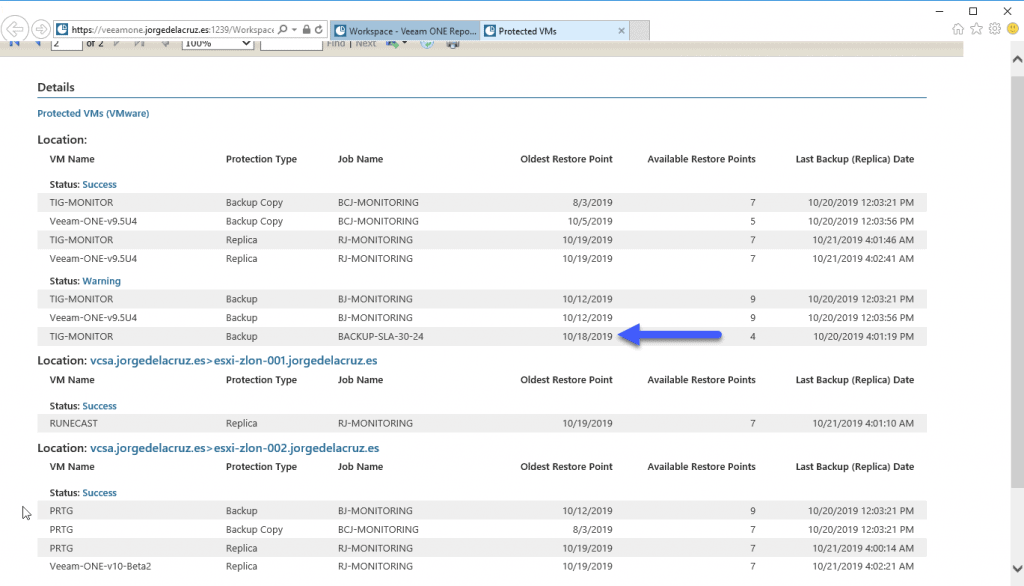
  The report shows our VMs protected with other policies besides ours, remember that it was the so-called BACKUP-SLA-30-24, but the important thing is that our policy is in the report:
  From here, we could save the report, and send it automatically by email as PDF or XLS.
That’s all for now in this first part of this blog series about SLA policies to create backups, I leave you with the complete series:
- Veeam: How to Design and Implement a Backup System Based on SLA Policies – Part I – Design, Architecture, and Tagging in vSphere
- Veeam: How to Design and Implement a Policy-Based Backup System – Part II – Creating the Policies in Veeam Backup & Replication
- Veeam: How to Design and Deploy a Backup System Based on SLA Policies – Part III – Assigning vSphere Tags to Application Groups
- Veeam: How to Design and Implement a Backup System Based on SLA Policies – Part IV – Quick Overview and Reporting of Backup Policies
- Veeam: How to design and implement a policy-based SLA backup system – Part V – Monitoring the Veeam Backup & Replication environment with Veeam ONE

Leave a Reply