 Greetings friends, on certain occasions it is highly recommended to deploy an instance of VCSA 6.5 in our lab outside of our Homelab, using tools such as VMware Workstation or VMware Fusion, so that we have our own VCSA VM on our computer, and we can play with it, apply patches, test new features, or even bring an entire nested environment.
Congratulations, since VMware Fusion 10 and VMware Workstation 12, we natively support the deployment of VCSA 6.5 on these tools (without having to edit complicated files, or use Converter), let’s go with the Blog.
Critical, vital, indispensable step – DNS, DNS and DNS
I have read in several articles, and lived in my own meats Castellanas, the failure to deploy VCSA 6.5. x in VMware Fusion without this step, it is indispensable to have a valid DNS entry for this new VM, and to have the PTR record also for the installation to be completed correctly:
Deploying VCSA 6.5. x on VMware Fusion 10 – in video
Deploying VCSA 6.5. x on VMware Fusion 10 – in pictures
The first thing we will have to do is download the ISO of VCSA 6.5U1c, or higher, from the official VMware website:
- https://my.vmware.com/en/web/vmware/details?downloadGroup=VC65U1C&productId=614&rPId=19690
Once downloaded, we mount the ISO in our OS X where we will see a folder called vcsa:
 In it we will find the. OVA file that we will use to deploy VCSA 6.5. x in our VMware Fusion 10:
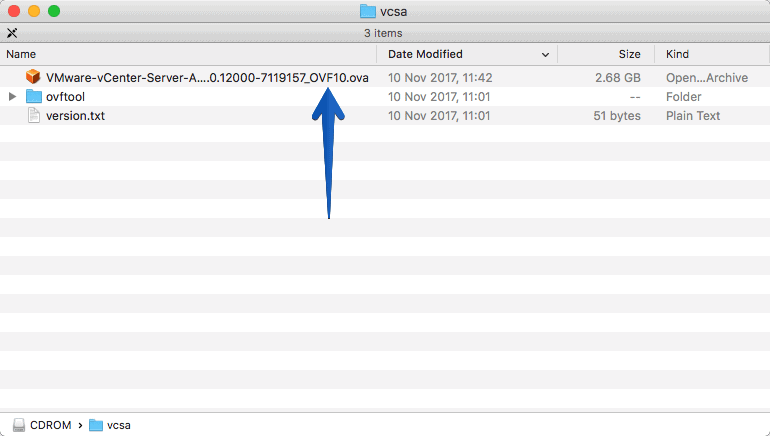 Back to our VMware Fusion 10, we will click on New – Import and select the file. OVA
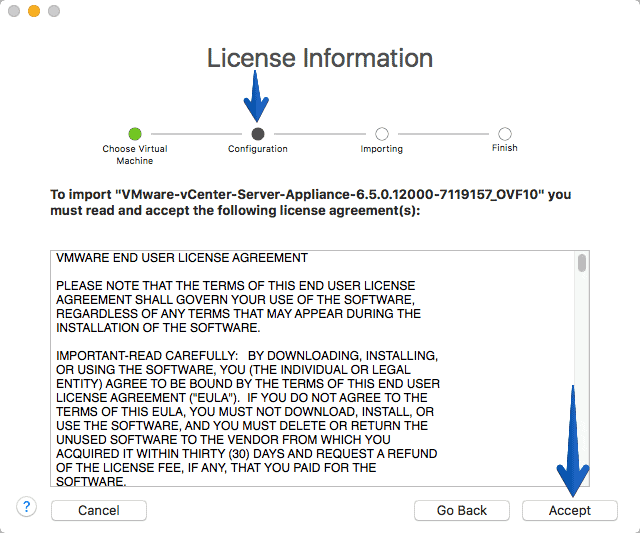
 We will accept the EULA and continue:
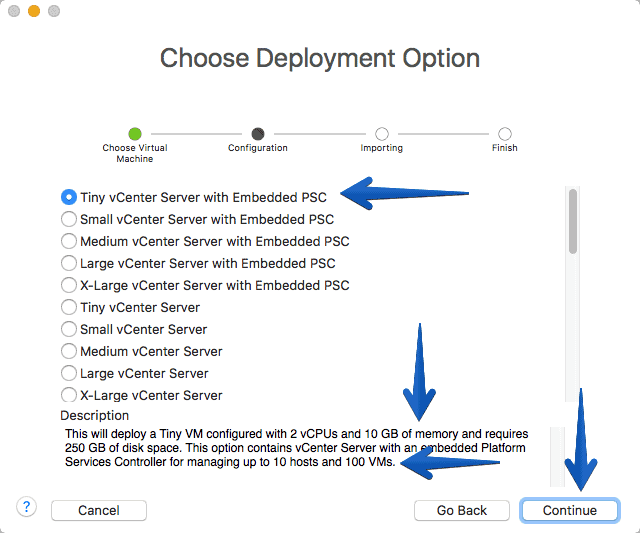
 Now the wizard itself shows us what size we want for our VCSA 6.5. x, in my case I have selected Tiny, depending on the size we want for our VCSA 6.5. x, in my case I have selected Tiny:
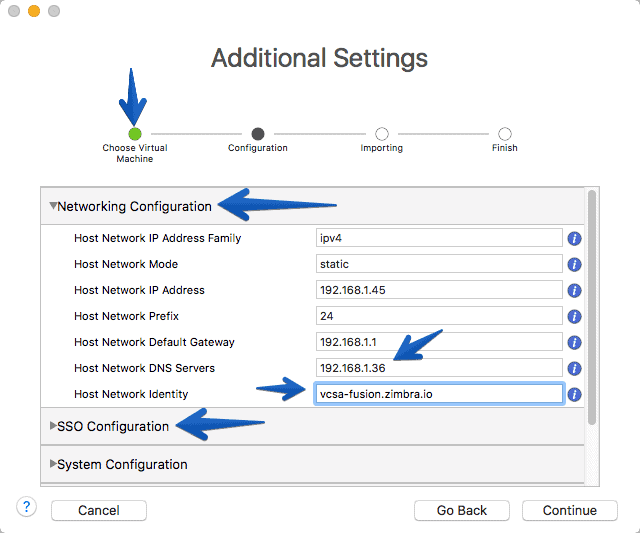
 In the configuration part we have to configure the parameters of our VCSA 6.5. x, in this case if we want ipv4 or ipv6, static or DHCP, VM IP and network parameters and hostname, all very important.
 In the next tab we can see the configuration of SSO, which will be the password later for the typical user [email protected] to access the environment:
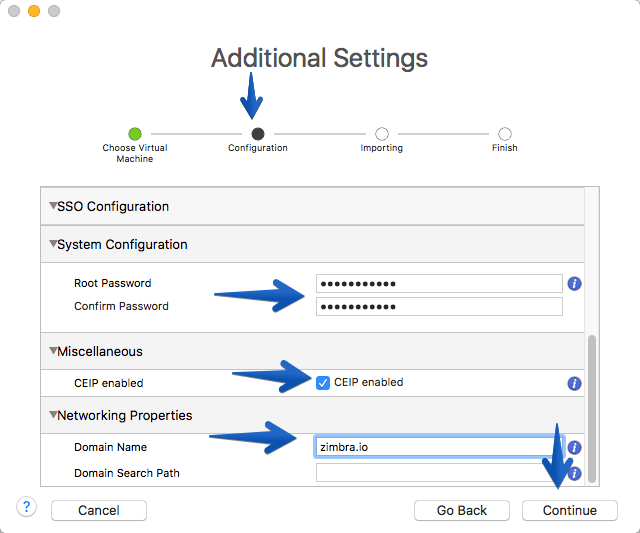
 In System Configuration we can also configure the root password for VCSA 6.5. x, with which we can enter the appliance FAMI, if we want to enable feedback to VMware and of course the domain, very important!
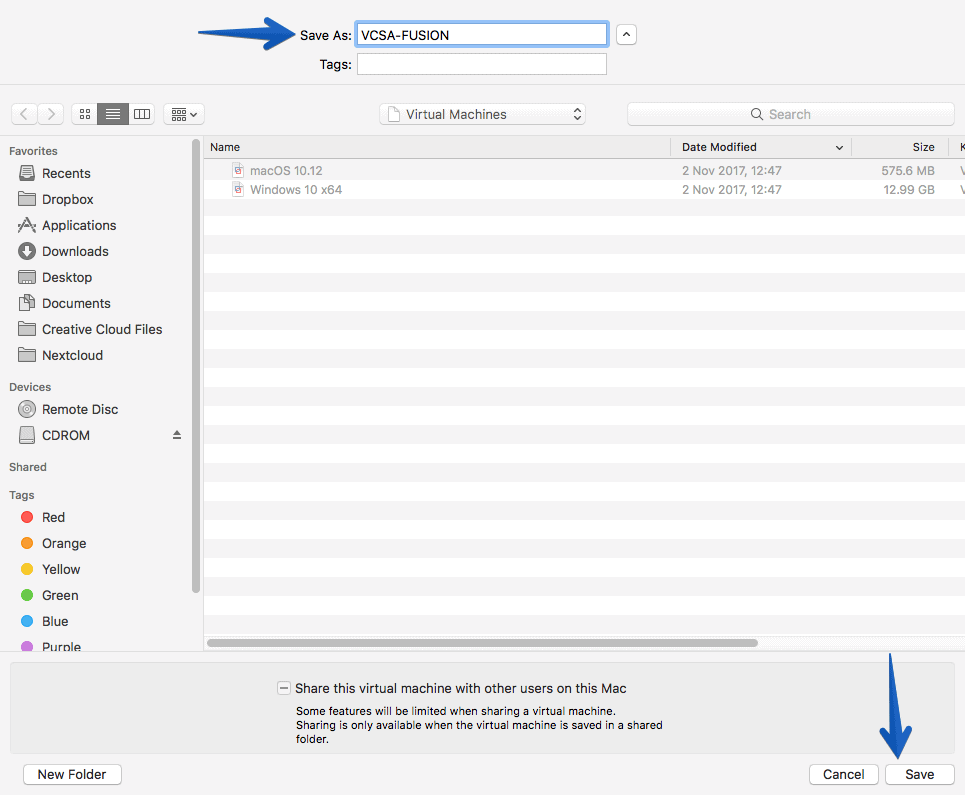
 We will select the name we want for our VM:
 And the import process of the. OVA will start, it usually only takes a few seconds:
 We will see how the VM starts with Photon OS 1.0:
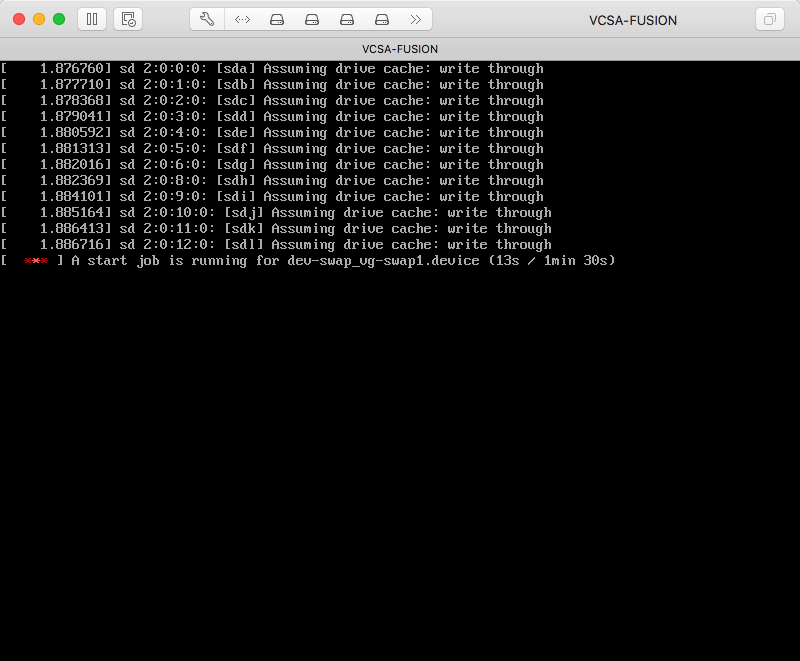
 The process of booting the VM will start, prepare discs, etc.
 At this point we will see that the VM, booted, we will see the default name of the VM photon-mach. Just give it time to auto-configure:
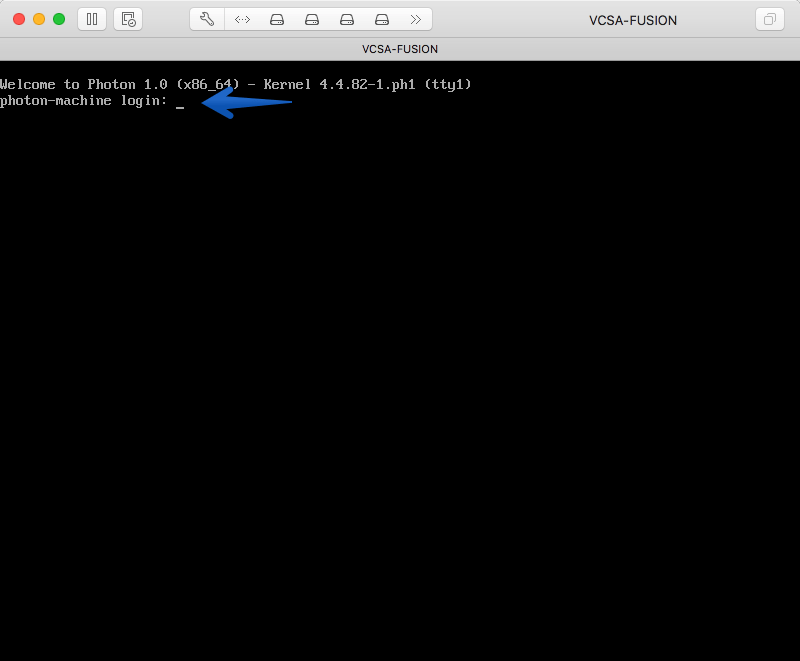 After a few minutes we’ll see what the screen already shows VCSA 6.5. x but it’s not yet configured, we keep waiting:
 When the IP starts to resolve by ping, you’ll also see it in the VM console, after a few minutes:
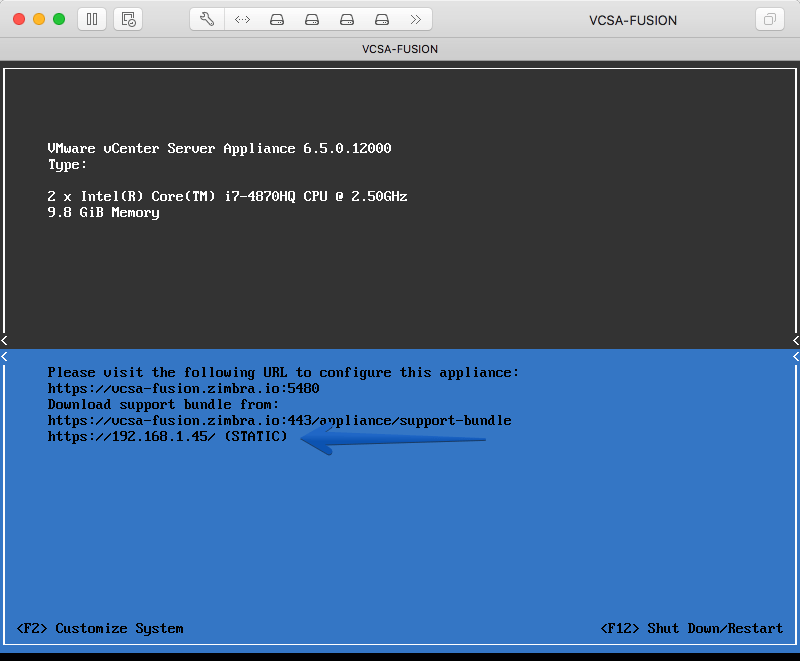 We will be able to go to our FAMI console, https://VCSAIP:5480 and enter root and the password we have selected previously. Once inside, we can see that it is self-configuring without the need for us to do anything (this process takes about 30-45 minutes depending on your hardware and the virtual hardware selected):
 Congratulations! After 30-45 minutes we have everything ready and our VCSA 6.5. x has been successfully deployed without errors in our VMware Fusion 10.
Logins in FAMI, vSphere Web Client and vSphere Client HTML5
We can already start to open the different URLs to see if everything is ok, the first one is the IP of FAMI https://HOSTNAME:5480 where we will see that all the services are up, and that we have the latest version, from here we can make backups or try everything:
 For example, see the resources consumed by the Appliance:
 By accessing the vSphere Client HTML5, we can start adding Hosts, which can be other VMs, or even physical:
 If we go to the traditional vSphere Web Client, we can see that it already asks us to introduce license, and we can also start adding Hosts, etc.
 If we go all the way to Summary, we’ll see that we have the latest Build available:
Related links
I think you will like these links once you have your VCSA 6.5. x on your VMware Fusion:


Just simply want to mention I am just thrilled I came on your web page!
Hi Jorge . Thank you for this post.
This procedure works only with vCenter 6.5 Update 1? Because I’m trying with a 6.5 ISO and I’m having problems with root password and RPM services after installation.
Best Regards.
Valter Junior
Hi Valter,
This procedure should work with all VCSA 6.5 and above, have you make sure the DNS entry works, and your keyboard is okay? Wait a minute, you saying 6.5.0? Please read the next entry, Spanish, as if you have an old ISO, your root password is already expired and you need to download a new ISO:
https://www.jorgedelacruz.es/2017/11/20/vmware-vcenter-6-5-0c-y-vcenter-server-6-5-0f-si-tienes-vcsa-6-5-ga-o-6-5-0a-es-probable-que-tu-password-de-root-haya-caducado/
Not great, but at least is documented 🙂