 Greetings friends, I have told you on numerous occasions how to deploy Nutanix Community Edition on different platforms such as VMware Fusion, using ISO, using PowerShell to create a cluster of three nodes, and so on.
Today I bring you something much simpler, it only takes 5 minutes to have a Single-Cluster since I have altruistically created an OVF image ready for you to try Community Edition today.
System requirements to deploy Nutanix Community Edition 5.10 in OVF format
I want to emphasize that this image is based on the latest version of Nutanix Community Edition 5.10, which was announced a few days ago, and that this OVF is intended only to be deployed nested on vSphere or ESXi, we go with the requirements, the image is consuming the following, but you can edit CPU and RAM:
- Intel CPU, 4 cores minimum, with VT-x support enabled. The image has 8 Cores, 2 processors of 4.
- Memory 16GB minimum. The image has 24GB
- Hot Tier (SSD) One SSD for each minimum Server to install Hypervisor Acropolis, ≥ 16GB
- Hot Tier (SSD) One SSD for each minimum Server, ≥ 200GB per server. We’d better deploy it over SSD.
- Cold Tier (HDD) One SSD for each server minimum, ≥ 500GB per server.
If we meet the requirements, for example in my case I have a SSD of 1TB and launched there all the OVF with their disks and everything.
How to Download Nutanix Community Edition 5.10 in OVF format
We should download the OVF image from here, with all the disks and others in the following S3 bucket, download the .zip file and unzip it in a local folder, it will be like this:
 Once we have everything unfolded we will be able to pass to the next section.
How to Deploy in vSphere this OVF of Nutanix Community Edition 5.10
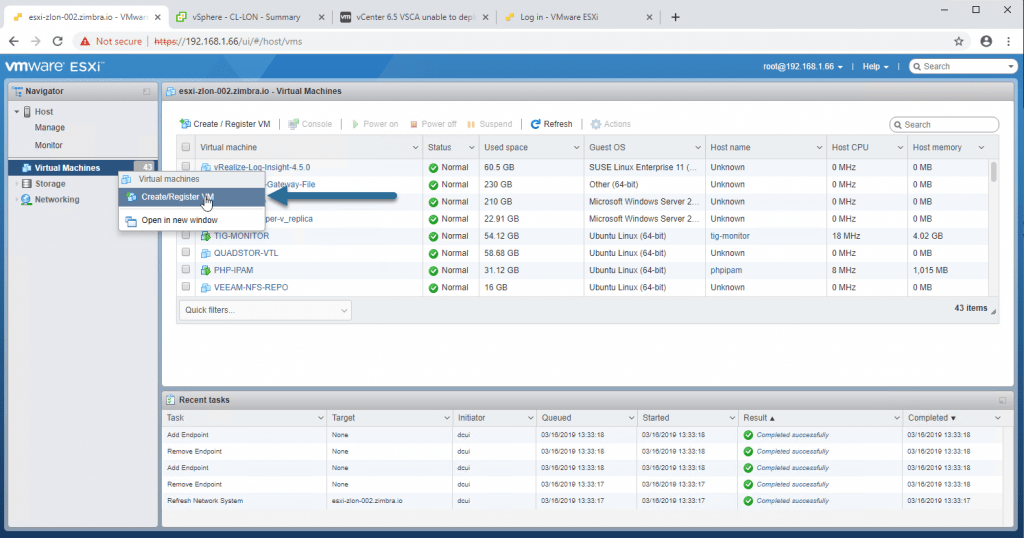
Once we have all the files ready, we will go to our vCenter or ESXi, and we will do right button to deploy OVF, in ESXi Create/Register VM:
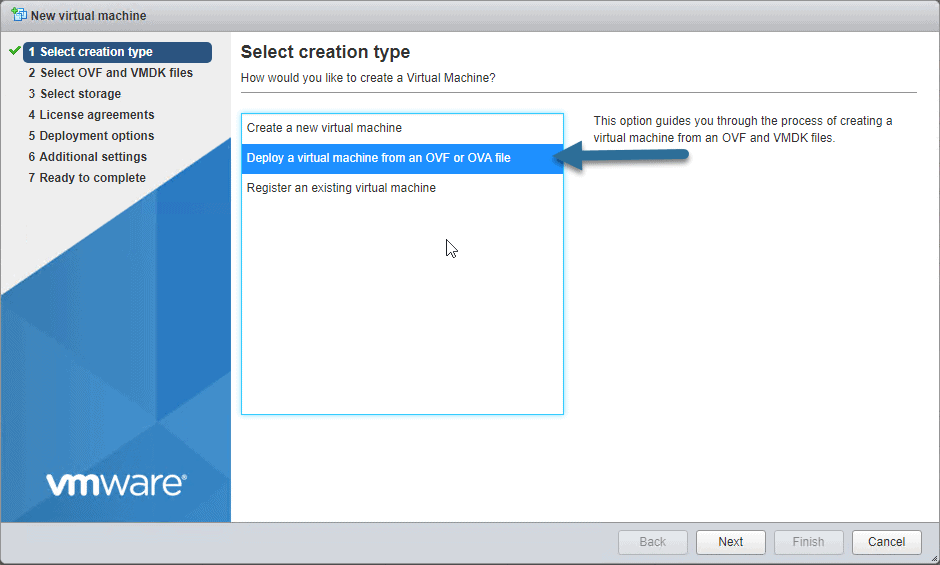
 Select Deploy a virtual machine from an OVF or OVA file:
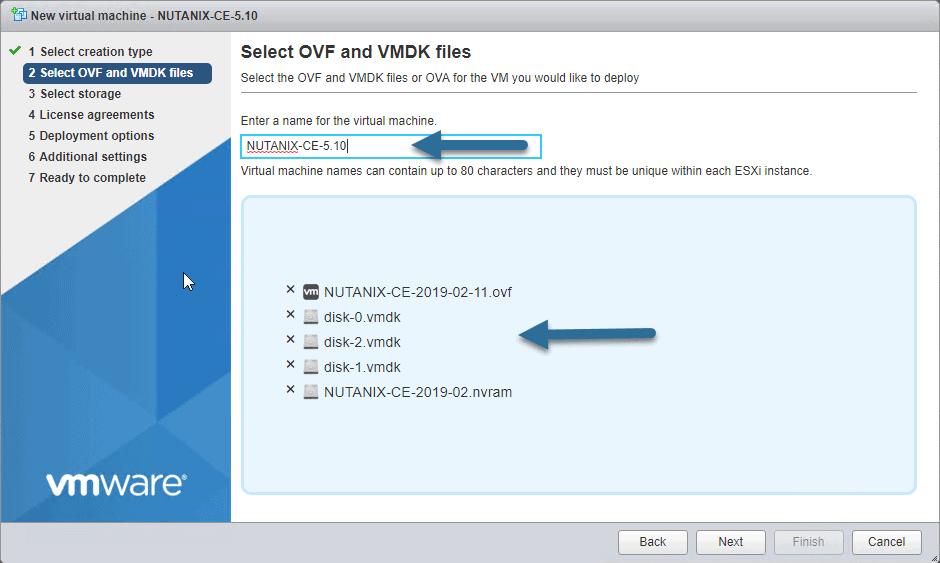
 We will select all the files that we have deployed in our computer:
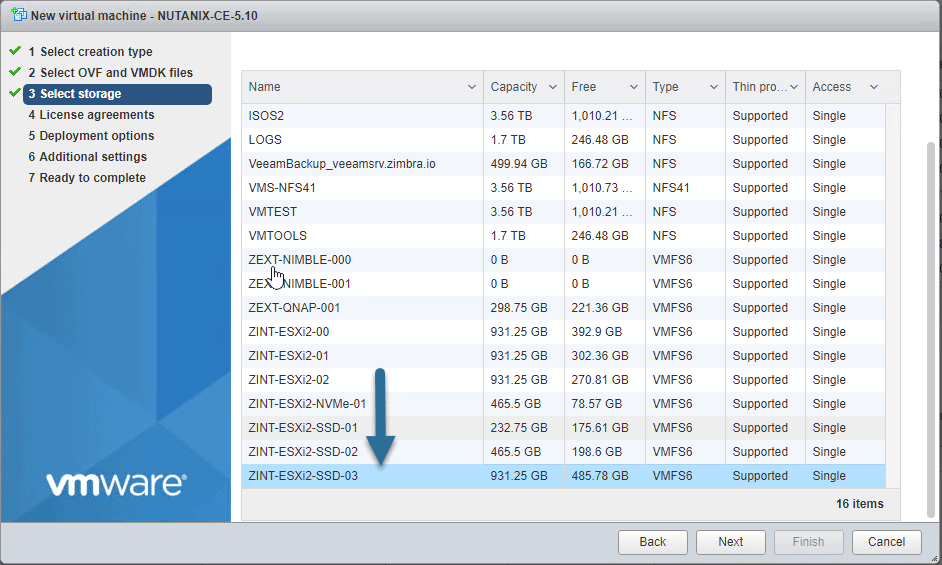
 Select the Storage, remember that at least the disk 0 and 1 must be in SSD:
 Now select the network switch in your environment, as well as if we want Thin or Thick (Thin please if you do not want to consume 700GB so suddenly) and if we want to boot when we finish:
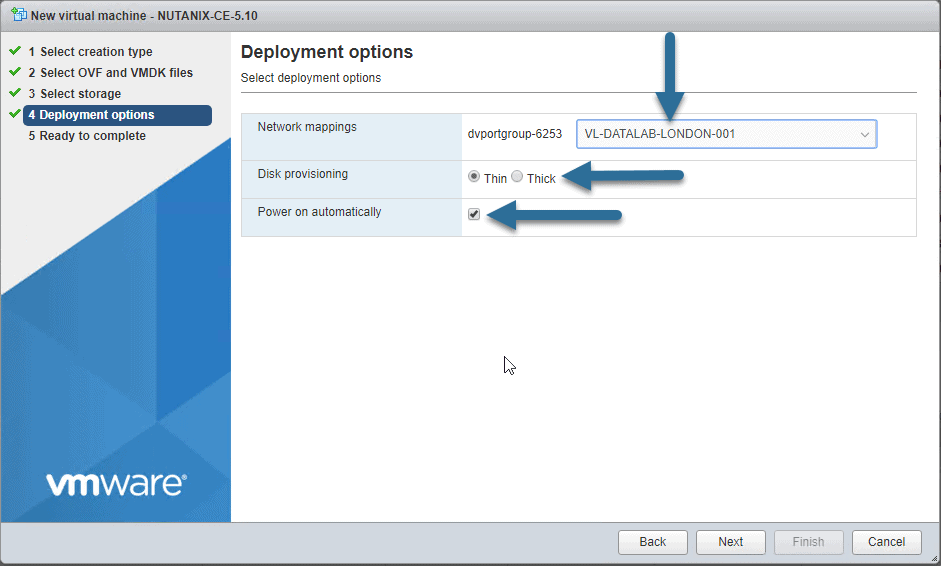
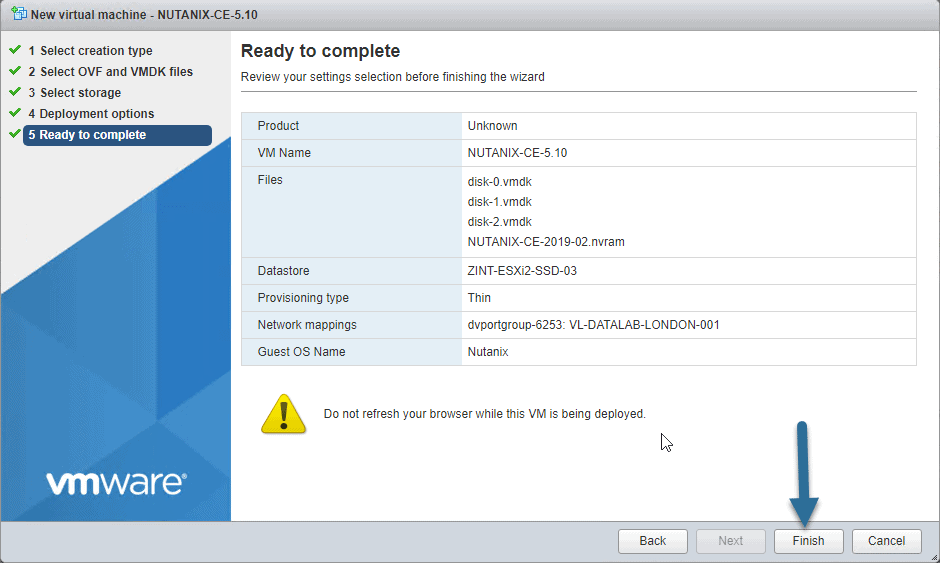 And that’s it, let’s turn on the VM when the OVF has just been deployed and move on to the next section, fast, right?
How to Install Nutanix Community Edition on vSphere 6.7 in a nested way
We will select the rescue option as I told you to do boot:
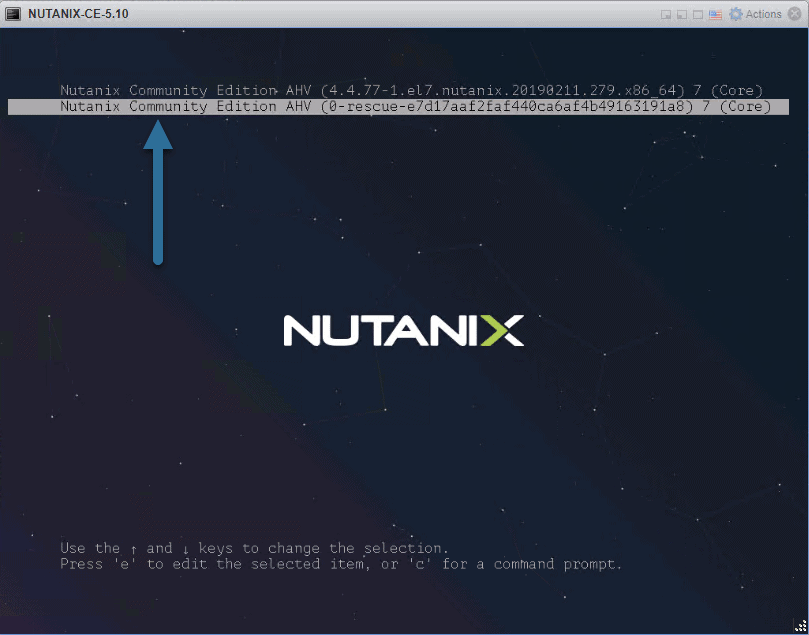 As user we will introduce install and the installation process will begin. We will be able to select the keyboard that we want, in my case I have left US:
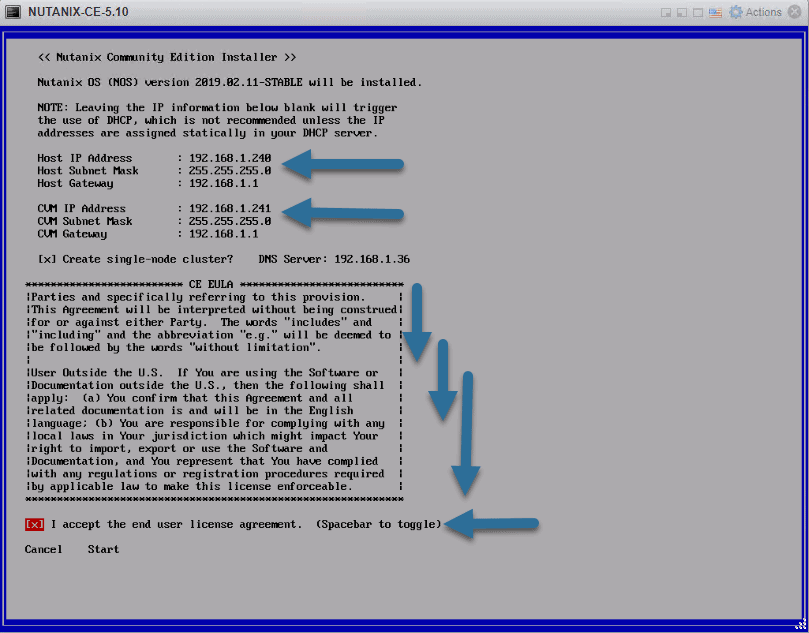
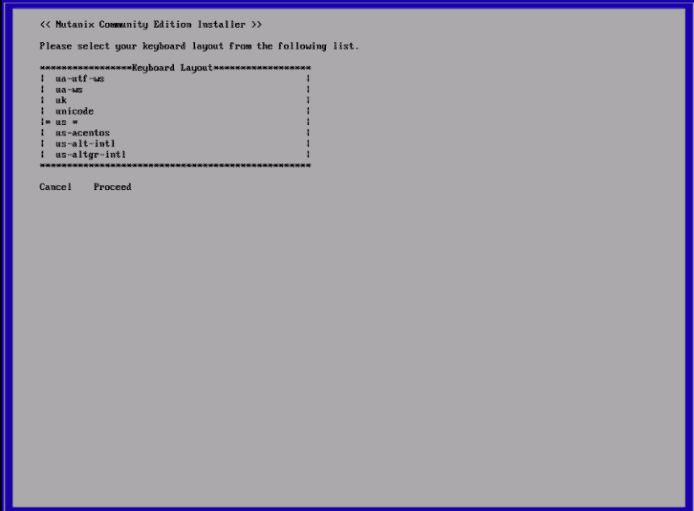 After a few seconds, we will see the typical Nutanix configuration screen, where we will have to enter two network configurations:
- One for Hypervisor Acropolis itself
- Another for CVM virtual machine
We’ll mark it as a Single-Node, add a DNS server, read the EULA and mark that we’ve read it:
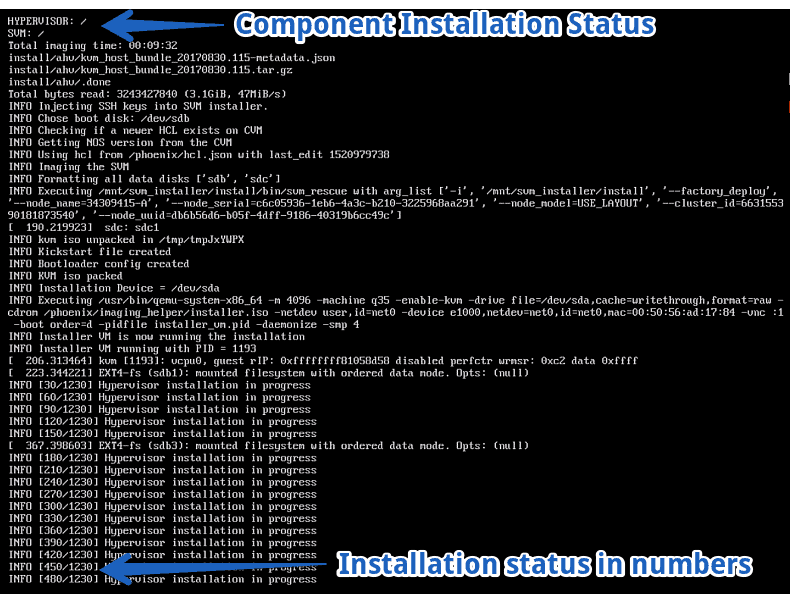
 We can follow the installation process in two ways, seeing if the CVM and Hypervisor are displayed correctly, above, and seeing the remaining points to finish:
 After a few minutes, we will have our Nutanix Community Edition installed:
Initial Configuration of Nutanix Community Edition 5.10
Once we restart the VM, we’ll see the typical background image of Nutanix, with the build number.
Remember that we have two IPs, Acropolis and CVM. Once we have ping to the CVM, we could login through SSH.
- CVM Username: nutanix / Username Acropolis: root
- Password: nutanix/4u
Note: If we check the single-node option, when it starts for the first time the CVM will create the cluster automatically.
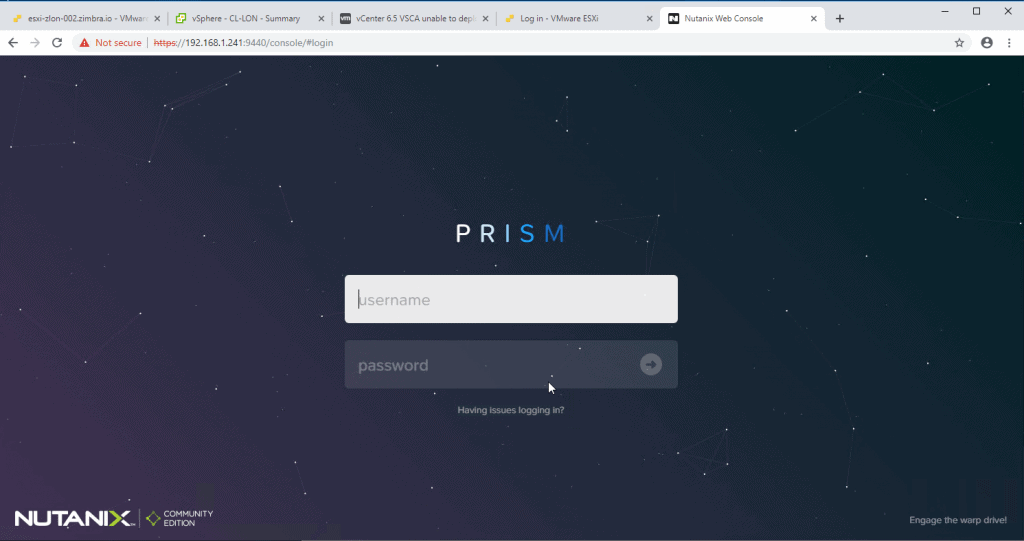
We can open the IP in a browser and it will redirect us to PRISM over port 9440 in HTTPS.
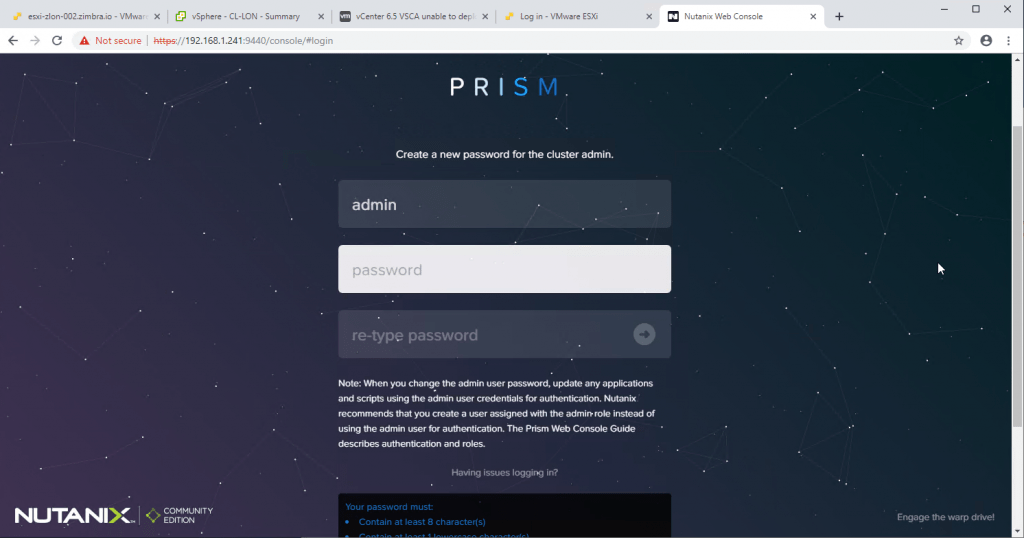
 The first step will be to change the default password of the Admin user (admin and password nutanix/4u).
 In this step we must introduce our NEXT community credentials, you can create one by going to this link:
 And we’ll be inside Acropolis, the latest version, where we can start creating VM, add other Host, review all the menus, etc.
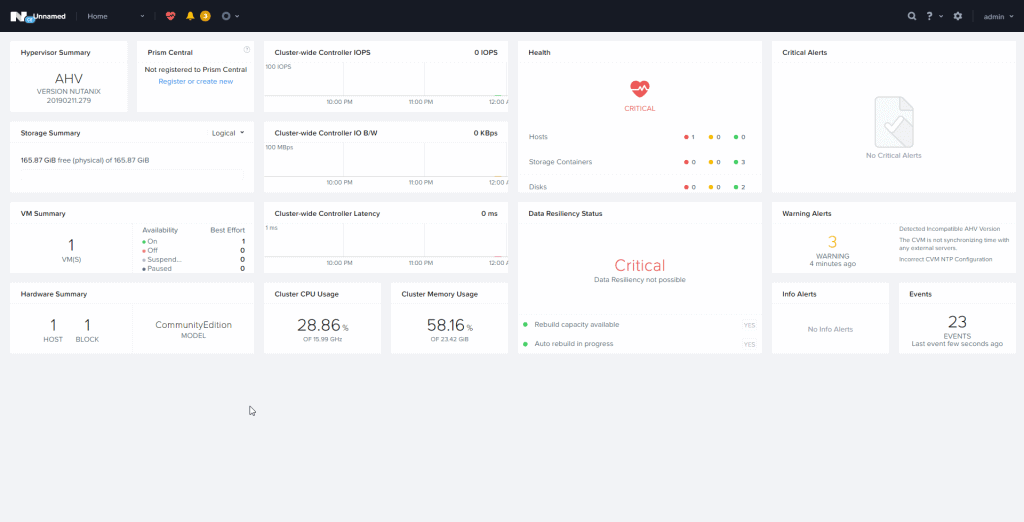 I hope you like it, and do not miss the following posts on Nutanix Community Edition


Leave a Reply