
 Greetings friends, today I come to tell you how to deploy and configure one of the best open source projects that I have been following for about 12 years. This is FreeNAS, a software that turns any computer, or VM, into a powerful NAS system with support for SMB, CIFS, NFS, SSH, iSCSI and much more.
This project was also based on my beloved m0n0wall, which I told you about five years ago how to install it too and so on, so knowing that FreeNAS was based, or inspired by m0n0wall touches a certain sensitivity of mine without a doubt.
In addition and to finish off that I can say that FreeNAS is the best friend for Homelabs and SMEs, since the last version includes a new interface based on Angular, in addition to having updated OpenZFS to the latest version to make storage the most solid part of the solution.
 More good news, this is a series of blogs about the possibilities of FreeNAS, so buckle up, recline the office chair and enjoy.
System Requirements for FreeNAS
Starting from the most basic, minimum recommended to play with, but not for production:
- 2vCPU
- 8GB RAM
- 16GB Disk for OS
- VMXNET3 for 10GbE
If we think of deploying the solution in production for our SMEs, I recommend you:
- 12vCPU, separated into two 6-core processors
- 32GB RAM + 1GB per TB of storage, RAM ECC if possible
- 16GB Disk for OS over SSD or NVMe if possible
- Multiple VMXNET3 for 10GbE, to use iSCSI multipathing, NFS 4.1, etc.
I leave you anyway the official requirements from the FreeNAS page, here.
Installing and configuring FreeNAS 11.x step-by-step video
Coming soon
Installation and configuration of FreeNAS 11.x step by step in images
As I know that many of you like step by step images for scrolling and so on, I leave you everything you need to install FreeNAS on vSphere 6.5 U2, but you can reproduce these steps in physical or other hypervisor.
Creating VM in VMware vSphere 6.7 U2
The first step in deploying FreeNAS will be to download the ISO from its official website. Once we have it, we can log into our HTML5 and create a new VM: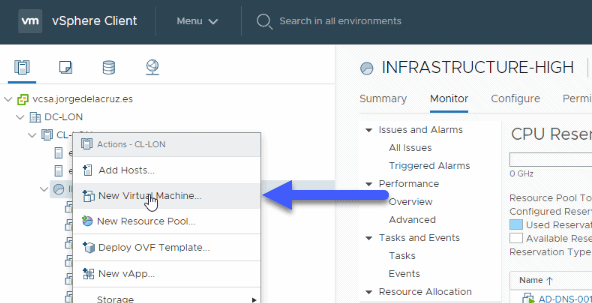 We will create a new VM selecting the first option:
 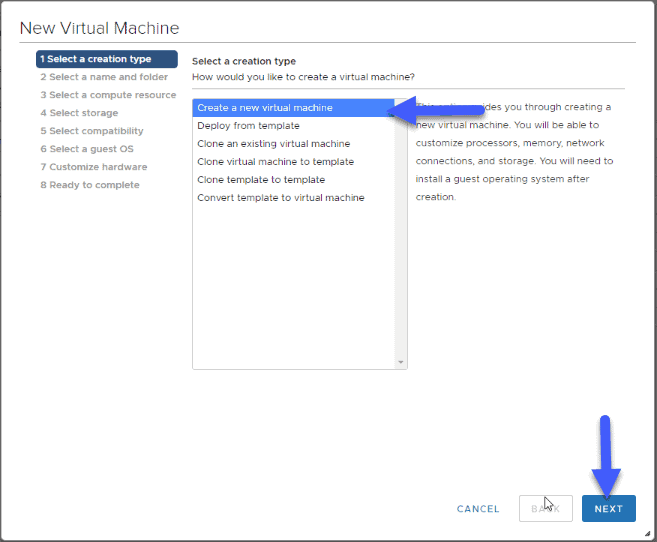 We will select a name for the VM and a folder to save it:
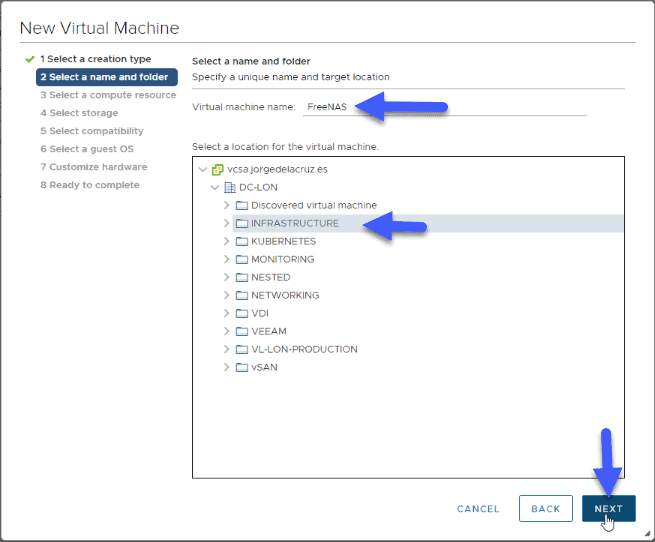 Inside the Compute Resource, in my case I have selected a Resource Pool, but we could select a host, cluster, etc:
 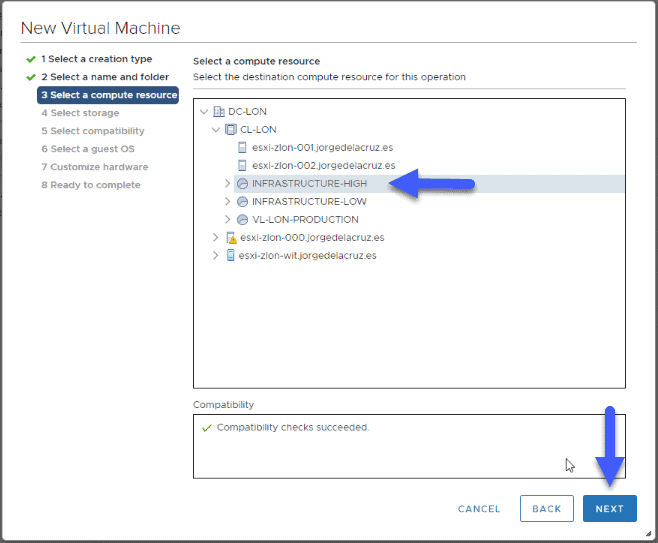 We will select the Storage for our VM, as I have told you, for the FreeNAS OS, the faster, the better:
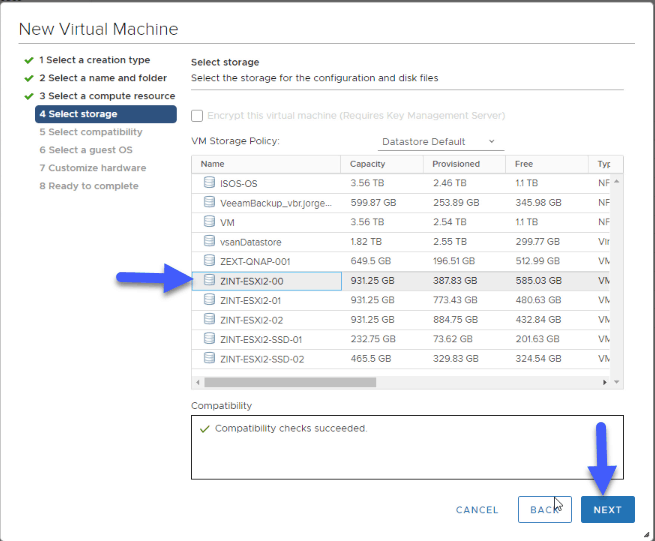 For compatibility, we will select ESXi 6 compatible.7 or higher:
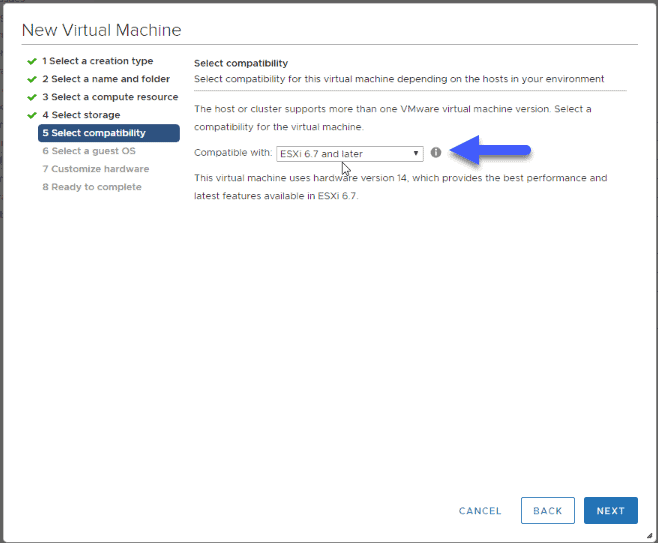 At OS level, we will select Linux and Ubuntu Linux type (64-bit)
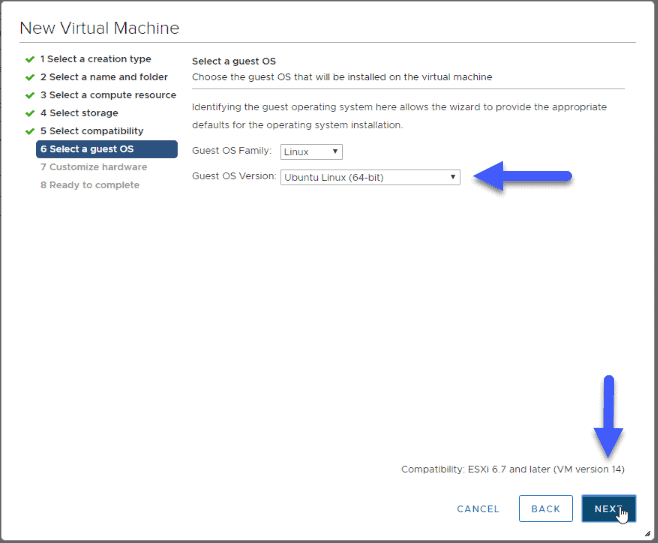 At resource level, remember the tips I left you at the beginning of the post, in my case you already see that I used 6vCPU, 8GB RAM, 30GB for the OS, 300GB for what I want to save, used LSI Logic Parallel and VMXNET3 in the network part:
 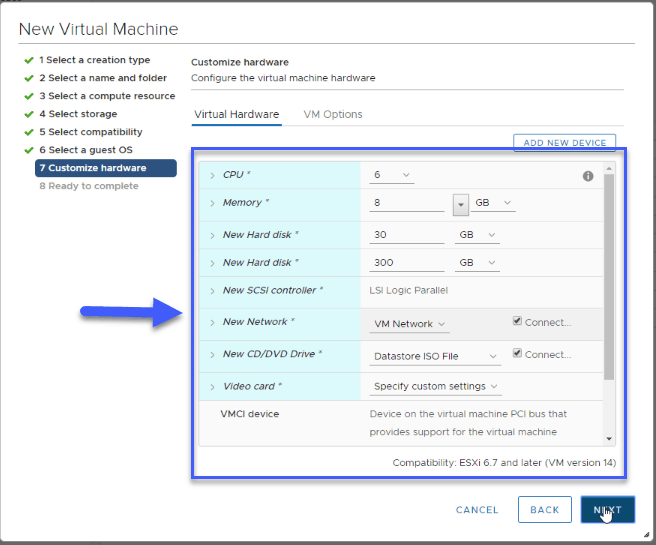 If everything is OK, we’ll click Finish:
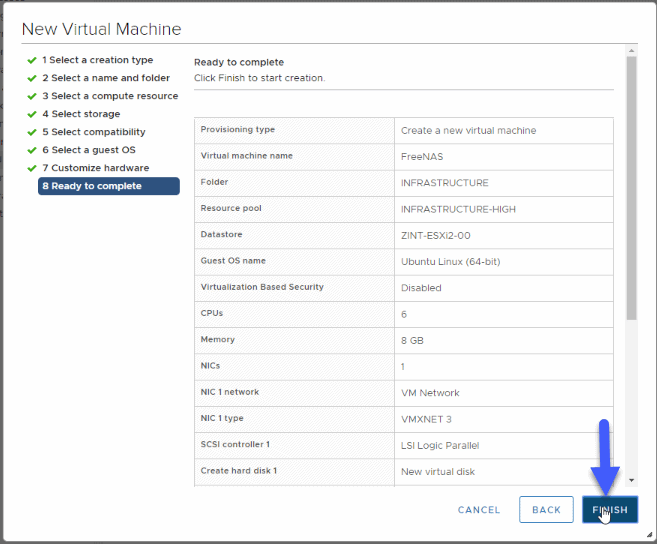 The last step we have now, will start the VM, with a Power On:
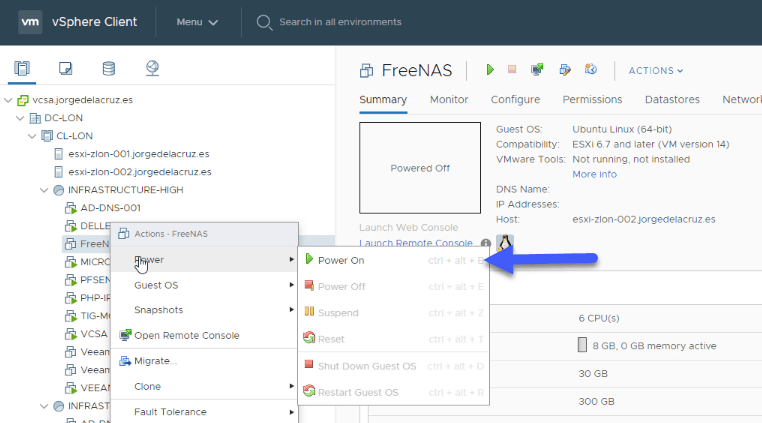
Installation of FreeNAS 11.x
Once we start the VM for the first time with the ISO connected, we can see how the installer starts, select option 1: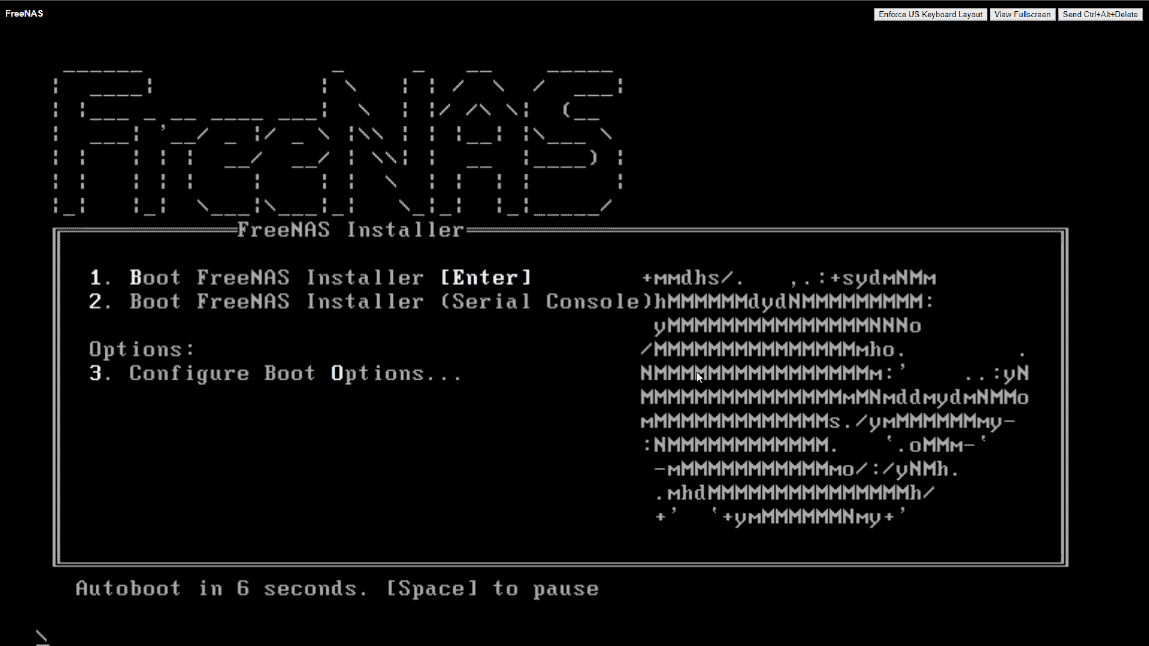 Select the first option again, to install FreeNAS 11.x:
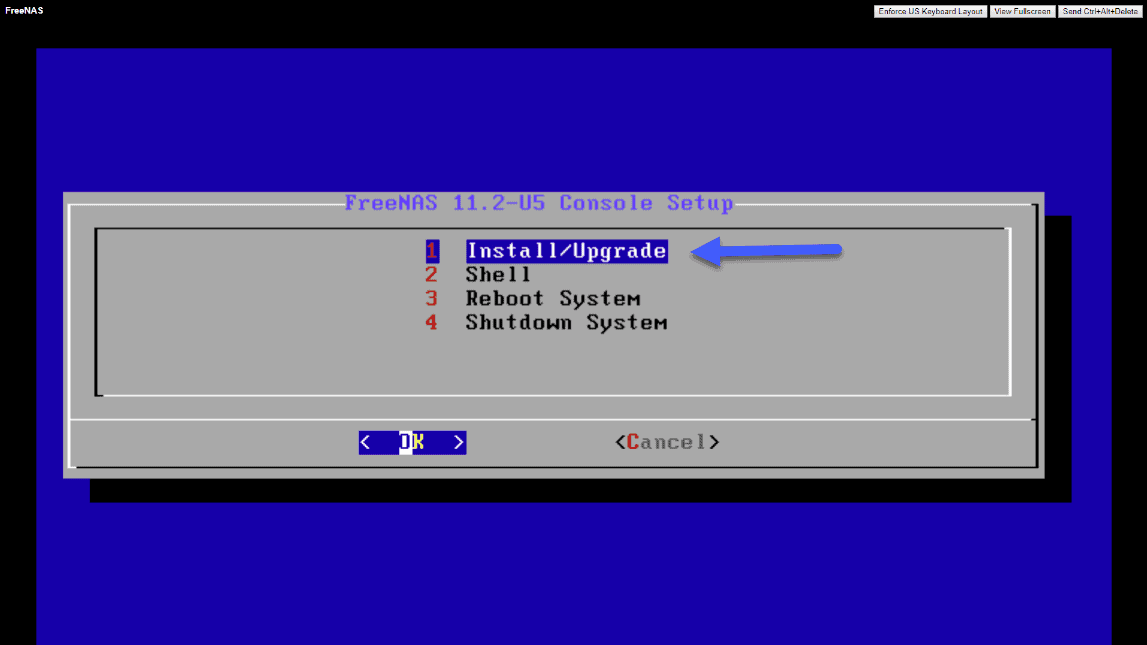 Select the first disk to be able to install the OS on this disk:
 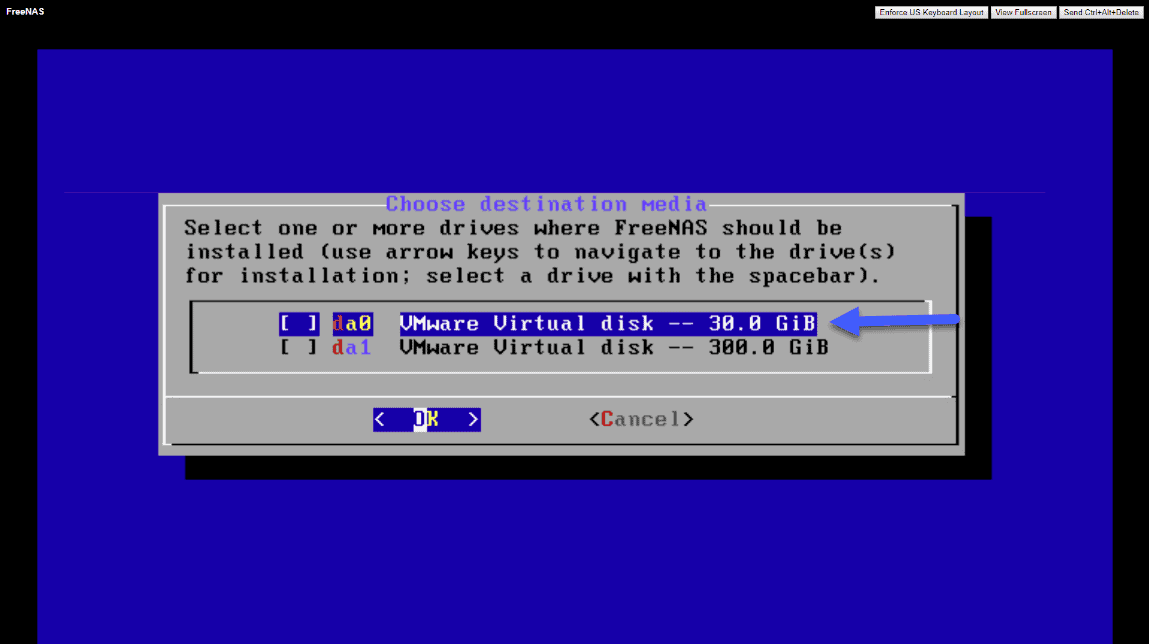 Accept the warning that all data will be erased from that drive:
 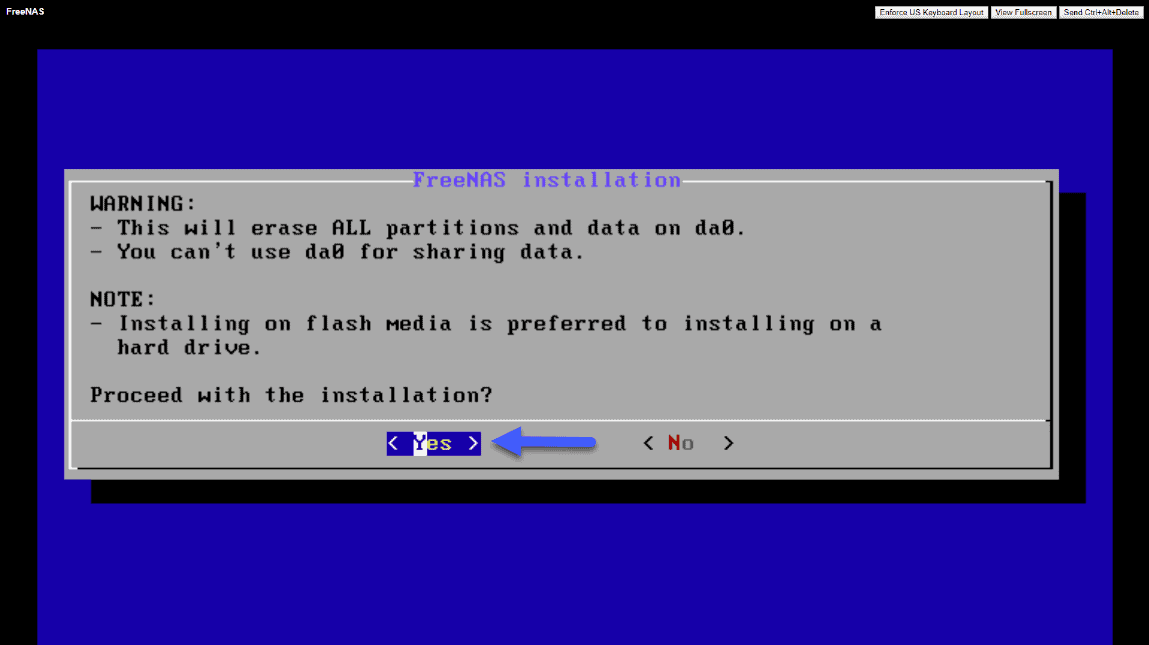 Select a password now for our FreeNAS:
 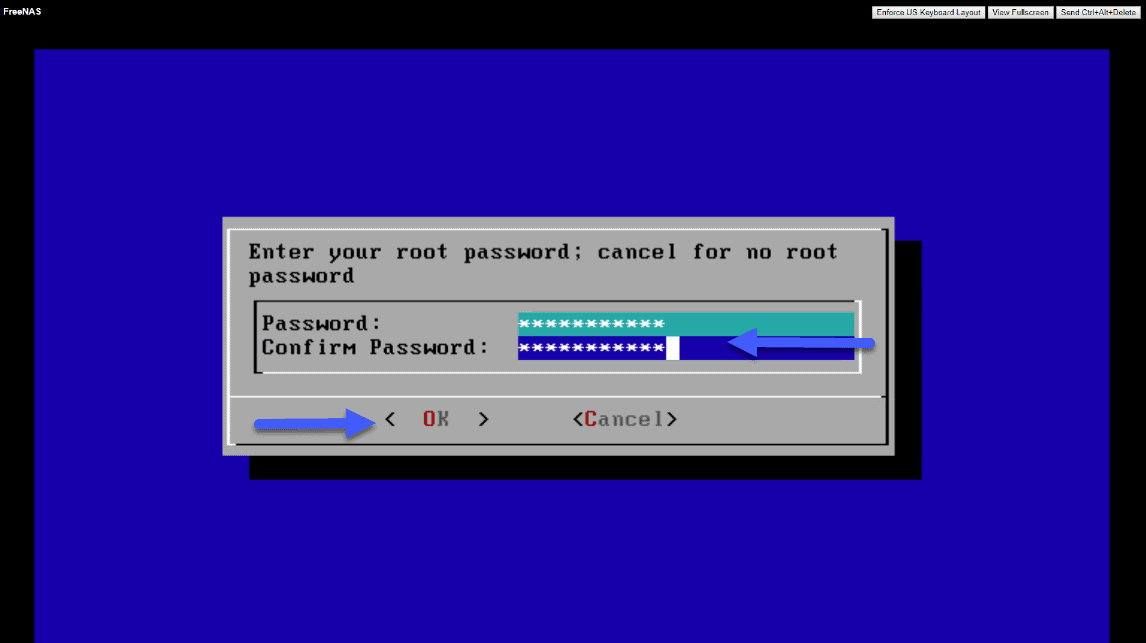 As we do not want anything very advanced, select that we want to boot from the BIOS:
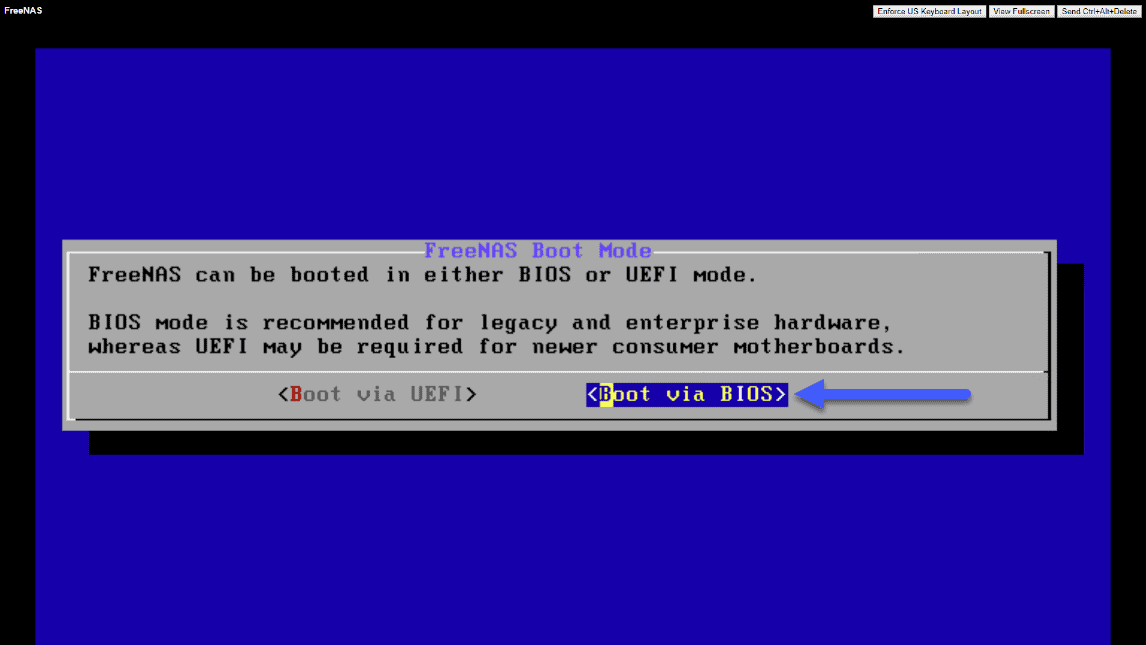 The installation process will begin, it will take no more than 5 minutes when everything is ready:
 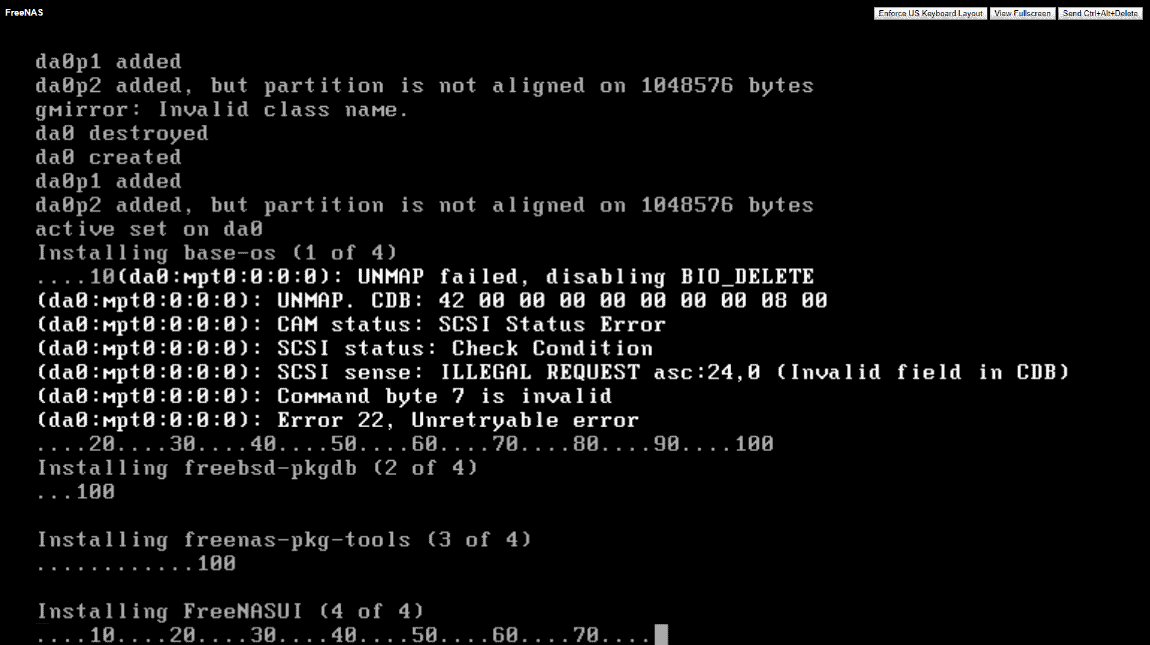 We will disconnect the FreeNAS ISO from the VM and press OK to restart the VM:
 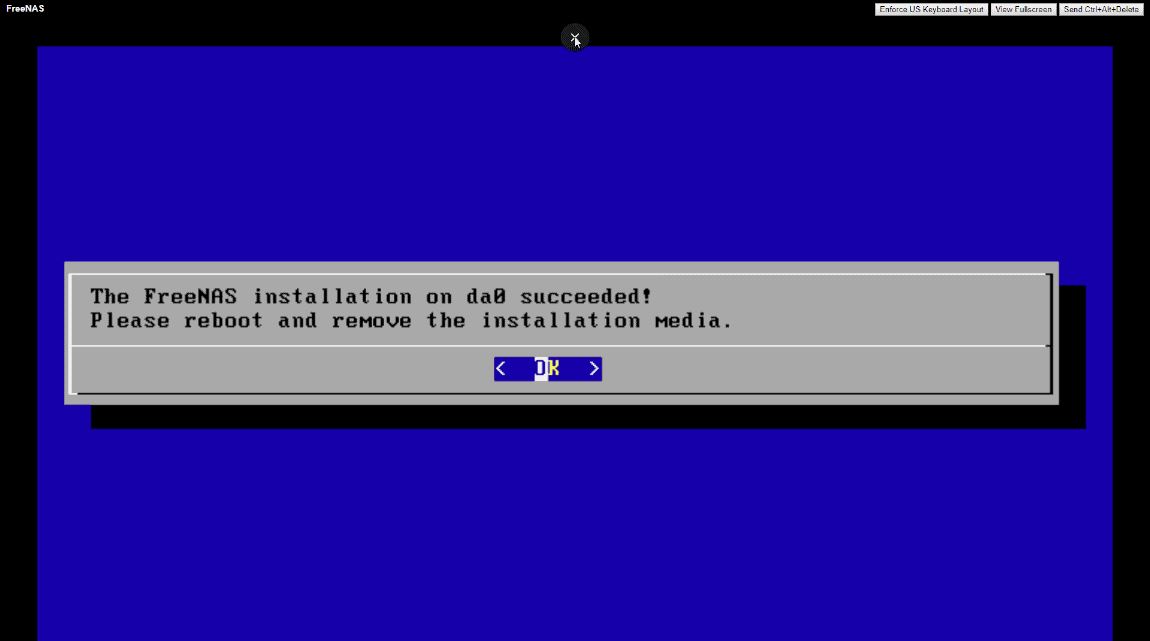 We can see that FreeNAS has been installed, and has taken an IP via DHCP, however the time zone is not correctly selected, nor the network interfaces as we want:
 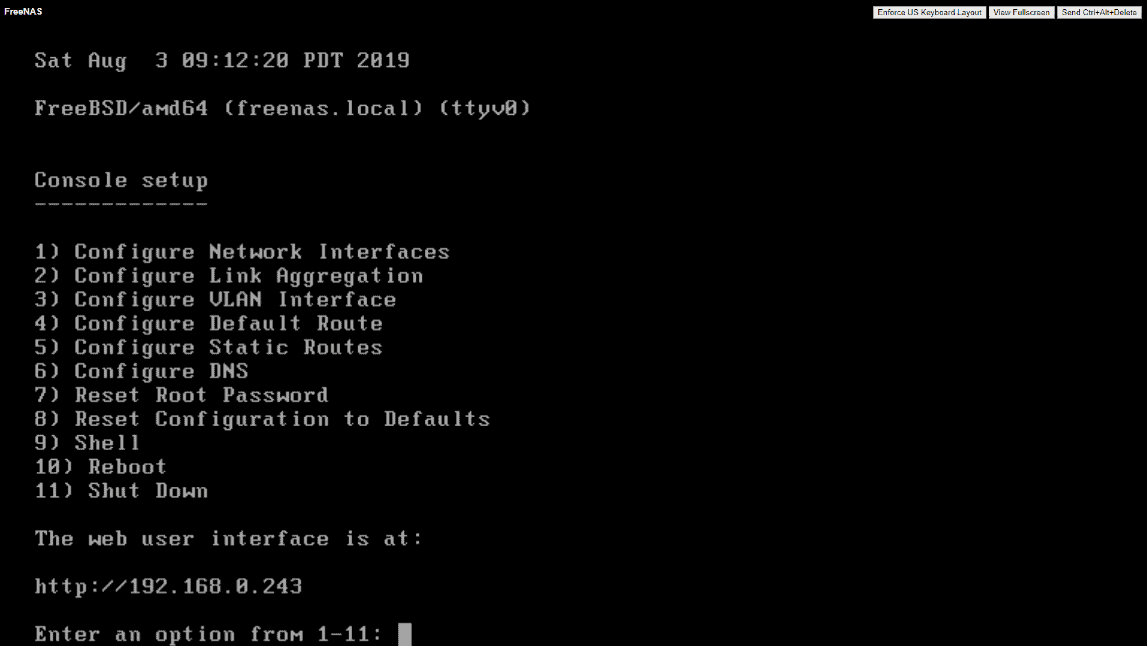 In the next section we can change all this and leave FreeNAS as we really want it to be.
Basic configuration of FreeNAS 11.x
We will go to the temporary IP that FreeNAS has shown us in the VM console, with the admin user and the password we entered when installing FreeNAS 11.x: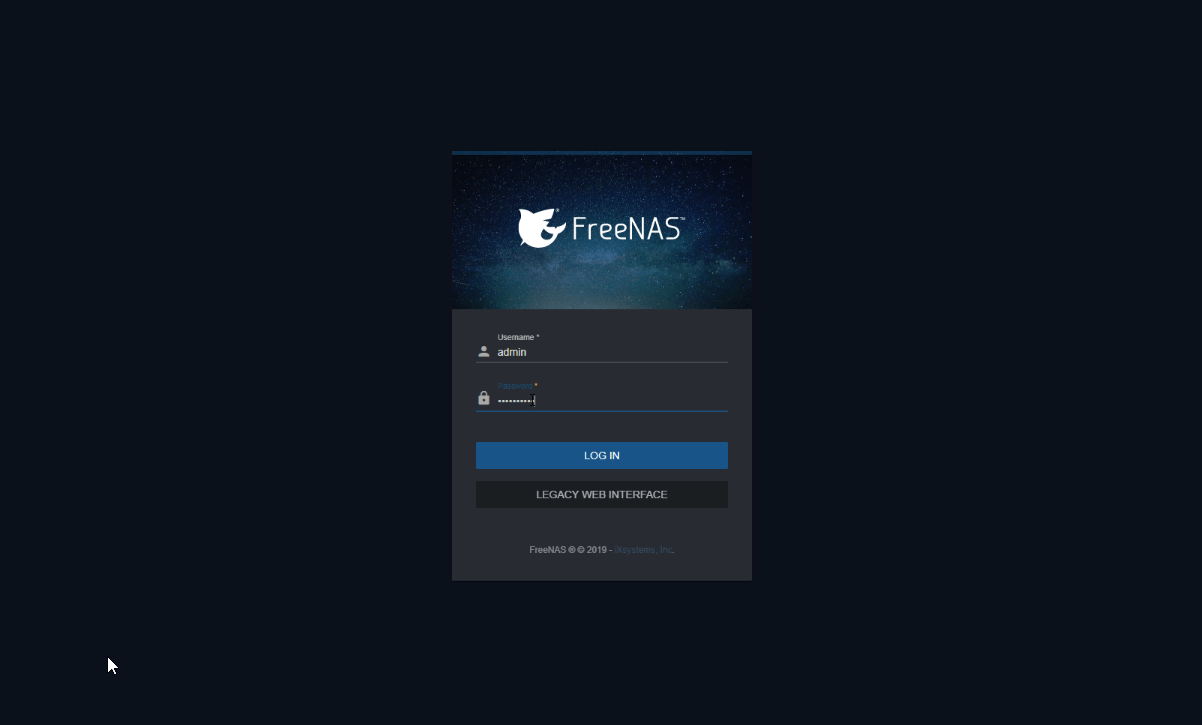 Once logged in, we will be able to see the FreeNAS Dashboard, quite attractive and built in Angular, some of the statistics will take a few minutes to show up when it just turned on for the first time:
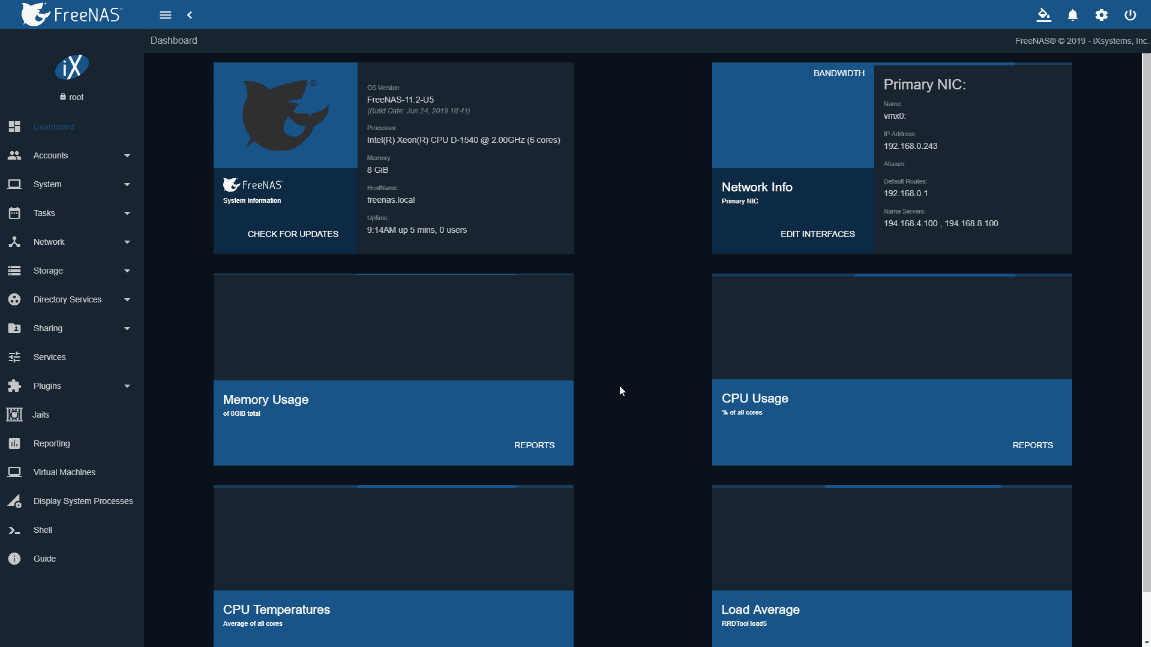 From the VM console, I have modified the IP to fit the one I want, Gateway, and so on:
 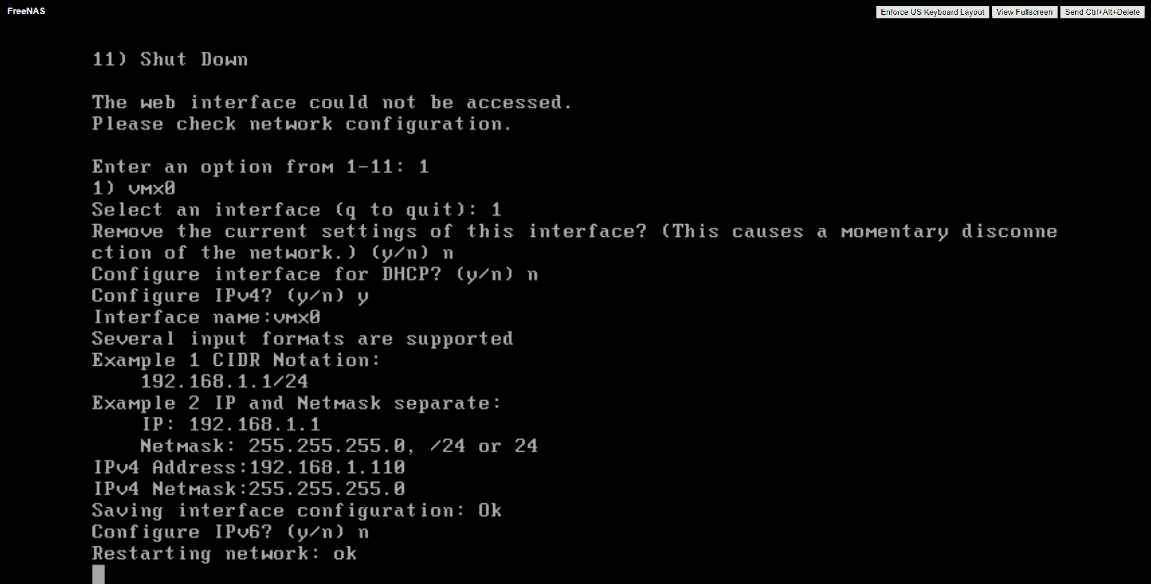 Once with the whole network as I wanted, the following would be to create Pools de Storage, we will go to Storage – Pools and create one:
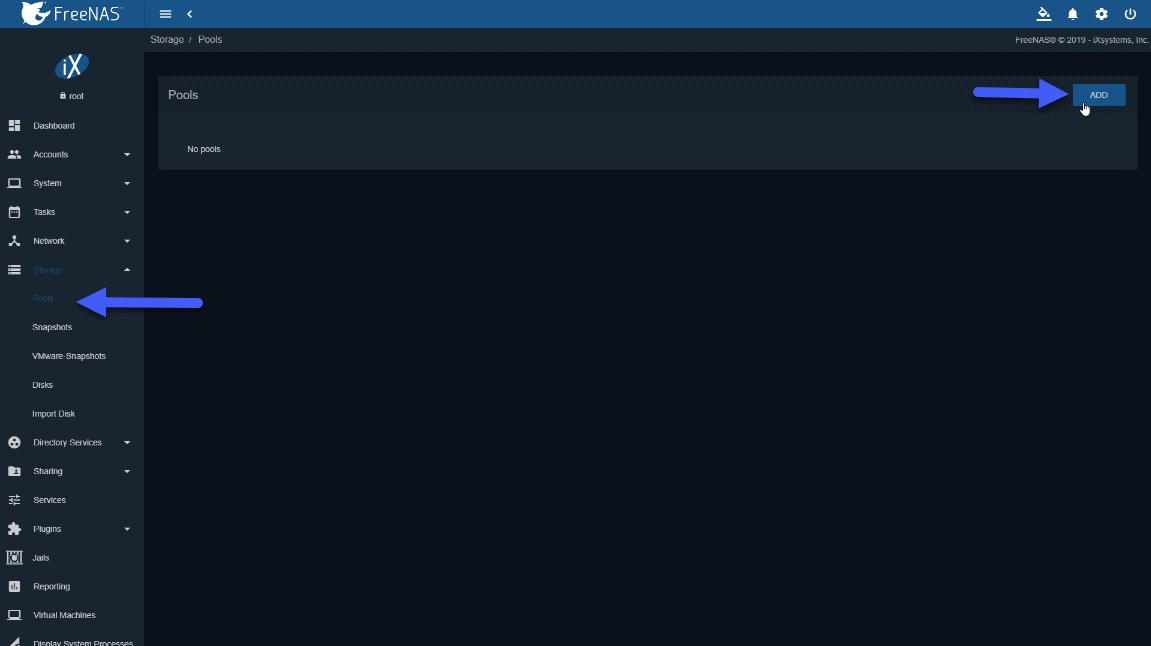 We will select the disks that we want to add to the Pool, and without editing or adding anything else, because we are doing lab, in production it is convenient to configure the Logs and the cache well:
  We will be able to see the pool correctly created, not dedupe and not compression, to use less RAM memory:
 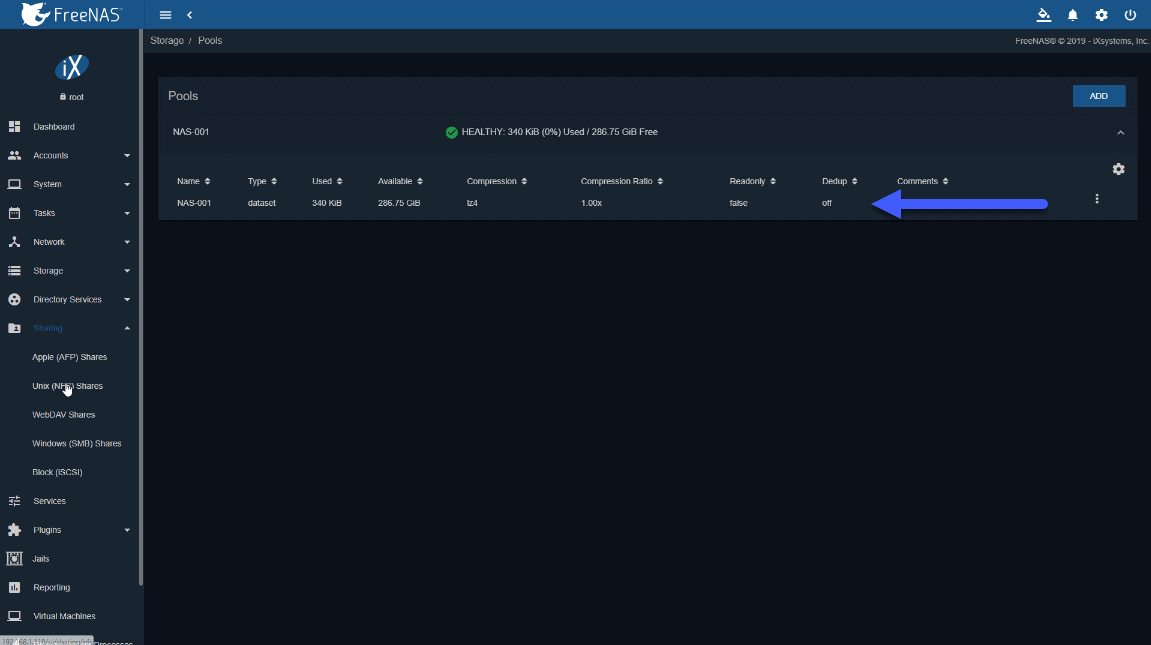 With this, we would already have our FreeNAS correctly configured and working, in a basic way, nothing really crazy or complicated.
I leave you the whole menu with the entries on FreeNAS:
- FreeNAS: Initial installation and configuration of FreeNAS 11.x as VM within vSphere
- FreeNAS: Enable and configure Object Storage in FreeNAS 11.x compatible with S3 APIs – Based on MinIO
- FreeNAS: How to Deploy a Let’s Encrypt SSL Certificate in FreeNAS 11.x and HTTPS Configuration
- FreeNAS: Configure Veeam Backup Repository Object Storage connected to FreeNAS (MinIO) and launch Capacity Tier
[…] Initial installation and configuration of FreeNAS 11.x as VM within vSphere via Jorge de la Cruz […]