
 Greetings friends, we have been working from home for several months now, as much as possible, and video calls have become very popular, in fact, the preferred way for social interaction, with clients, etc.
Although it is known that backgrounds are now very fashionable, and everyone is free to use them, I see more professional some backgrounds that look like offices, or even the blurring of the background more than enough if we are in our bedroom, it always depends on who we talk to and everything.
Today I bring you some steps to get something similar to the following, which is just adding some titles on the image of your camera: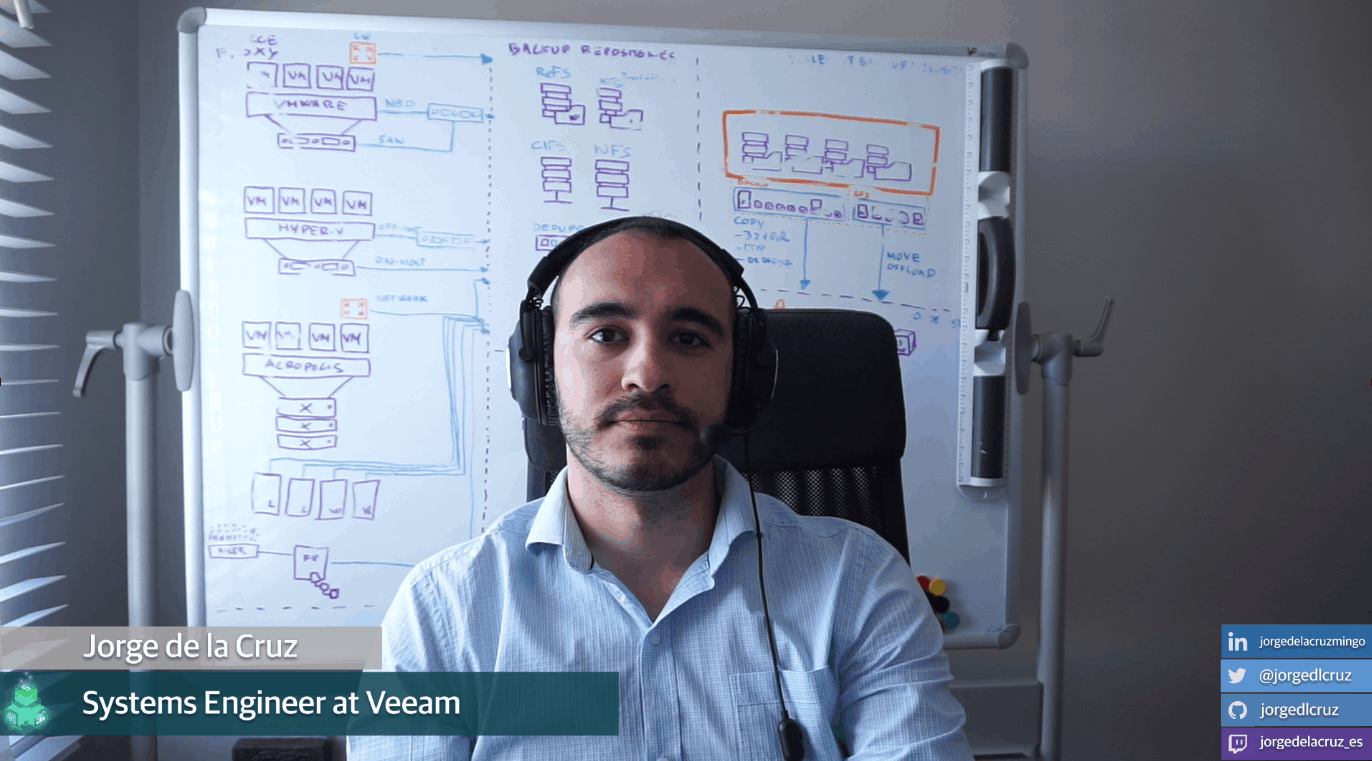
In order to do that we’re going to need:
- A webcam, I use a Canon Alpha 6000 with an Elgato
- Game Capture HD60.
- A Windows PC, Linux, or Mac, works in all.
- OBS Studio
- NDI Plugin for OBS
- NDI Tools
Quick overview, and installation of OBS Studio
OBS Studio is a super powerful tool that allows us a versatility never seen in a free product. This product allows us to combine different video and audio sources, together with different layers, transitions, etc, to achieve a professional look in all our audiovisual compositions. In the end, a video call, is a real-time video and audio composition.
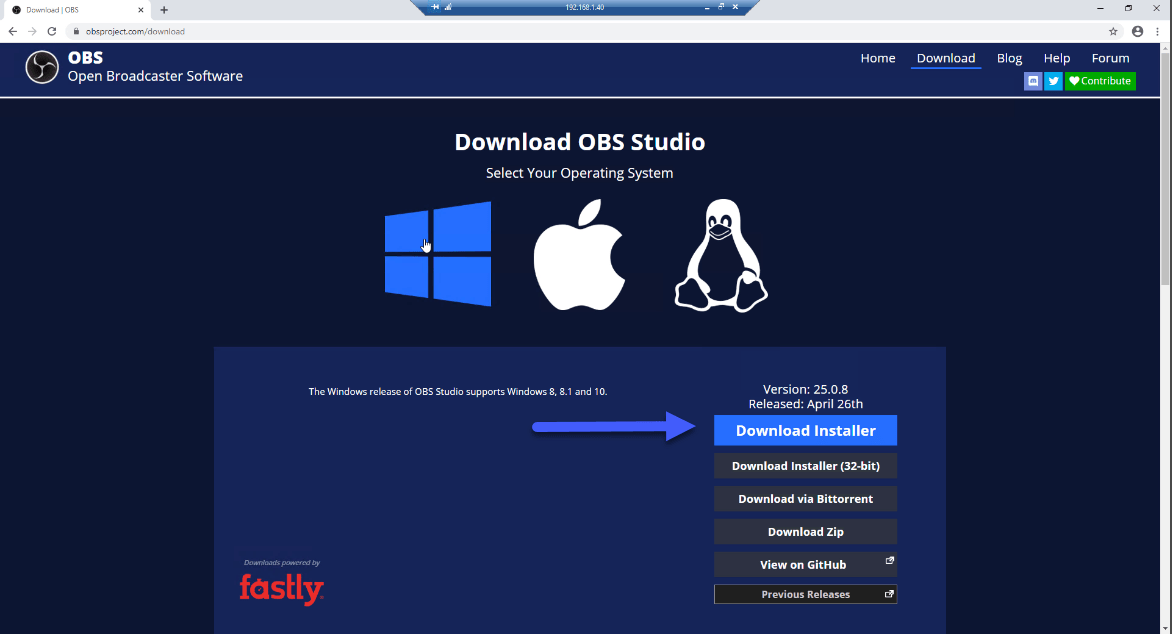
We will go to the official website of the project and download the version for our operating system:
 The installation that runs with a next/next, when it is first opened, we will see something similar to the following, select Yes:
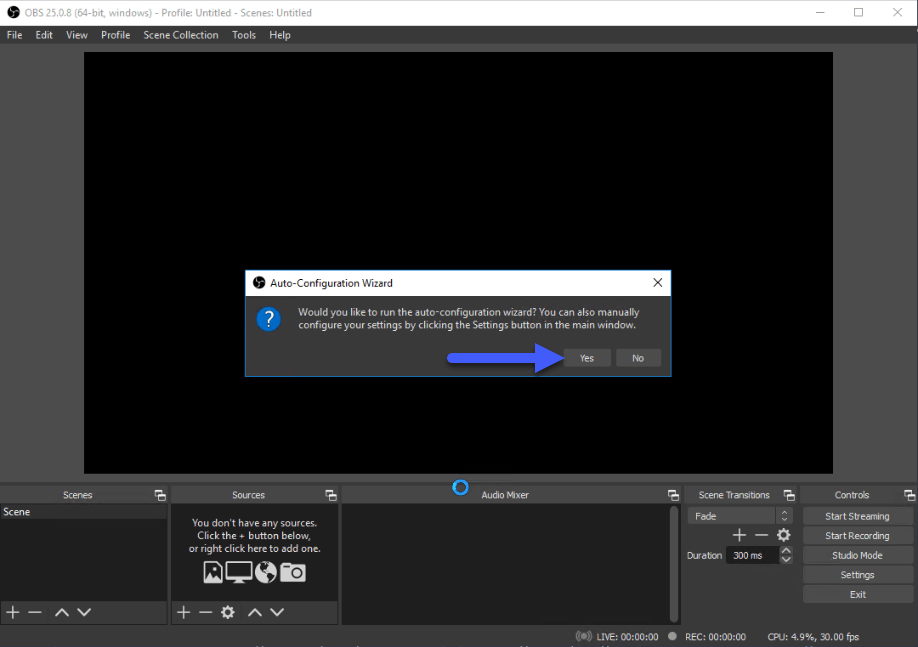
This will ask us what purpose we want to use OBS for, we’ll select for local recording, if we select streaming, we’ll have to enter the credentials of a streaming service: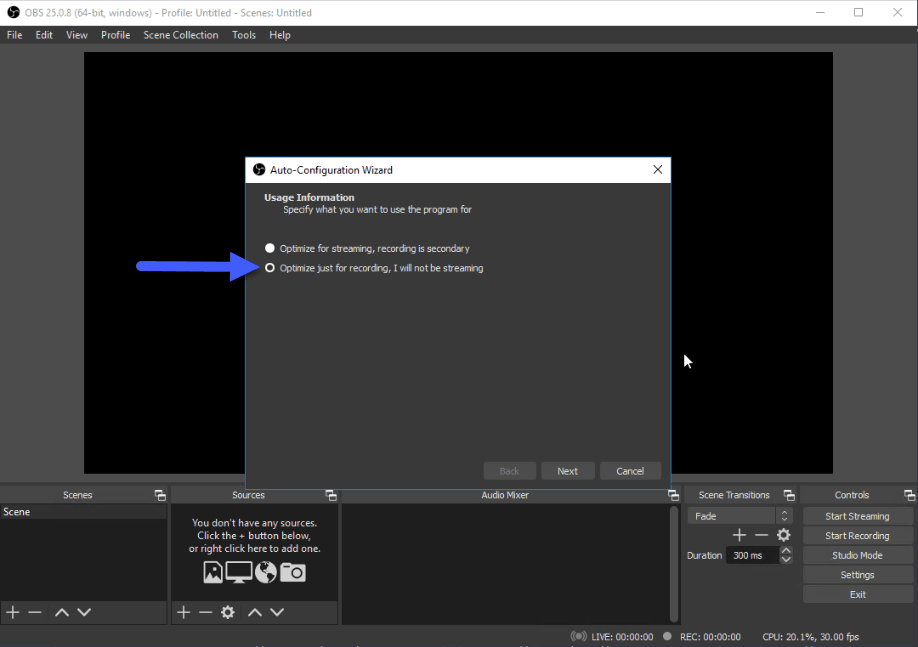
We will select our video configuration, that by default mine is fine, we will click on Next: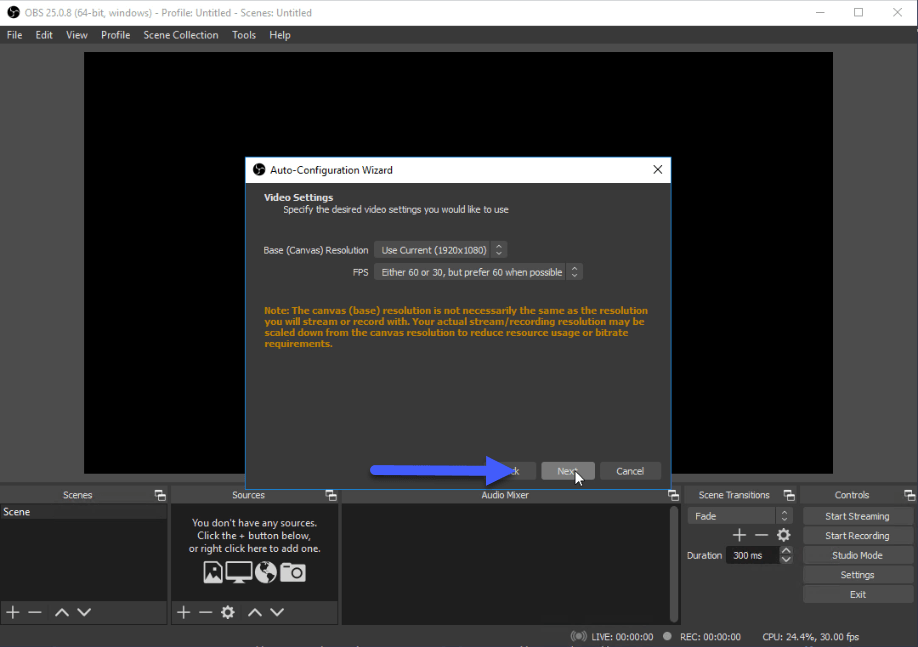
The process will start and just a few seconds later you will have checked everything: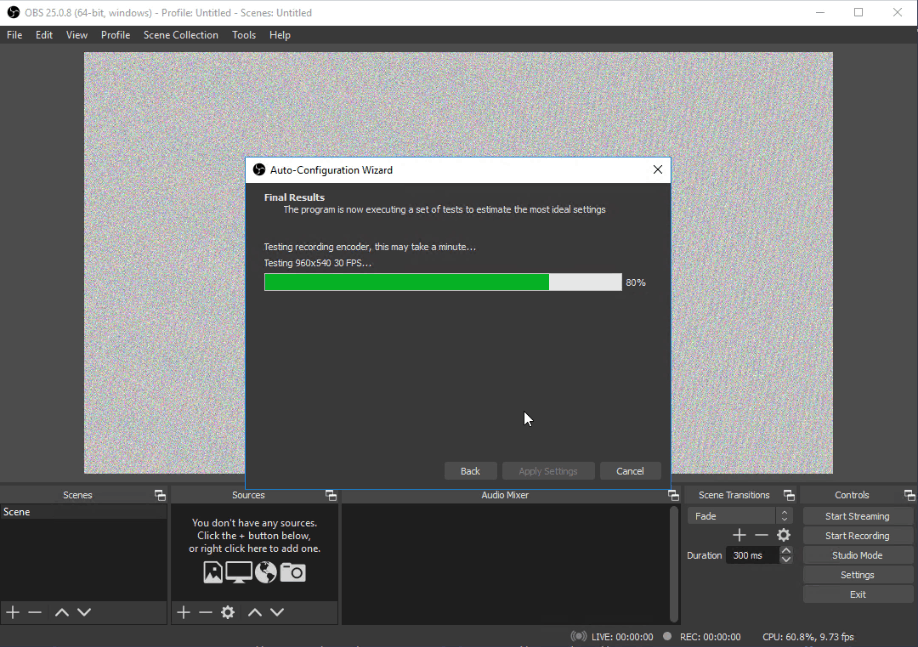
We’ll click on the Apply Settings button: 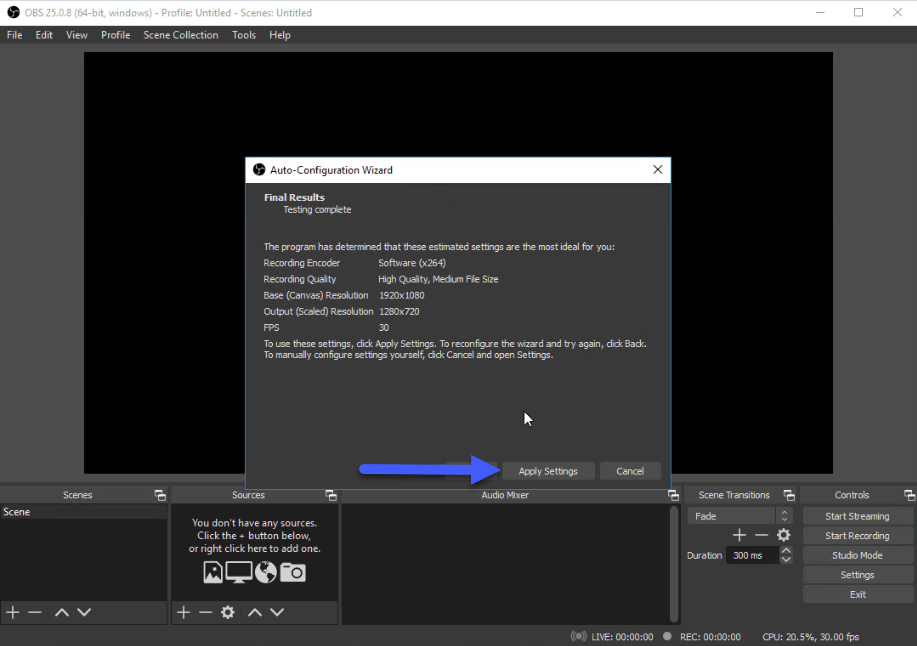 We’ll see where Tools we don’t have any NDI, so we’ll close the program now and go to the next point:
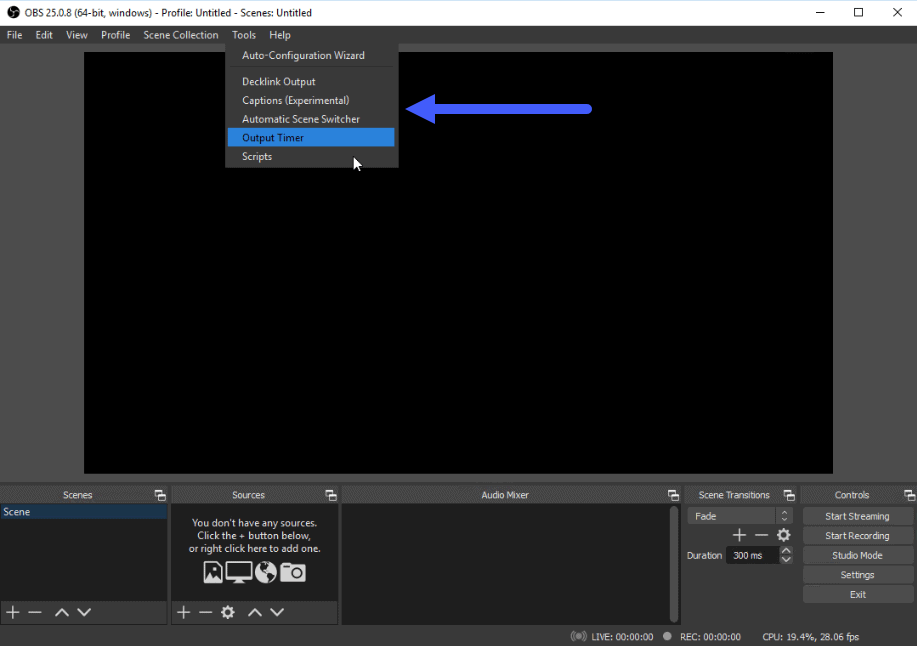
Quick overview, and installation of NDI Plugin for OBS
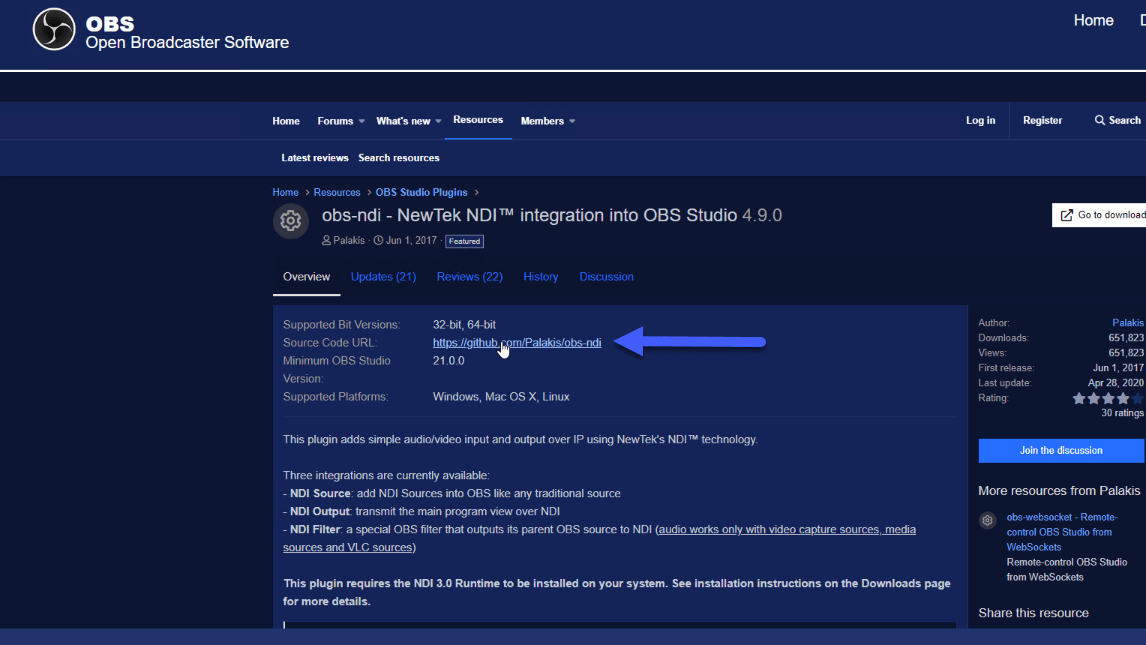
To be able to present our camera to Webex, Zoom, or any other application, with the labels in front, we will have to take our camera as a video source in OBS and send it to an NDI Output, which will be our “virtual camera” for it, we will go to the official website of the NDI plugin for OBS:
 This will take us to a GitHub, where we will download the .zip file with the plugin:
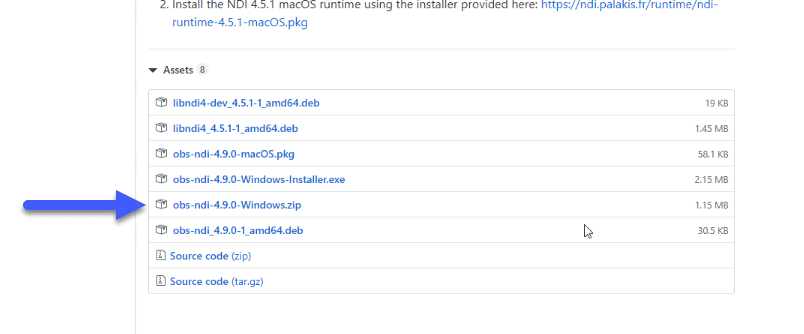
Once we download it, we extract it and copy the content inside the OBS Studio folder, which is usually in – C:Program Files\obs-studio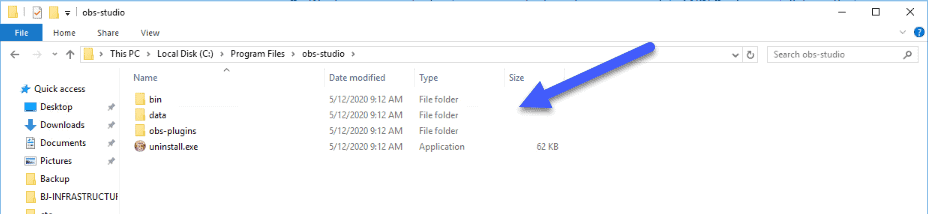
Great! One step down, we’re going for the next.
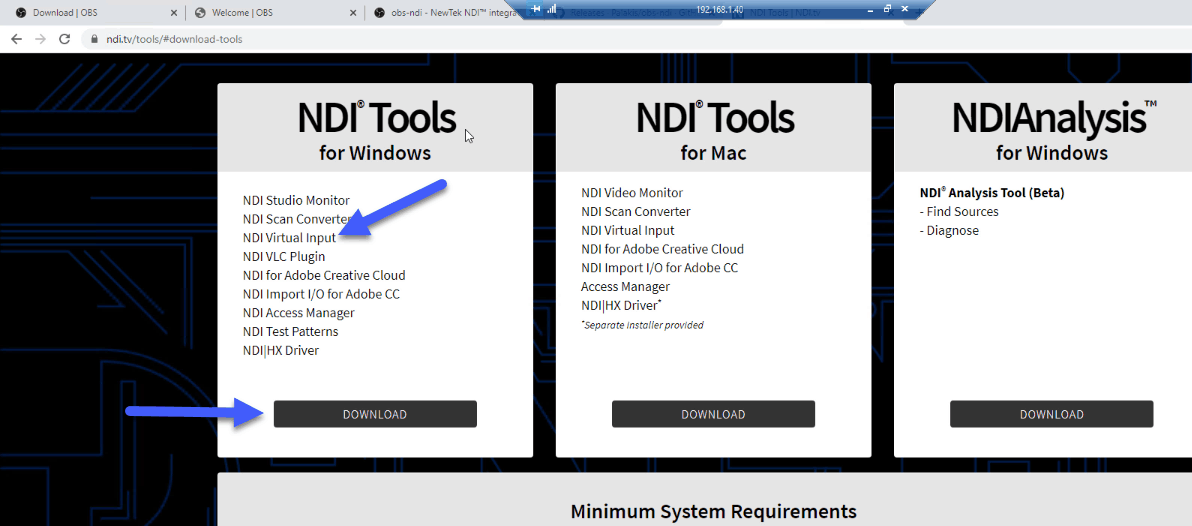
Quick overview, and installation of NDI Tools
The last step is to install the NDI Tools, which as we are in the same PC will be crazy, but this could be done in another computer, which could show our OBS origin, imagine the possibilities! Let’s go to the mess, first of all the web, here it is:
 The installation is a next-next, once we’re done, we’ll have to make sure that NDI starts up with the equipment, I prefer it that way.
OBS configuration with titles and with our webcam
We’re almost there, what nerves! We open OBS one last time, we create a new scene that has the webcam and an image above it, in my case the titles that you can see, that you can create with Paint, PowerPoint, Photoshop, etc.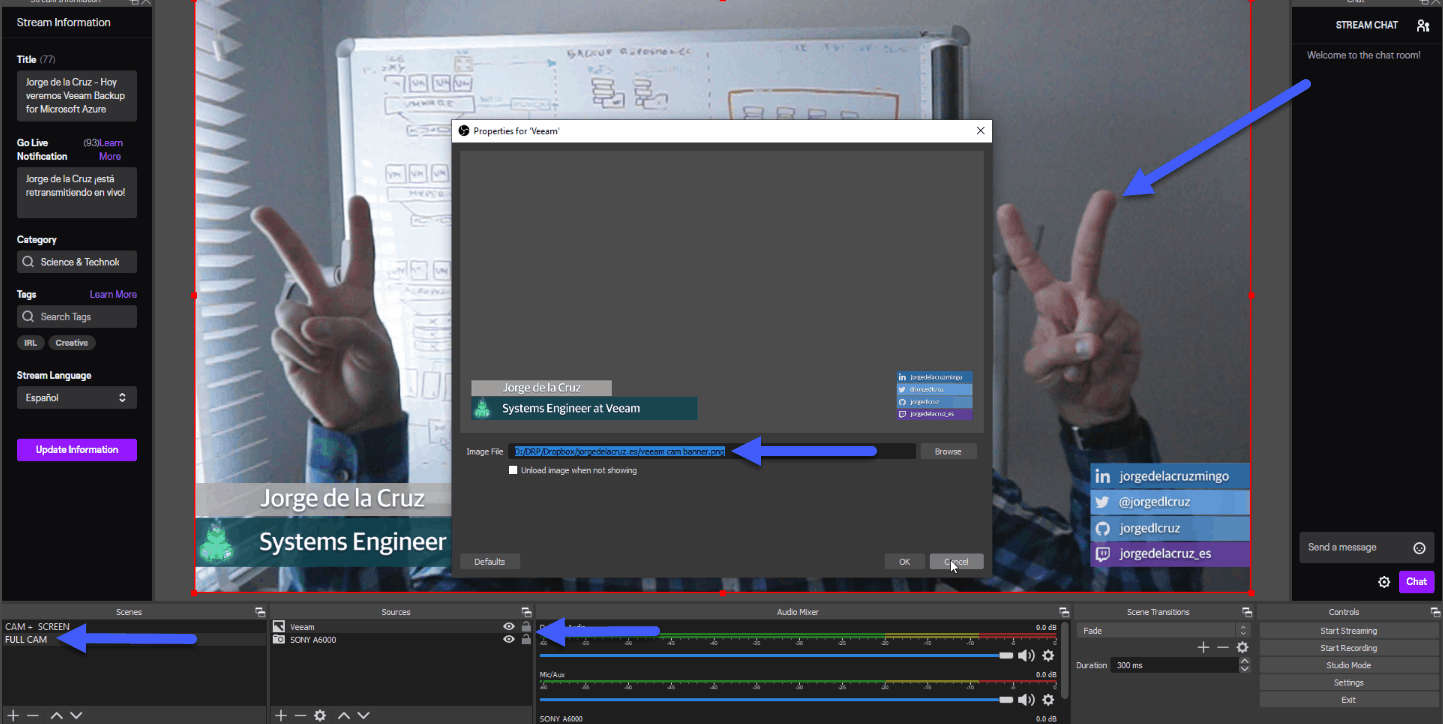
We already have almost everything in OBS Studio, finally, we will click on Tools, and in NDI, we will click: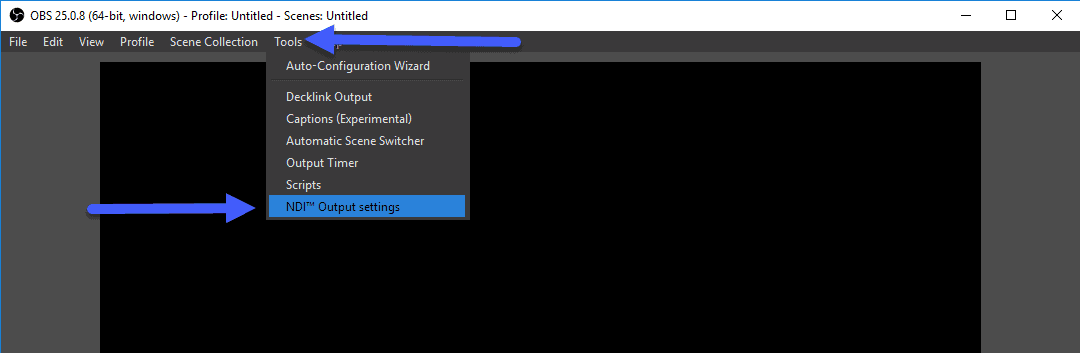
And we will put a name to our output from OBS, we can have the preview and the final shot: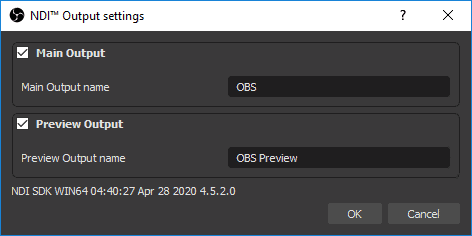
That’s all for OBS.
Configuration in Microsoft Teams (or any other software)
We have a small last step, in the NDI of our taskbar, we will select the computer that is presenting, in this case, my computer, and the input that we want to have as NDI: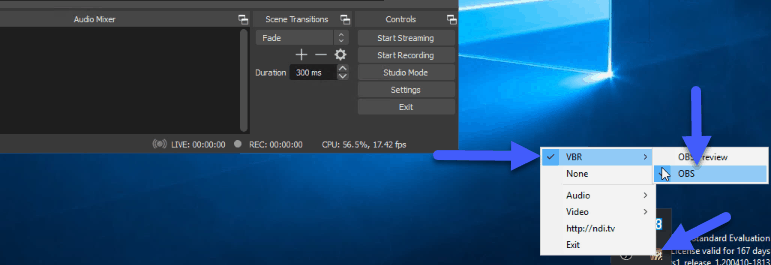
And then in Teams, Slack, Zoom, Webex, whatever, we’ll select the camera that’s called NDI: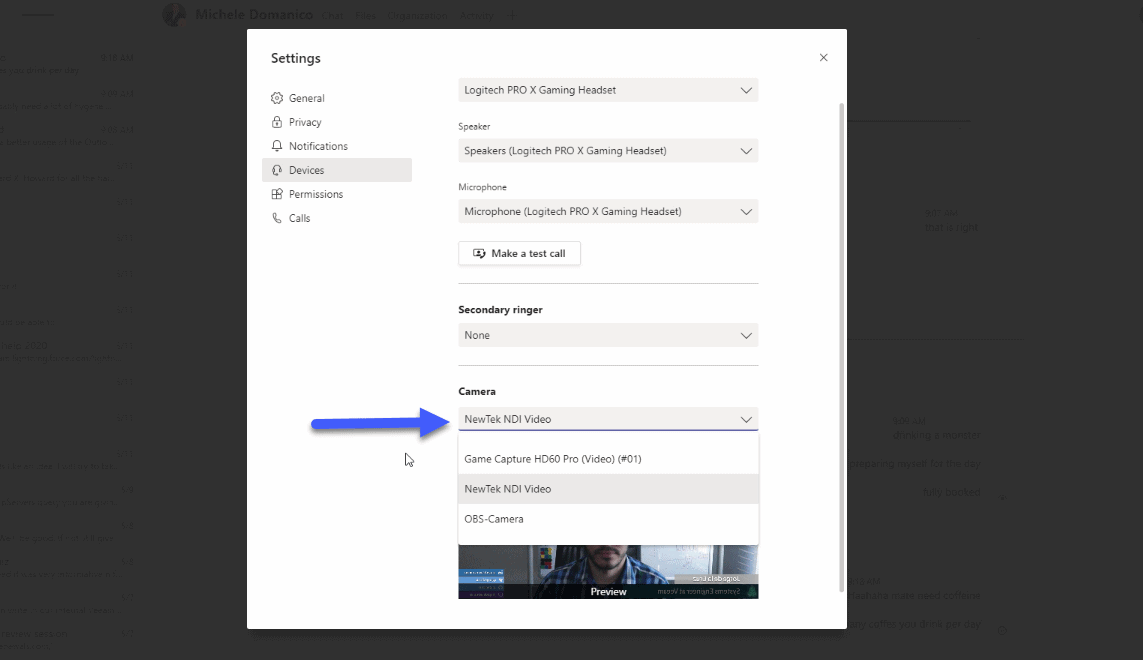
Note, in your preview, you’ll be shown upside down. Don’t worry! The person who sees you sees you well! A greeting and I hope you like it.
Leave a Reply