
 Greetings friends, I have written before about the exciting news that Veeam shared with us during the last VeeamON 2021, which is the new solution that Veeam is going to release to protect native Red Hat Virtualization workloads. Based on this news, I have decided to help you to create a lab with oVirt inside, so you can take a look at this great technology
How to Deploy, and Configure oVirt on top of VMware vSphere 7.x – video
The step-by-step will help you to understand what is oVirt, teach you how to get the ISO, as well as how to quickly install it on top of VMware vSphere 7.x, and most importantly, how to configure the basics of oVirt, so you can have an all-in-one ready to play with the technology.
How to Deploy, and Configure oVirt on top of VMware vSphere 7.x – images
The step-by-step, in comfortable images, will help you to understand what is oVirt, teach you how to get the ISO, as well as how to quickly install it on top of VMware vSphere 7.x, and most importantly, how to configure the basics of oVirt, so you can have an all-in-one ready to play with the technology.
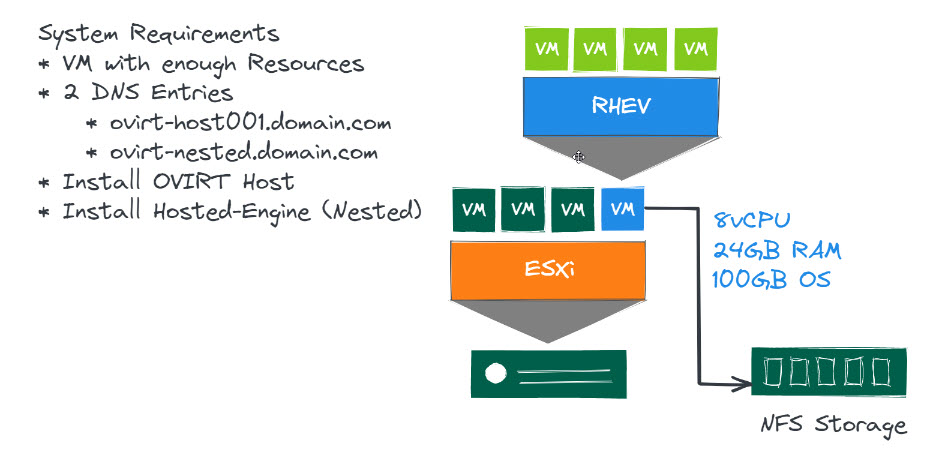
The first thing to consider are the system requirements, which you can see on the next picture, I am just using an all-in-one VM:
 Next, is for you to Download the official oVirt Node ISO, based on CentOS Stream anyways, but it has all the packages, etc. so no CLI or SSI is required to do this, neat!
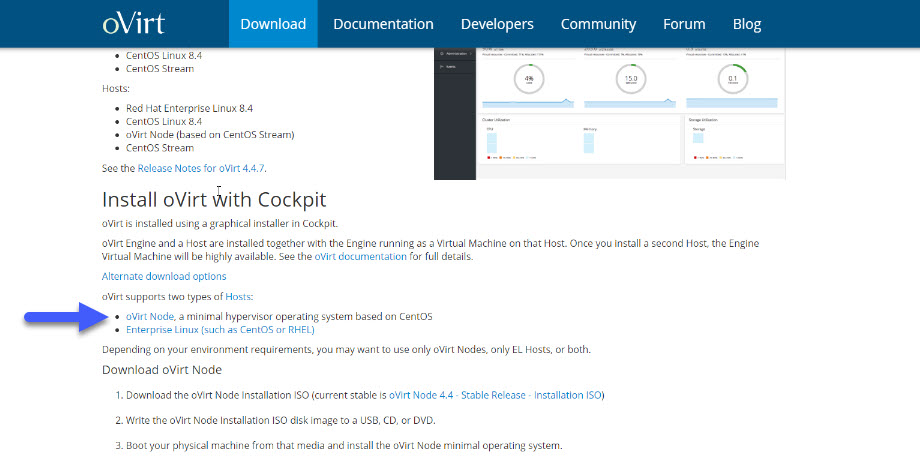
How to Create a VMware Virtual Machine to run oVirt nested
Let’s go ahead now and create a new VM on our vSphere: 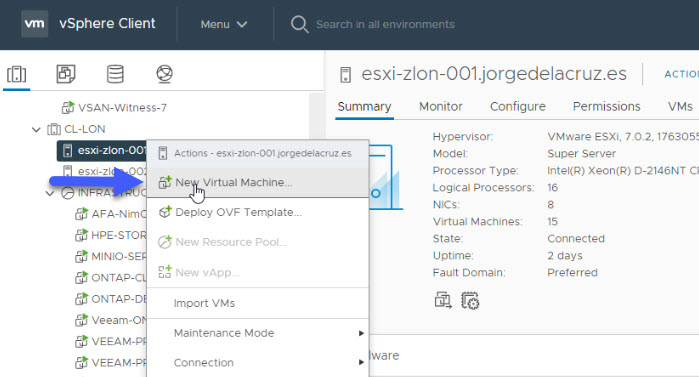 We will select now the option called Create a new virtual machine:
 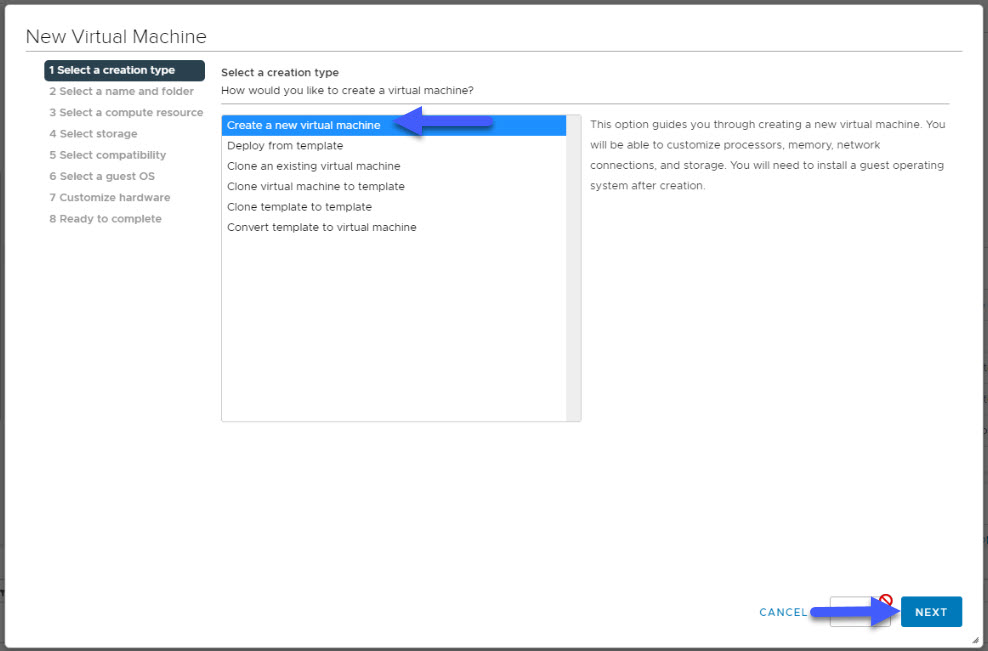 Let’s introduce a name for this VM, on my case just called OVIRT-NODE, as it will be my first Hypervisor:
 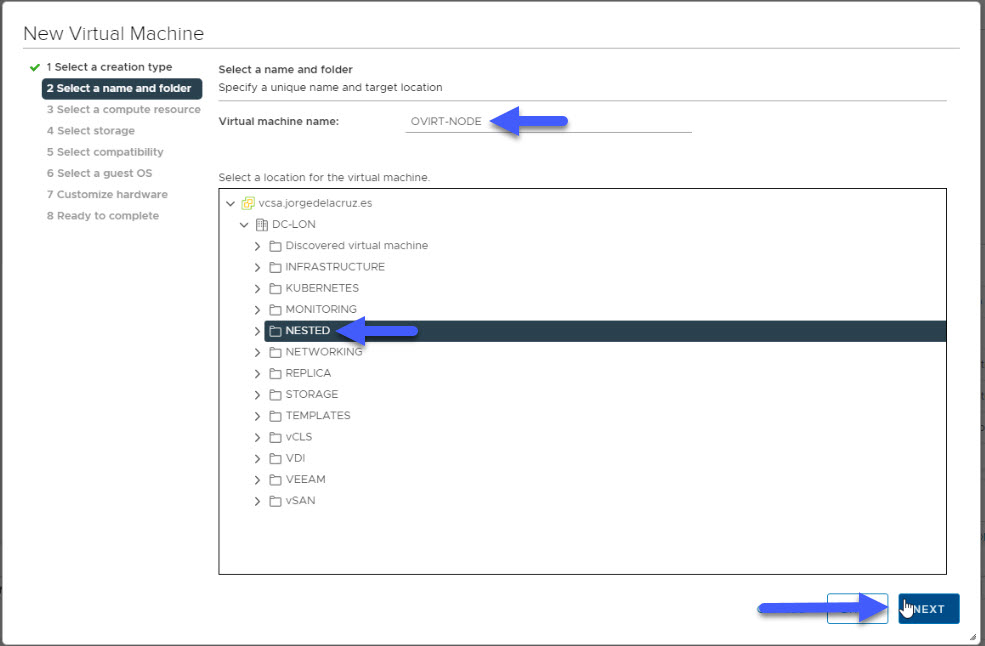 You can always place the VM inside a ESXi Host, Resource Pool, or Cluster, on my particular case, I am just adding this directly into one ESXi that was a bit empty at the moment:
 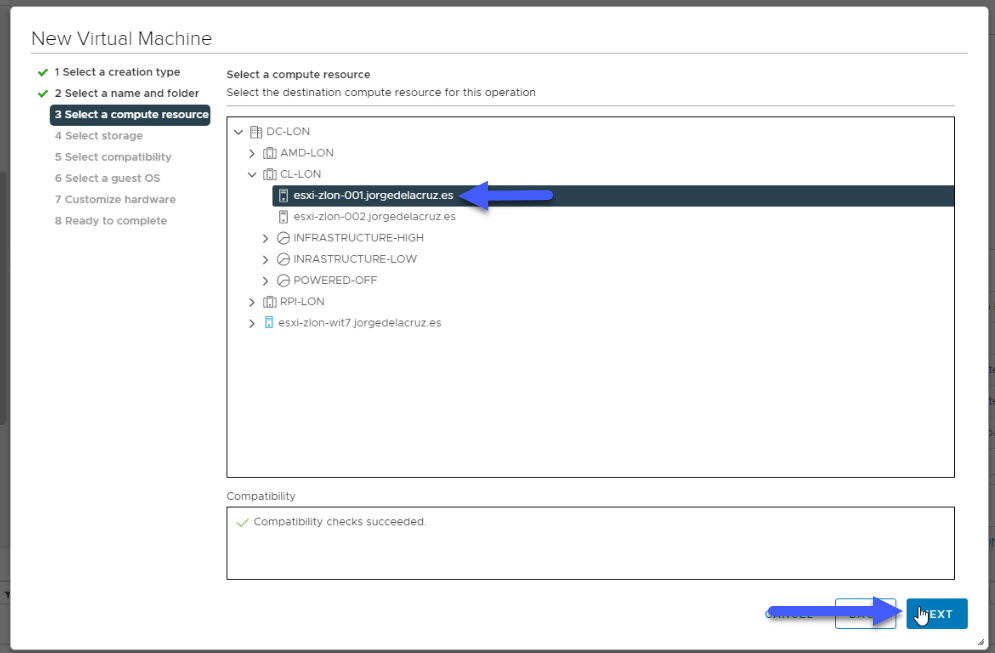 Now it is time for us to select a Datastore, oVirt will not use much space in the OS itself, same pretty much as an ESXi, as everything is in RAM, and the VMs are stored on the NFS I put on the System Requirements:
 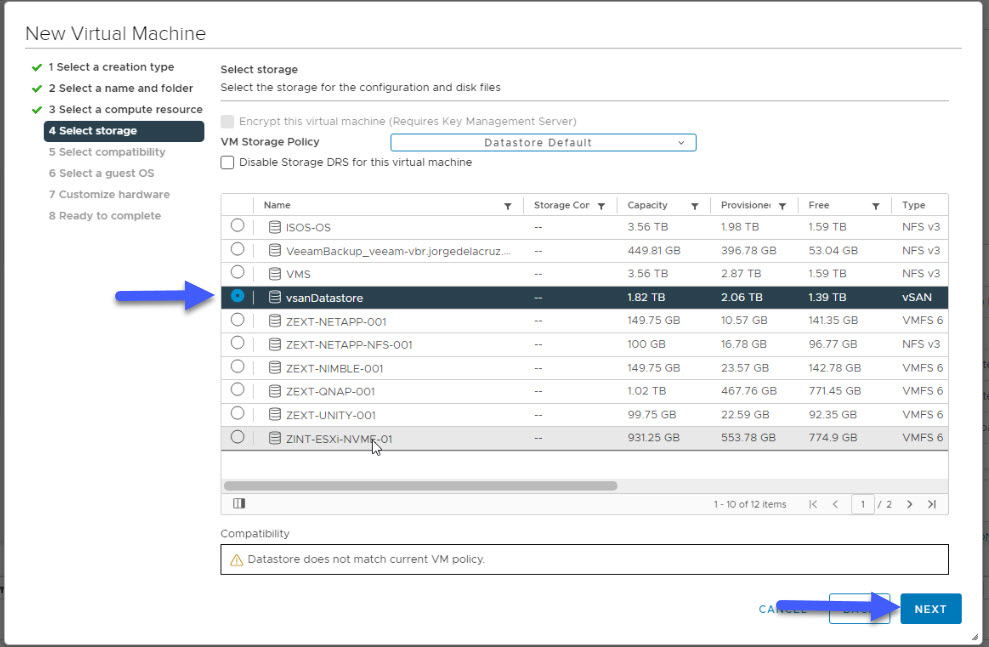 The usual Hardware Compatibility, I have selected ESXi 7.0 U2 and later:
 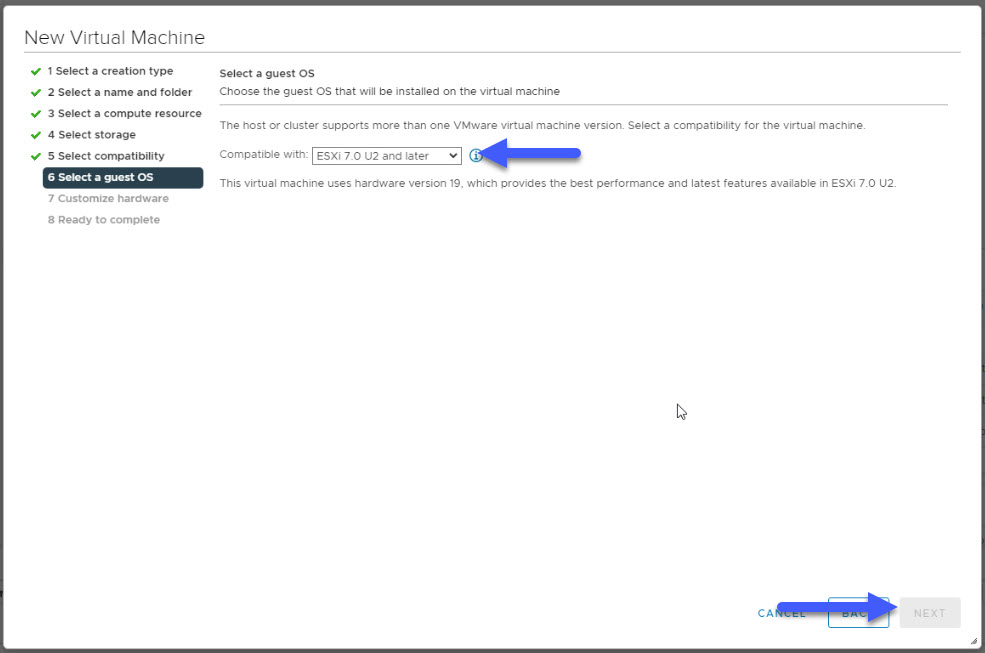 I am going to select Red Hat Enterprise Linux 8, as at the end the oVirt ISO is CentOS Stream, CentOS 8 if we want to say things clear:
 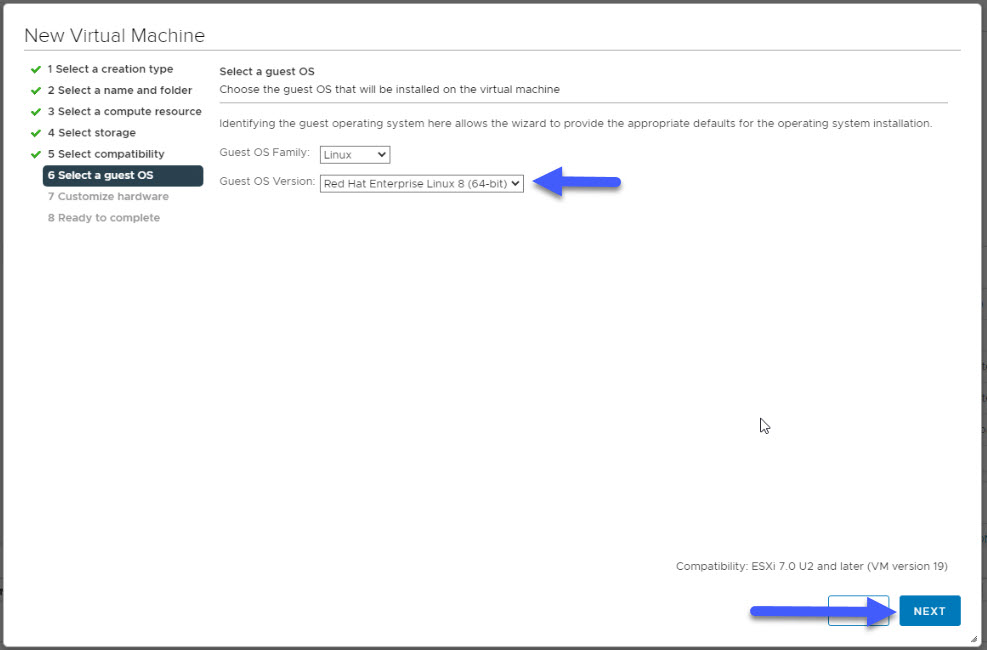 In terms of Virtual Hardware, on for the CPU part, make sure you give 8vCPU or more, and you enable the “Expose hardware assisted virtualization to the guest OS”
 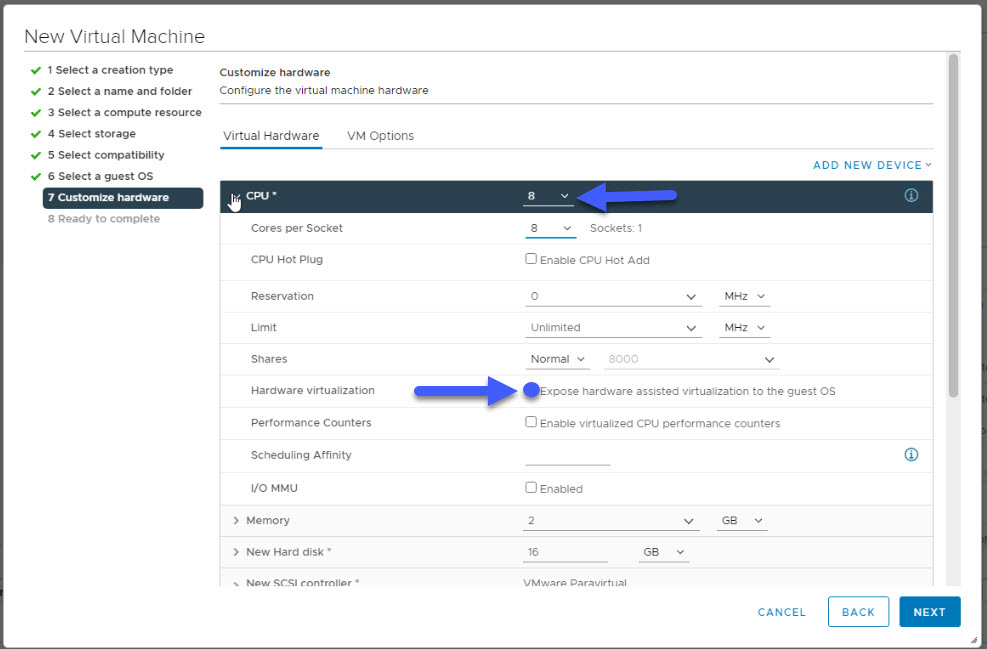 In terms of RAM, I do recommend 24GB or more, as you would like to deploy a few VMs inside, and they will require tons of RAM I am sure:
 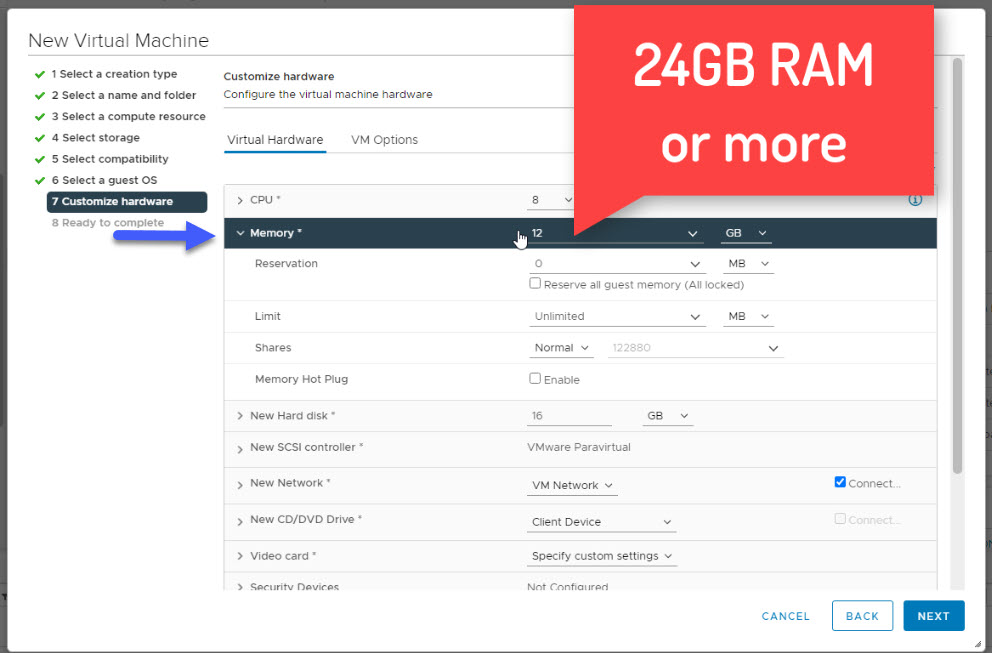 Finally, for the rest of Virtual Hardware, nothing special, just 100GB for the OS PARAVIRTUAL, a vNIC with VMXNET3, and the ISO we have just downloaded:
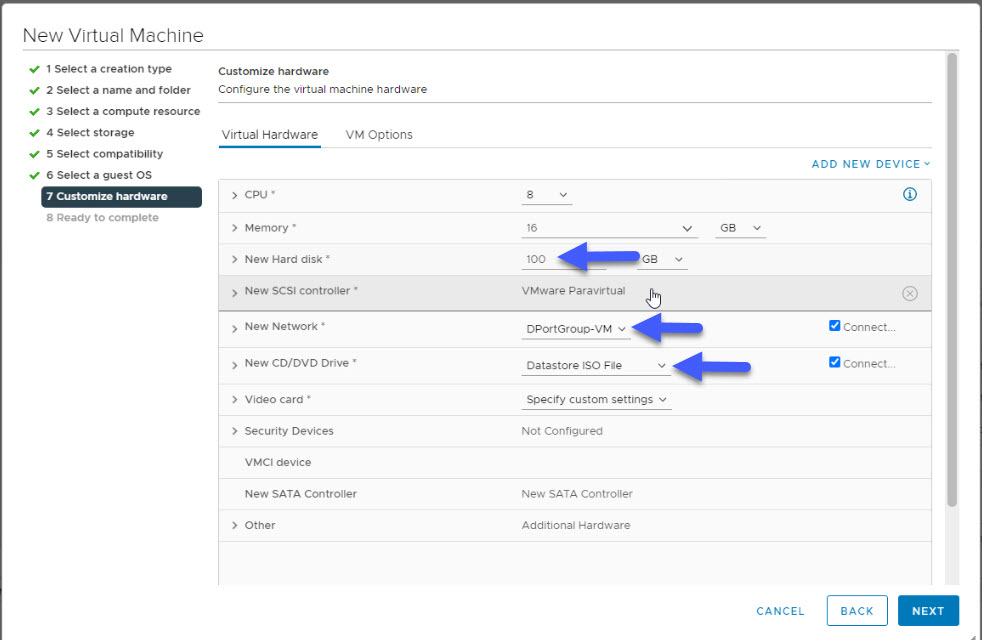
How to Install, and Configure oVirt from the CentOS Stream ISO
After PowerON the VM, we will see the Boot menu, let’s go ahead and select the first option: 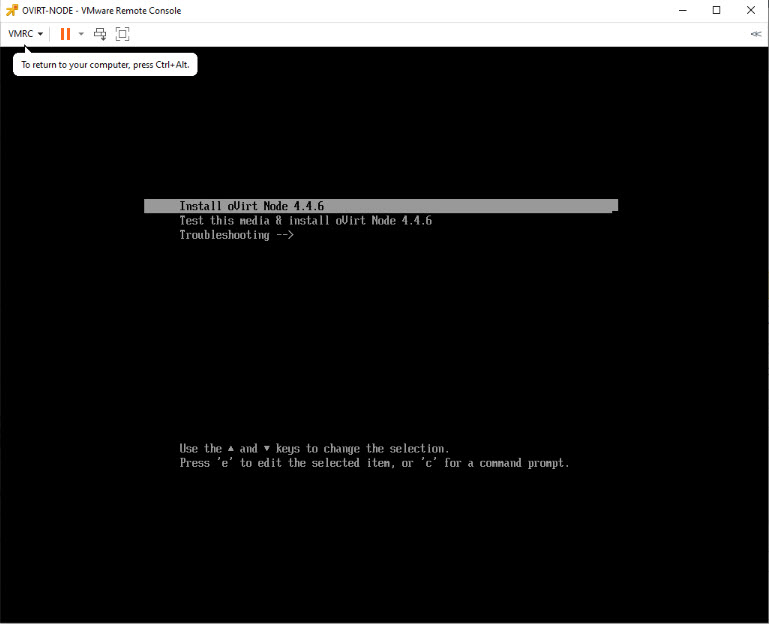 A few things would need to be selected, or configured, the first one is the keyboard, I always prefer US/US for all my installations:
 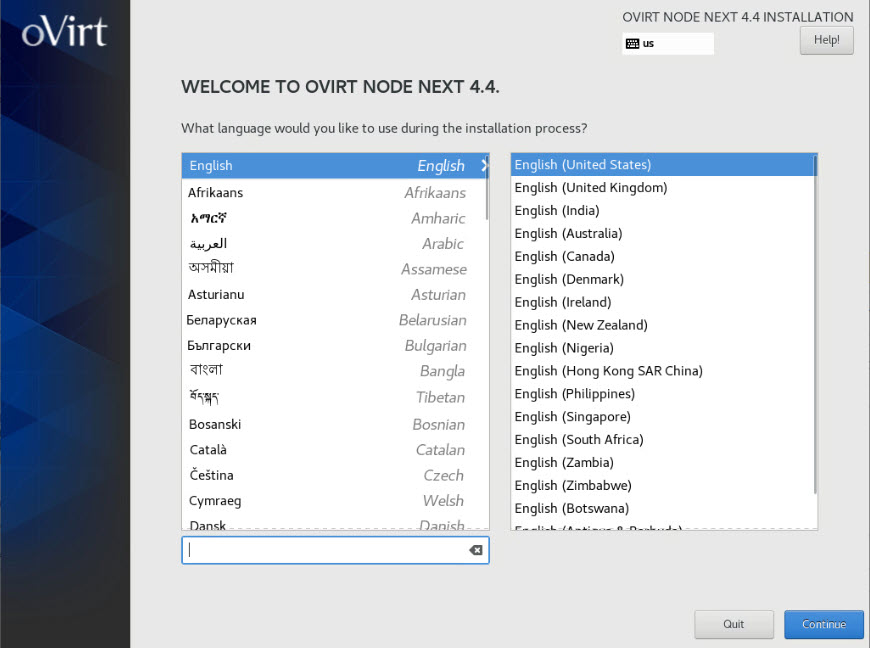 The things you would need to configure are: Keyboard, Installation Destination (Hard Drive), Network, and Root Password:
 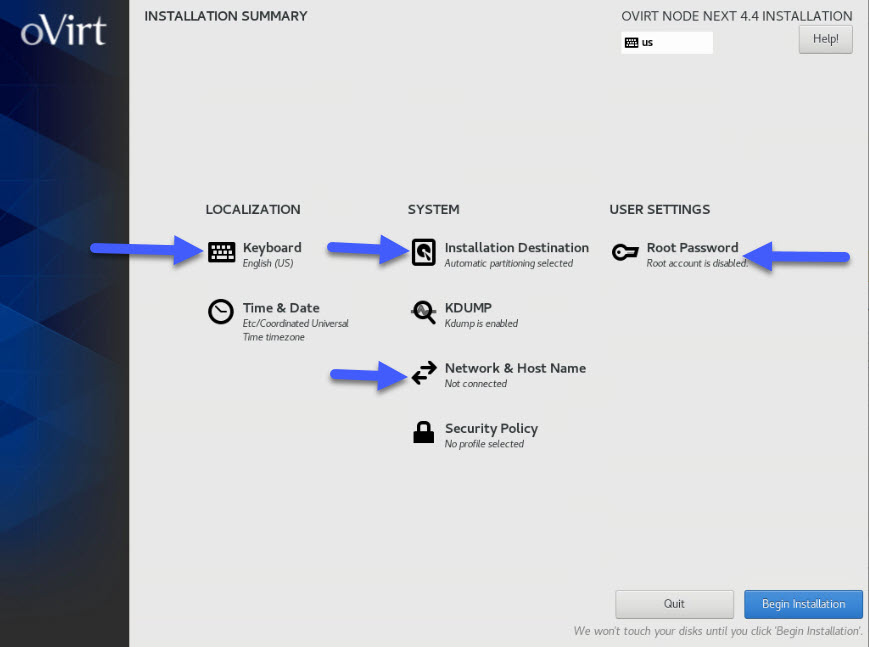 The Network as you can see it says it is 10GbE, VMXNET3, let’s go ahead and click in the button called Configure:
 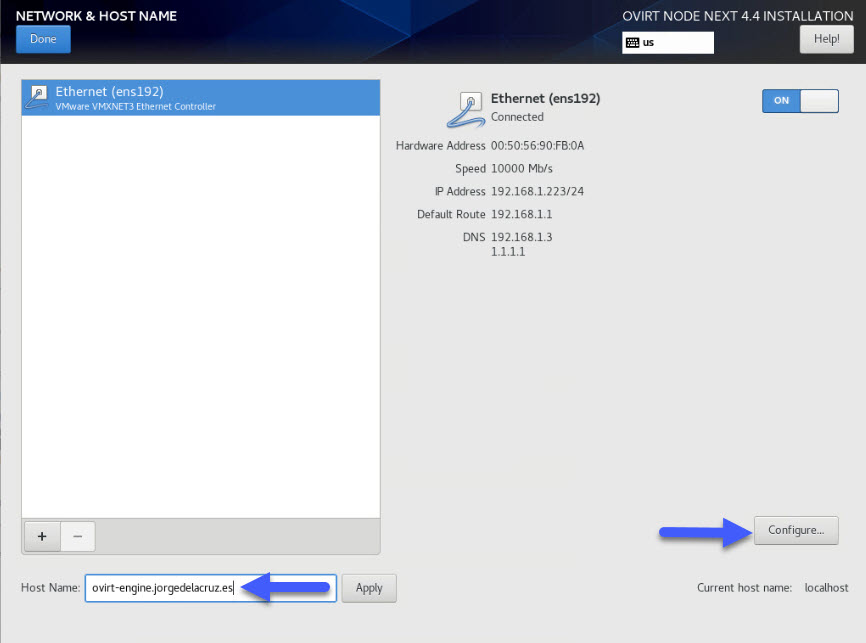 Nothing special, just introduce a valid IPv4, DNS, and search domains:
 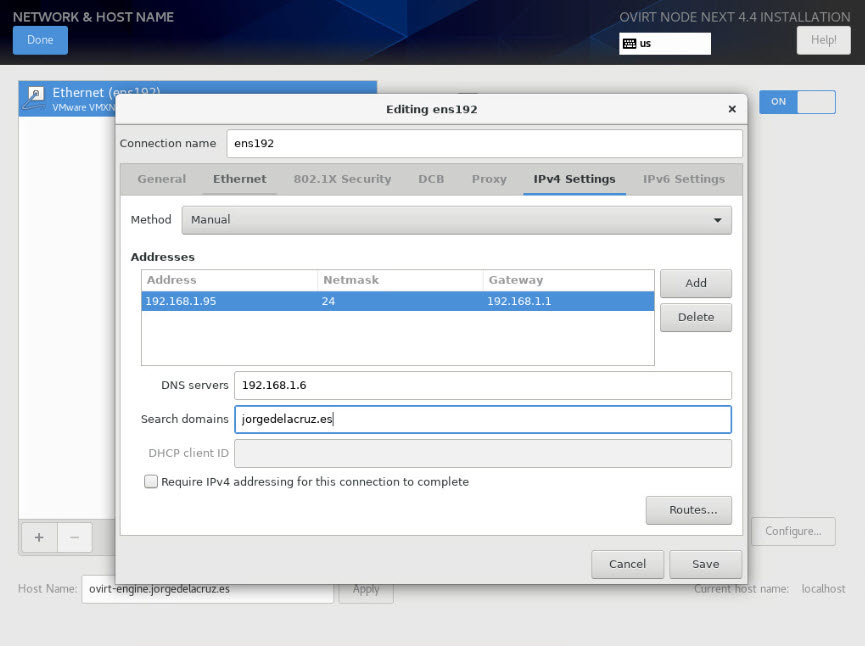 If we have put a Root Password, and we have configured all the sections I have mentioned before, the installation will start:
 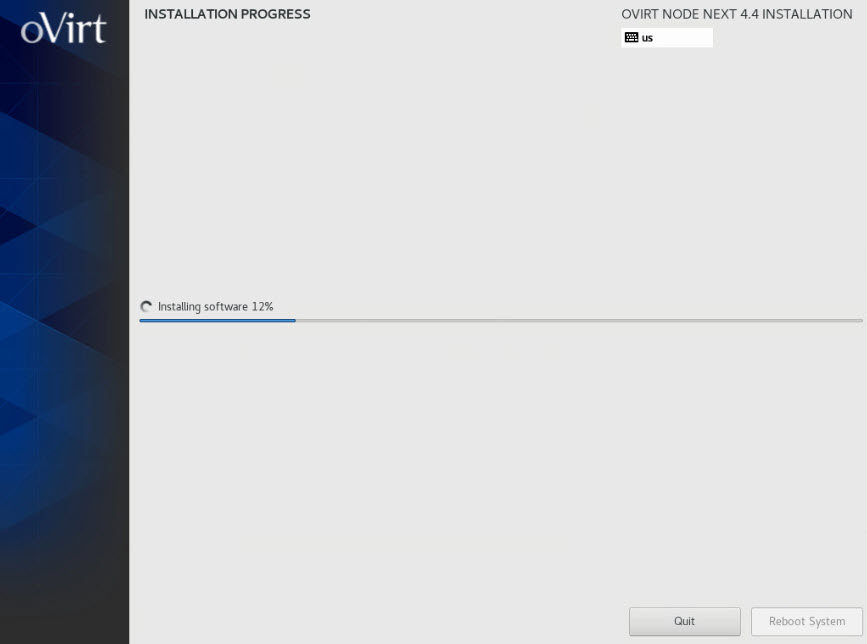 The installation will take around 5 minutes, once finished, click on the Reboot System button:
Quick Overview to Cockpit, and How to Enable Hosted Engine
After it boots for the first time, something interesting will appear, cockpit it is enabled by default on the oVirt ISO, so we can go directly to the URL:  We can now login into the cockpit with the root user and password that we have introduced while on the installation wizard:
 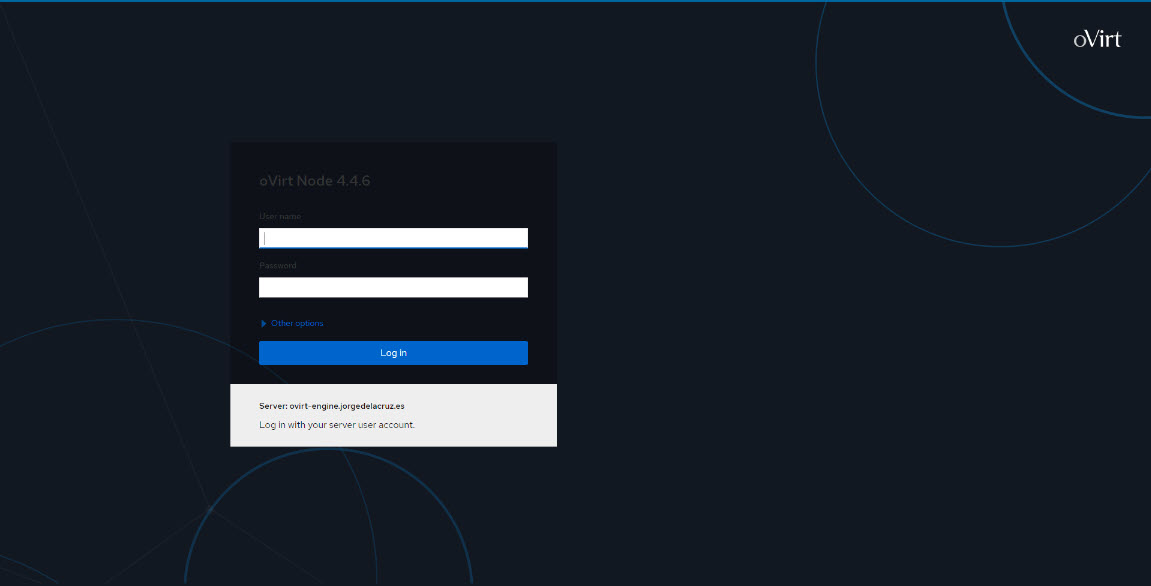 Cockpit it is a great Server Management, you can see a lot of useful information, and make some changes to the server, firewall, etc.
 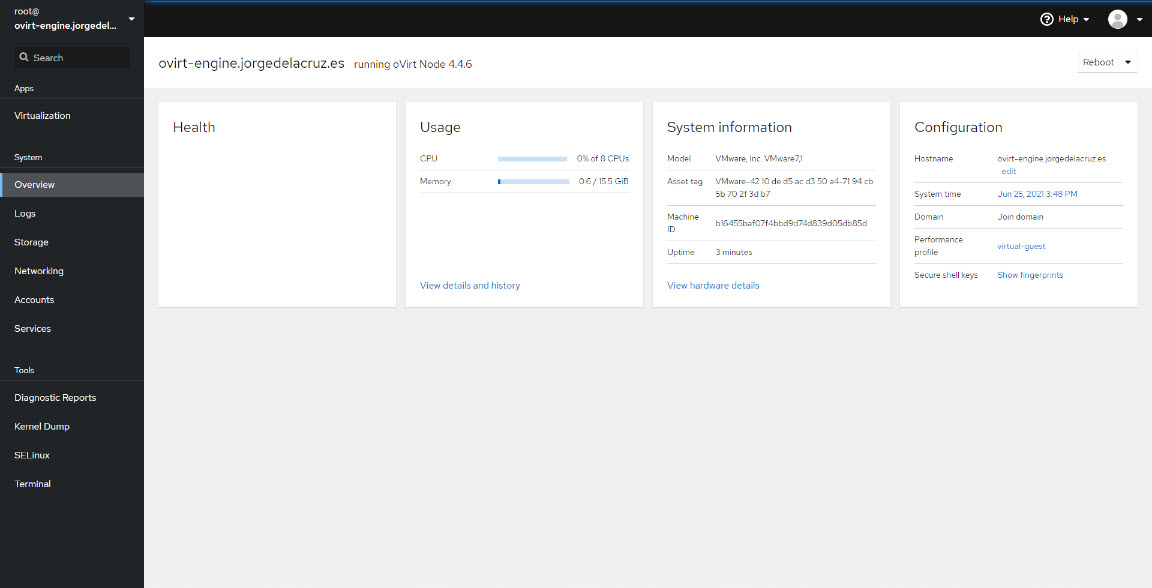 One of those advanced things you can do is to enabled Hosted Engine, so we convert this vanilla VM into a oVirt Hypervisor Host (the ESXi in VMware terms):
 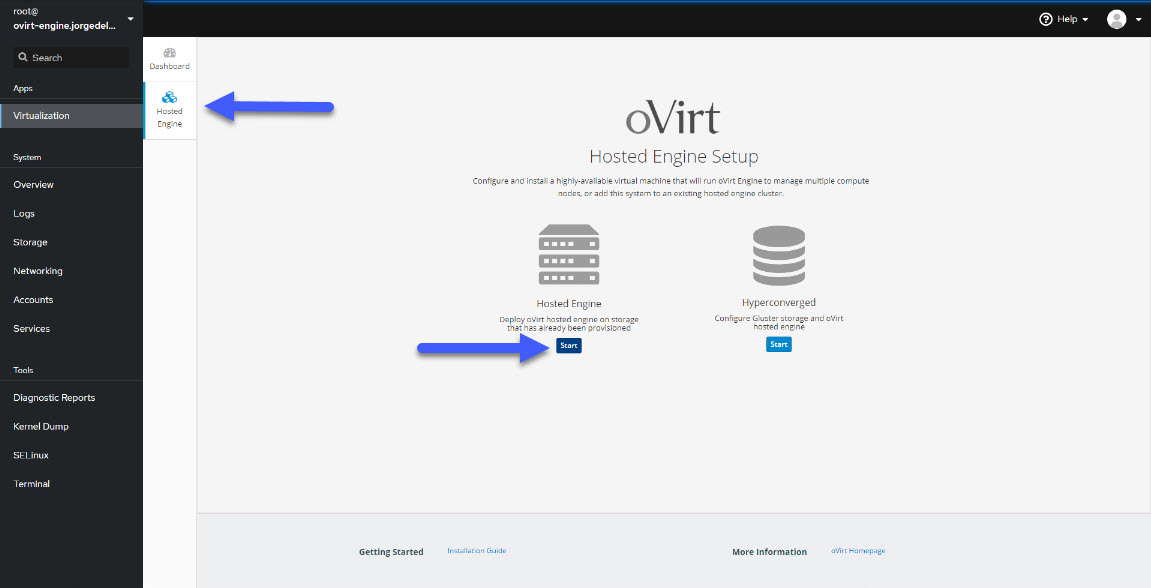 Process is simple, it will ask us for an FQDN and IP for the controller VM (the vCenter if we talk VMware language)
 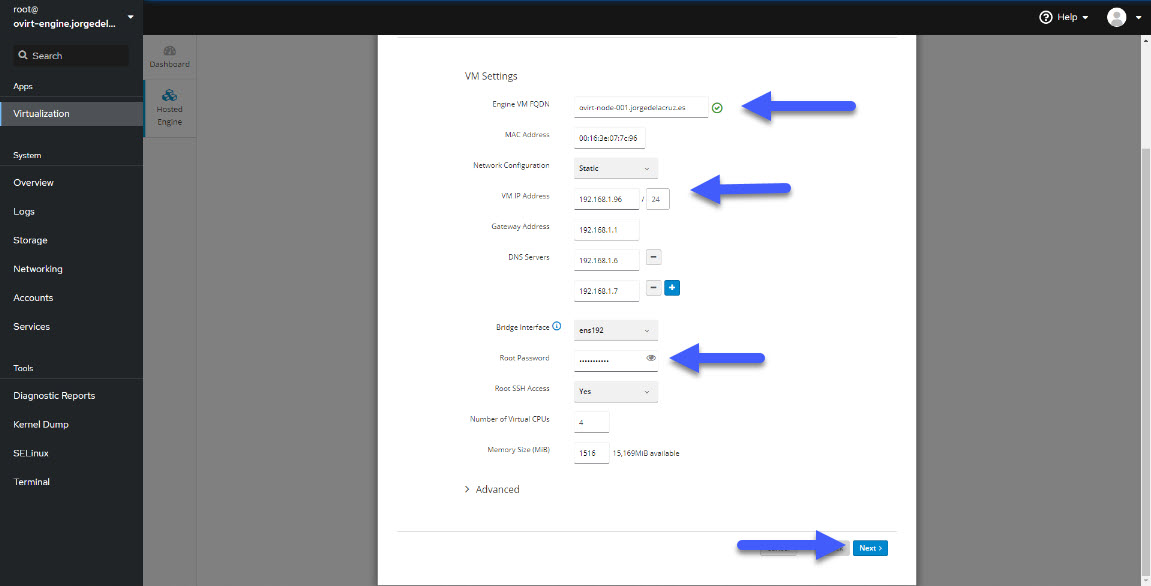 This specific password it will be for the admin user for the oVirt Admin Panel, you can configure as well the SMTP notifications if you like:
 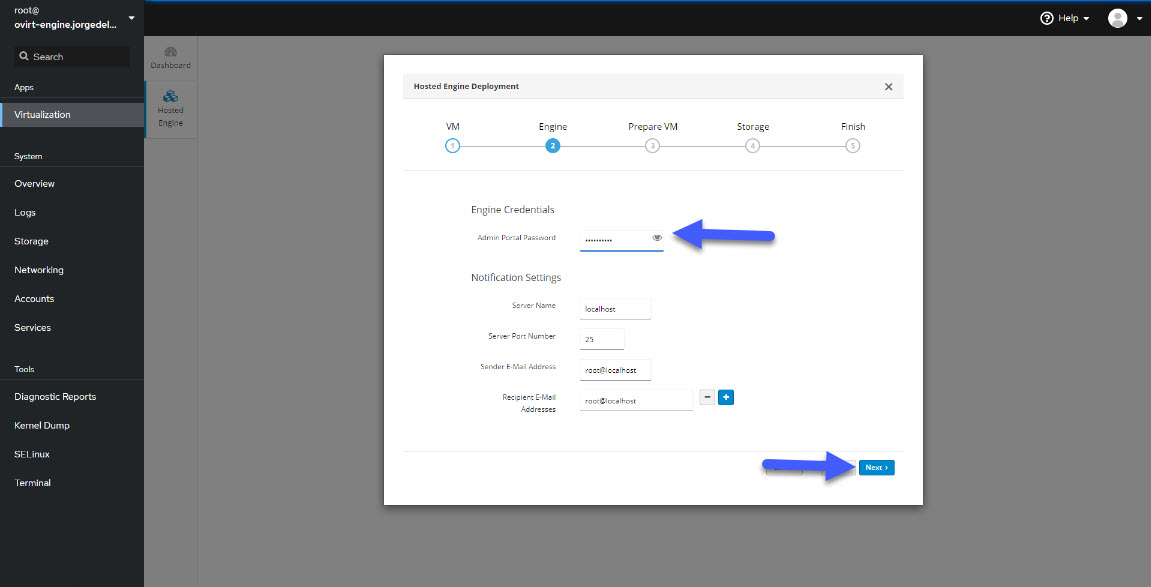 It is everything ready, so we click on Prepare VM, and if everything is set up properly, we will see the debug log of the operation of enabling oVirt Host Engine on this Server:
 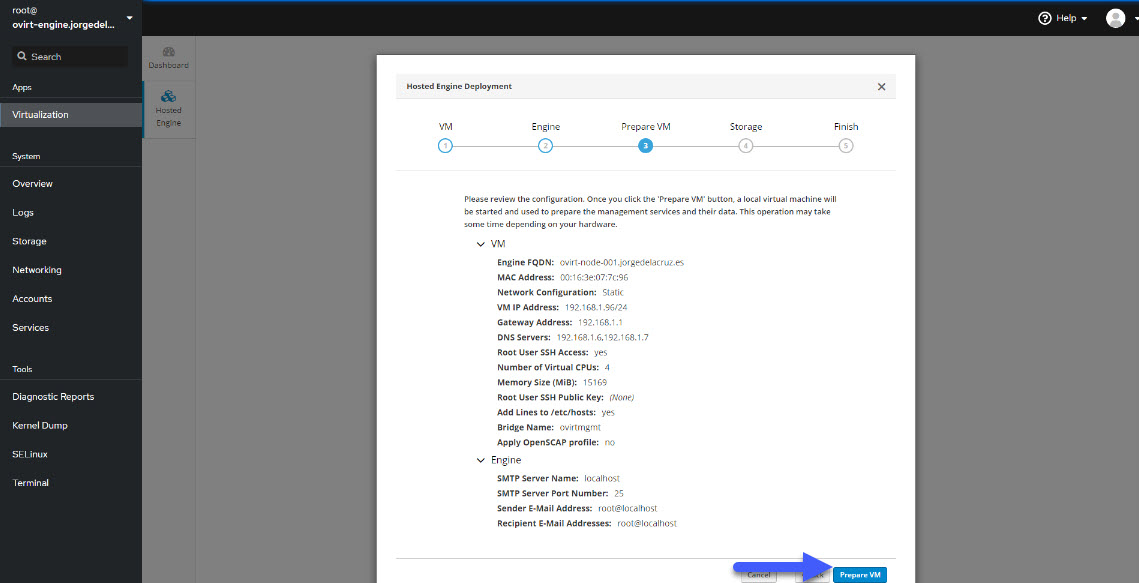 The process takes easily around 30 minutes, to take your time, grab some coffee, or go and check the Internet, etc.
 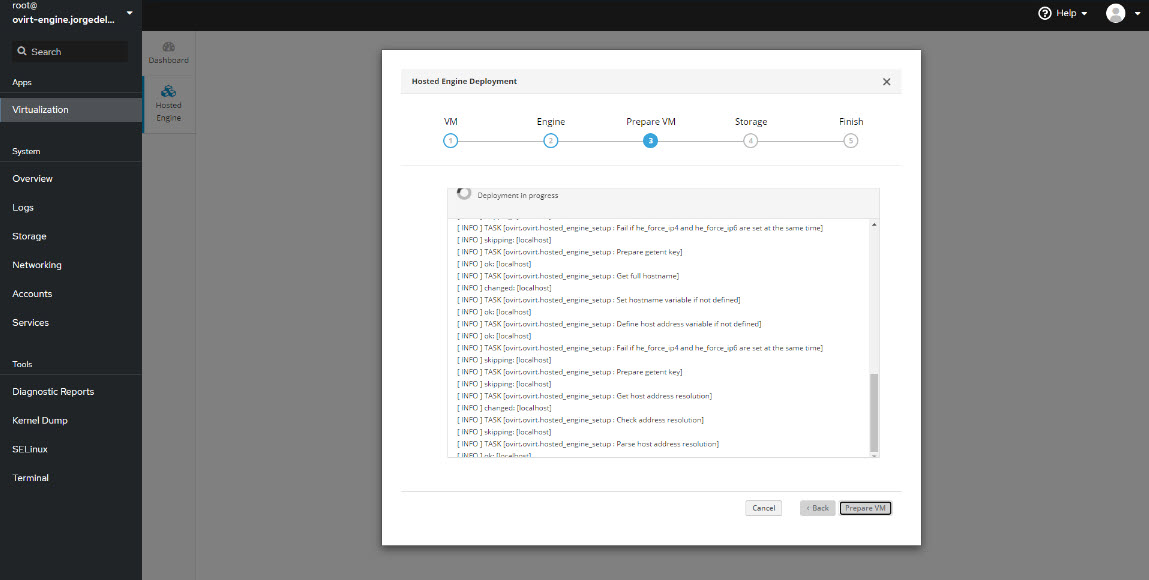 Sweet! The first step has finished, if we click Next:
 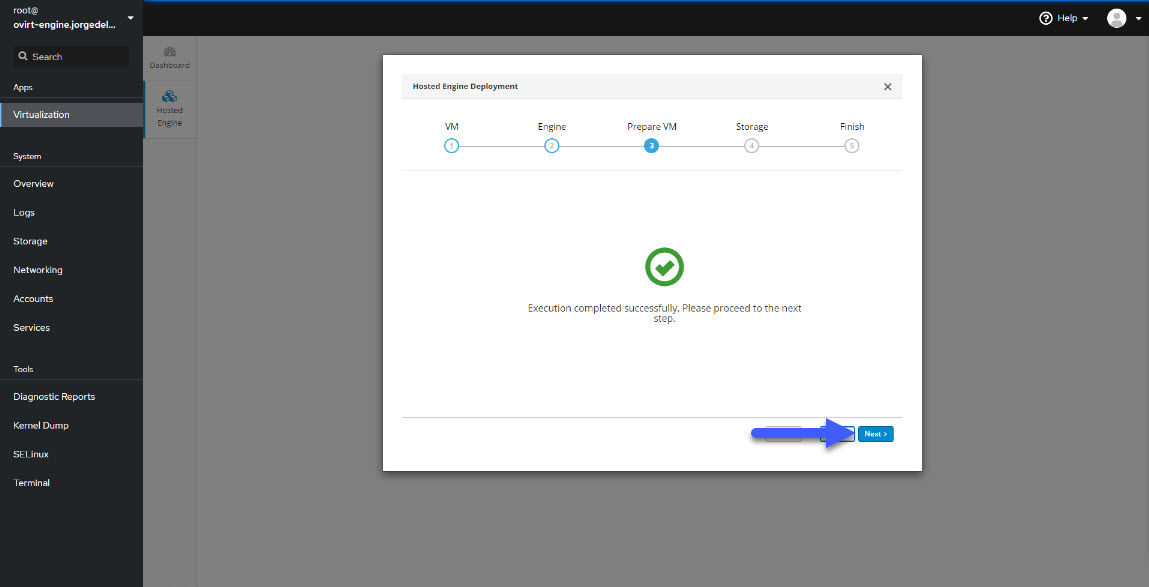 It is asking for Storage, where oVirt will save the VMs, etc. On my case, it is much easier to just point to an NFS:
 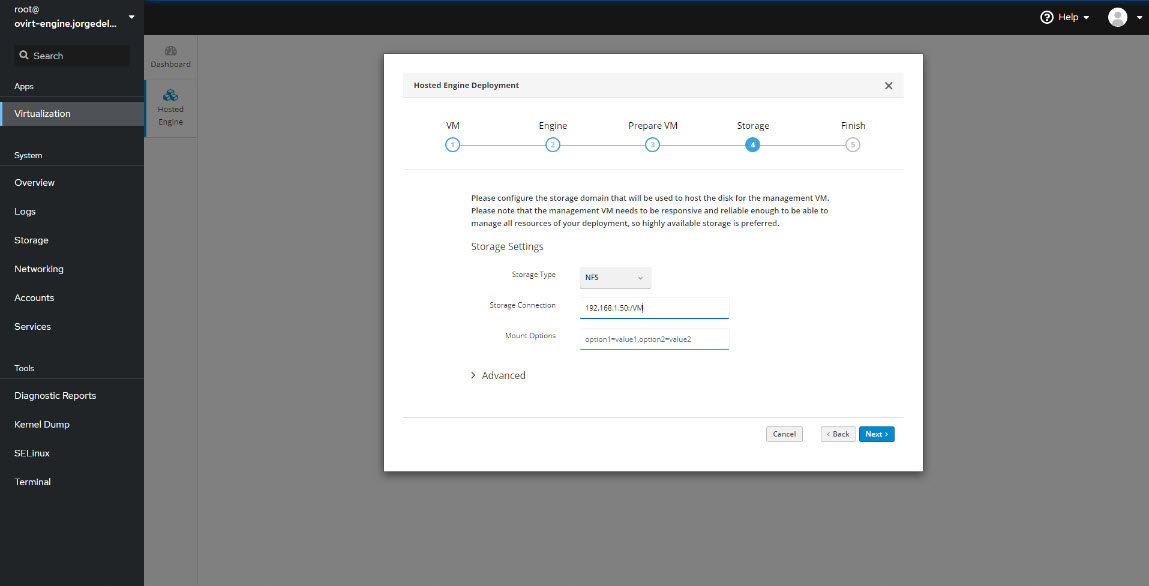 We will click on Finish Deployment, and it will take another 15 minutes more or less:
 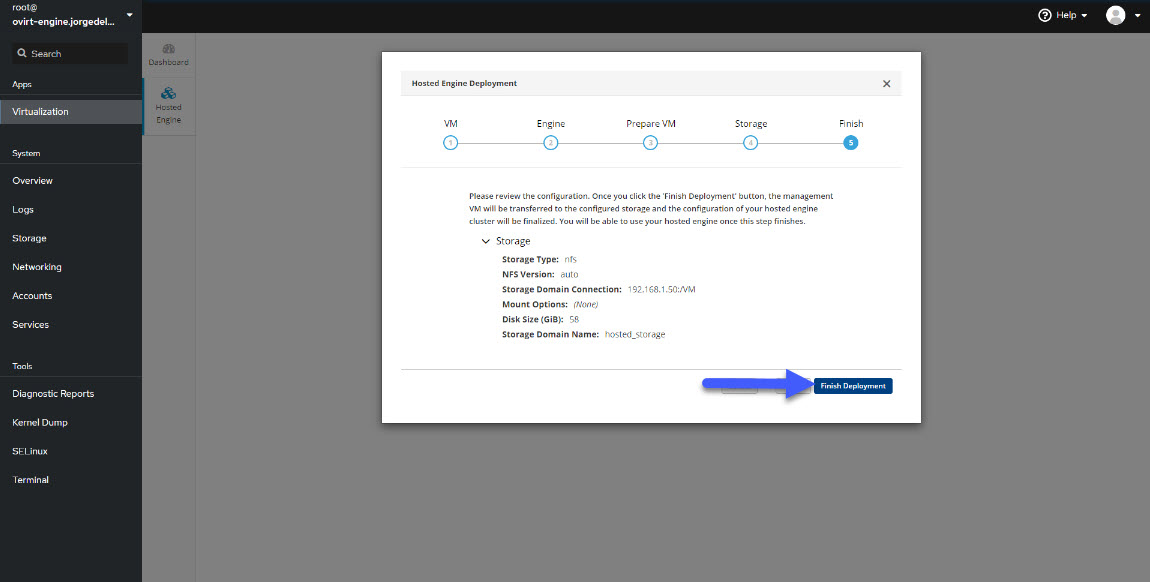 Now that everything is ready, click on Close:
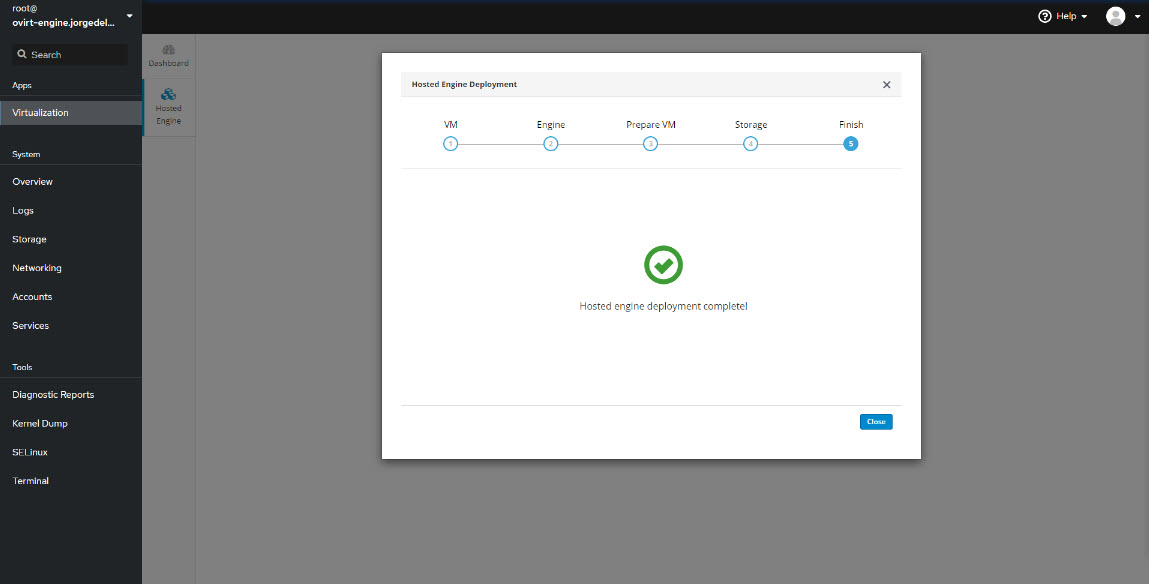
How to Login into oVirt Administration Portal / Controller VM
Finally, we can go over HTTPS to the Controller VM IP/FQDN, and this console will appear, let’s select the first option: 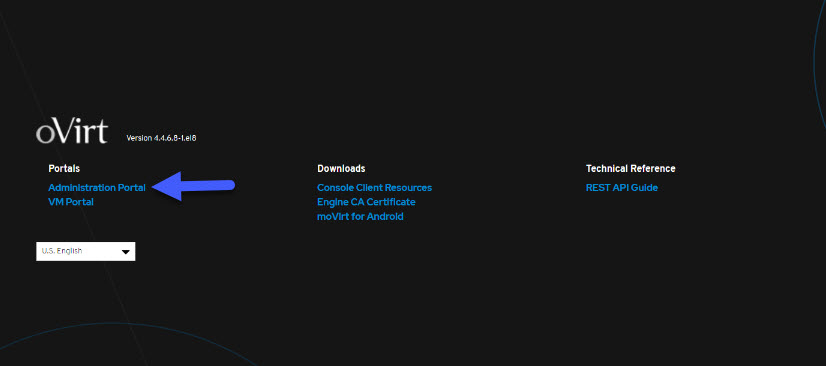 User is admin, and credentials are the ones you introduced on the wizard on cockpit while enabling oVirt Hosted Engine:
 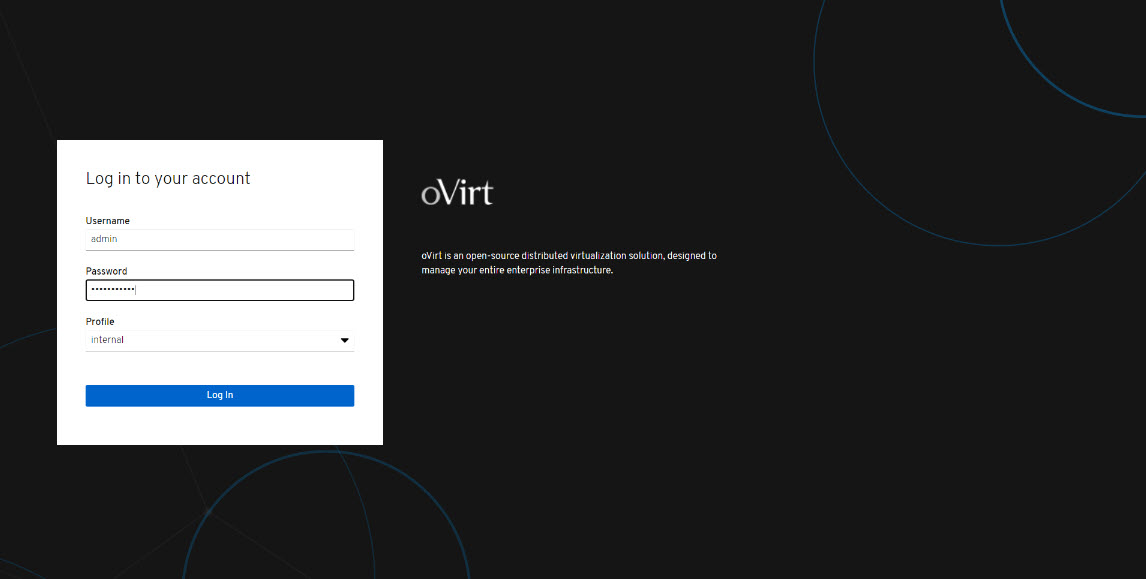 And that’s it, you can see now your Controller VM, take a look at the VMs, create more, expand and add more Hosts, more storage, add templates, etc.
 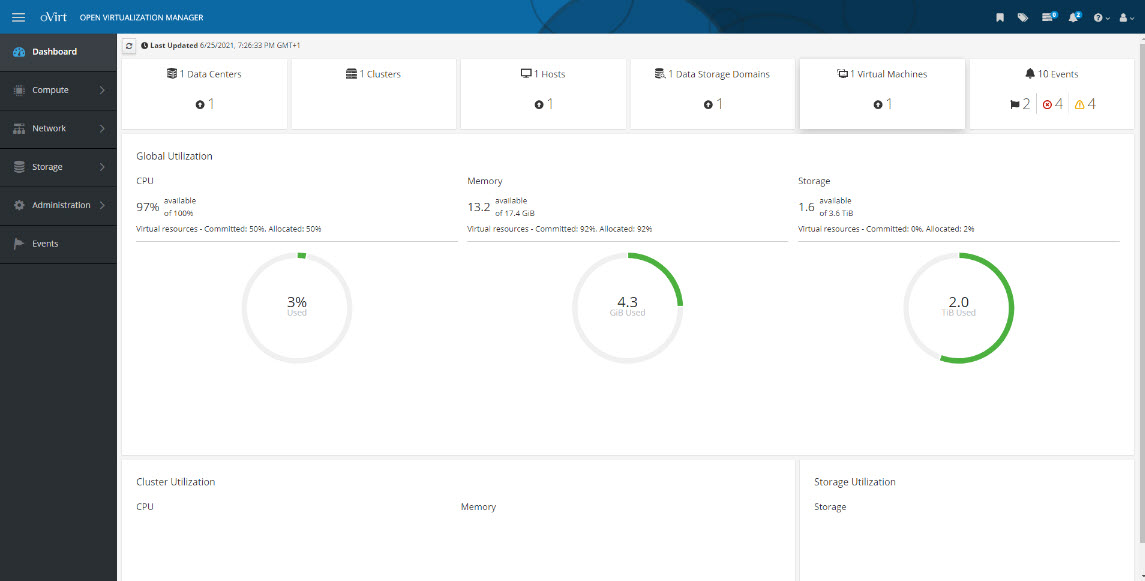 That’s it all, I hope you enjoyed the blog entry, and especially the video with all the step-by-step, comments, etc. As you have seen, no CLI, no SSH, nothing. The process is simple and basic, with a great next/next that can remind you of so many other Enterprise Virtualization Products.
Jorge you are the MAN! Your posts are excellent! Very detailed.
I’m anxious by Veeam release the version with Ovirt/Rhv support!
Good morning,
Following your tutorial, I ended up installing correctly, without any problems…
However I can not reach to hosted engine other than the node itself. It seems that the host and engine can communicate within themselves but the engine is not reachable from any browser at the same subnet.
I edited the hosts file of Ovirt node before deploying Ovirt Engine, as strangely it was not resolving FQDN, although everything is defined on AD DNS.
I see the graph of bridge ovirtmgmt is ok as 2 interface members has some movement. But when I click on vnet1, there is an error “unknown tun” followed with an MAC address.
VM status is healthy etc… I think there is a problem with the bridge connection.
I am sure I am missing something stupid here…
Any help is much appreciated.
Thank you.
Hey there, this is an excellent overview of oVirt. I am trying the same process with the latest version of oVirt but after the initial installation using the minimal boot image the virtualisation app does not display in Cockpit and the manual installation fails with an unhelpful message, I was wondering if you had run into this at all?
TIA
Mike