 Greetings friends, a few days ago I finally finished a project that I had thought about months ago but I never had time to complete, it is about having the Visio forms of Veeam, or any other manufacturer, printed and magnetic so that we can use them in the increasingly common whiteboards, this can help us to:
- Create better presentations for face-to-face customers
- Create better presentations for our internal teams
- Create presentations for yourself for a more complete view of a solution or design
Final result and feedback
The welcome on twitter has been more than good, observe the comments and number of RT and likes:
The @veeam magnets, whiteboard-ready, are here. I can finally expend time on create some material instead of drawing over and over VMs, servers and Hypervisor 🙂 How do they look? @VeeamVanguard @Veeam_Es pic.twitter.com/yGdeTX5c1K
— Jorge de la Cruz (@jorgedlcruz) January 25, 2018
Creation process
The process of creation is not very complicated, and it is also very economic, so any of you can do without spending a fortune, let’s see the step by step.
Visio Forms in A4 sheets
The first thing to think about is the size in which we are going to print the forms, I have selected A4, since it is a standard here in Europe, for friends from USA and other places where A4 is not a standard, select the one that suits you best.
Download the Draw. io PDF and XML directly from GitHub
Once we know the size, we will use the tool called draw. io, which I talked about before is free, stop on an A4 sheet to start moving shapes:
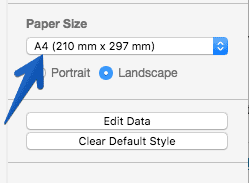 Once we already have the format and if we want it in portrait or landscape, we’ll have to load the Veeam forms, which are included, I love you draw. io!:

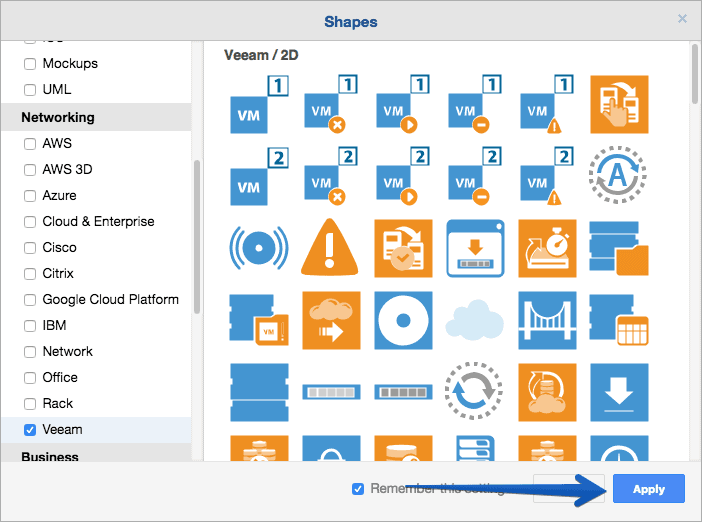 We’ve already got everything ready, my recommendation regarding sizes are:
- Forms of Hypervisor: 550px x 533px
- Forms of VM: 220px x 220px
- VM shapes with failure: 250px x 241px
- Repository Forms: 260px x 240px
- Forms of Snapshots: 190px x 190px
- Datastore Forms: 200px x 200px
- Cloud Gateway Shapes: 210px x 210px
- Locker Shapes: 172px x 172px
- Storage forms: 400px x 130px
- Forms of VBR and VBE: 420px x 410px
- Shapes with Cloud Connect and other oranges: 260px x 260px
- Computer Forms: 340px x 230px
- Server Forms: 196px x 300px
Once everything is ready, we can see something similar to this:
 You have the download link to the. xml of draw. io that I have created and to the PDFs directly here.
How to choose the best printing paper
The first thing to think about is GSM, GSM is the thickness per square meter, most printers accept printing up to 250gsm, but it all depends on your printers or where you go to print. In my case and to cure me in health I have selected a paper of A4 with 120g/m2, it is much harder than the normal paper but it does not become cardboard, you can try and choose the one that suits you best.
Cutting the shapes
Once we take the PDFs to the printing house, or we print it at home, the funniest moment comes when it’s time to cut, because the forms are very detailed in some cases such as backup repositories, it takes some time to cut all this, it takes me about two hours, depending on your ability and willingness to leave the forms perfect or just meh.
Magnets in Amazon
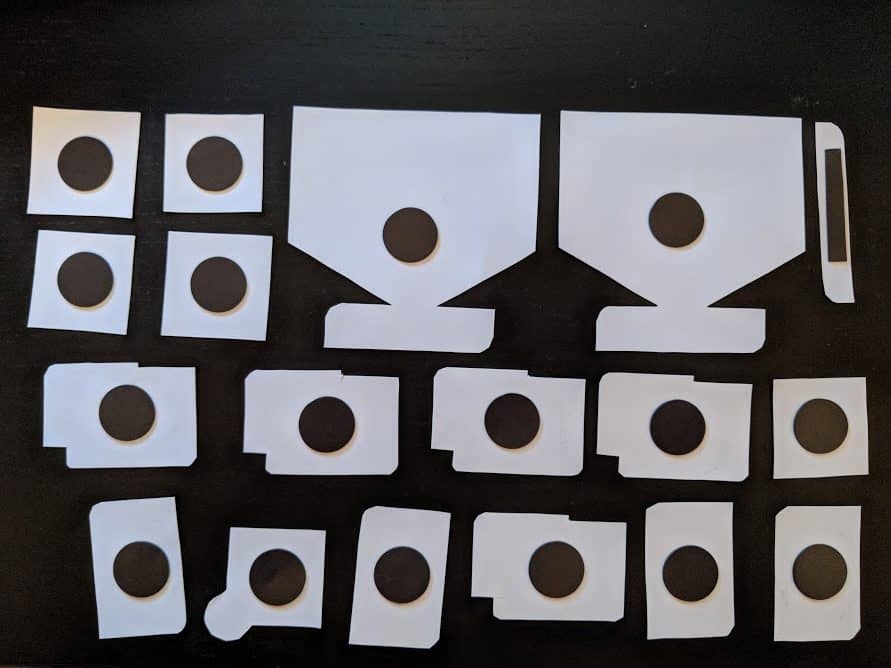
Of course the most important step is to have the correct magnets, I suppose there are many others, but in my case I have opted for the following ones, that in a single A4 gives me 88 round adhesive magnets plus the rest that can be used for some additional shapes, since the whole A4 is magnetic sticker:
The result is something similar to these shapes with their magnets:
Total price
The total price of 88 Veeam forms to use on our whiteboards and more has been in:
- £9.75 x 250 sheets of 120g/m2 – Link
- £4.19 x2 Magnetic Sheets – Bonding
- £16 (two copies of each PDF sheet) Where I’m going to print they don’t have very fancy prices to be honest.
In total it was about £44, so we can say that each shape is £0.50. I guess that by choosing another place to print, or printing at home or in the office, and hopefully with the magnets this price may be lower.
Outtakes
There have been as you can imagine some situations, and trial and error, examples:
The first time I went to print, it was printed in black and white, despite my color request:
 Then I got it printed in color, but oh boy! they didn’t have all the cartridges, the black one was failing:
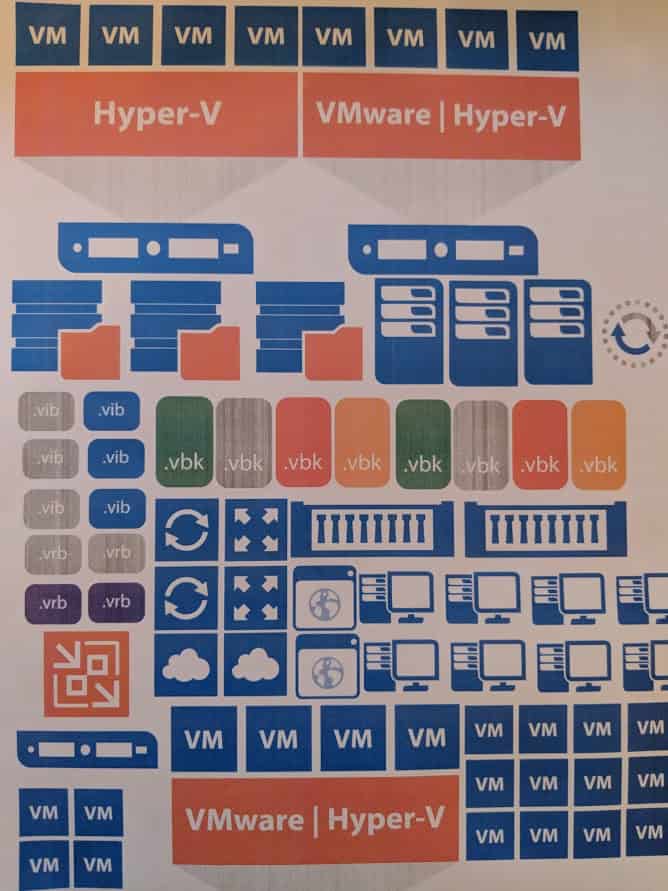 Still, I realized that the size of these first A4s was really small for the whiteboard and the magnets were useless, it didn’t make sense, so I had to generate new shapes with larger sizes that were the definitive ones.
Feedback and comments
I would love to hear your advice and opinions, not only that, if you make your own ways to send them responding to the tweet above, or in comments here, or by email.
Thank you very much for reading this article and I hope it will serve you well.


Leave a Reply