
 Greetings friends, since a few months ago my number of calls has increased considerably, either with clients or with the team or family, I spend many hours in front of the camera. In another entry, I showed you how to give a professional look with OBS, and I also told you that headphones are perfect for these long periods of computer, with sublime quality of audio input and microphone.
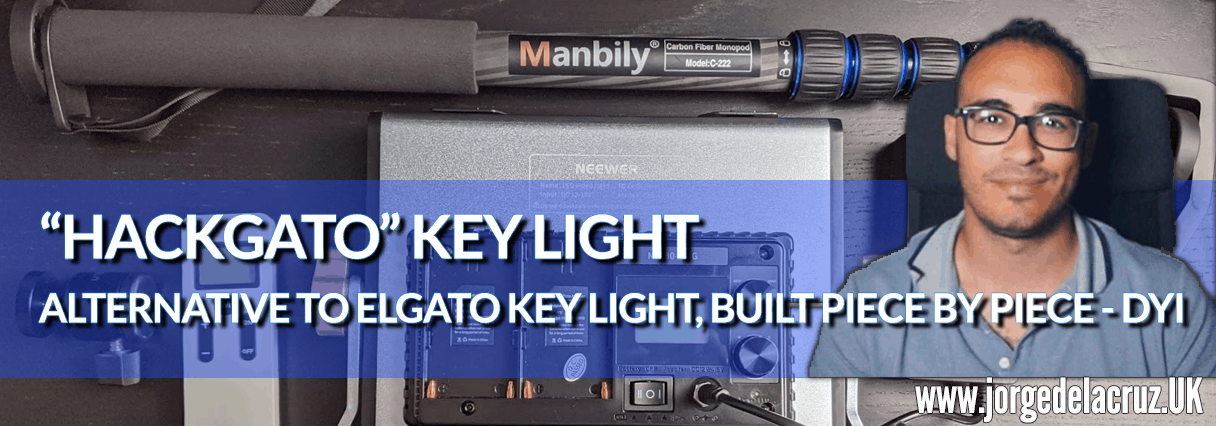
Today I come to talk about the last component to make our videos or video calls, look perfect, I am talking about the lighting. In this tutorial, we will see a step by step with the necessary components to build our own HackGato Key Light: lighting power, flexibility, and comfort.
Amazon Bill of Materials
I leave you the list of material from Amazon.co.uk, but looking at Amazon.co.uk you will surely find everything the same, here you go:
Total invoice: £159.52
Compared to the price of Elgato Key Light which sells for £189.95
The biggest problem of all this is not saving us money, which also, the problem is that there is no stock of Elgato Key light anywhere!
Besides, this combination is very flexible, if we select the aluminum stick, and some other similar but slightly less powerful light we can reduce more than 50 Euros the final bill.
A quick comparison of technical features
First of all, I suppose you know that it is more comfortable to buy everything in an Elgato Key Light pack and forget about having to do all this, but well, if you still want to continue with a solution made by you, here is a brief comparison according to the official documentation:
| HackGato Key Light | Elgato Key Light | |
|---|---|---|
| Brightness (Lumen) | 3360 | 2800 |
| Color range | 3200-5600K | 2900-7000K |
| Weight | 2,2kg | 1,25kg |
| Max Lenght (Stick) | 165cm | 125cm |
| Power Consumption | 29W | 45W |
| Total LED number | 480 | 160 |
If we pause briefly, we see that the solution we are building has more brightness, more LEDs, and less power consumption, sacrificing some color gamut and increasing weight.
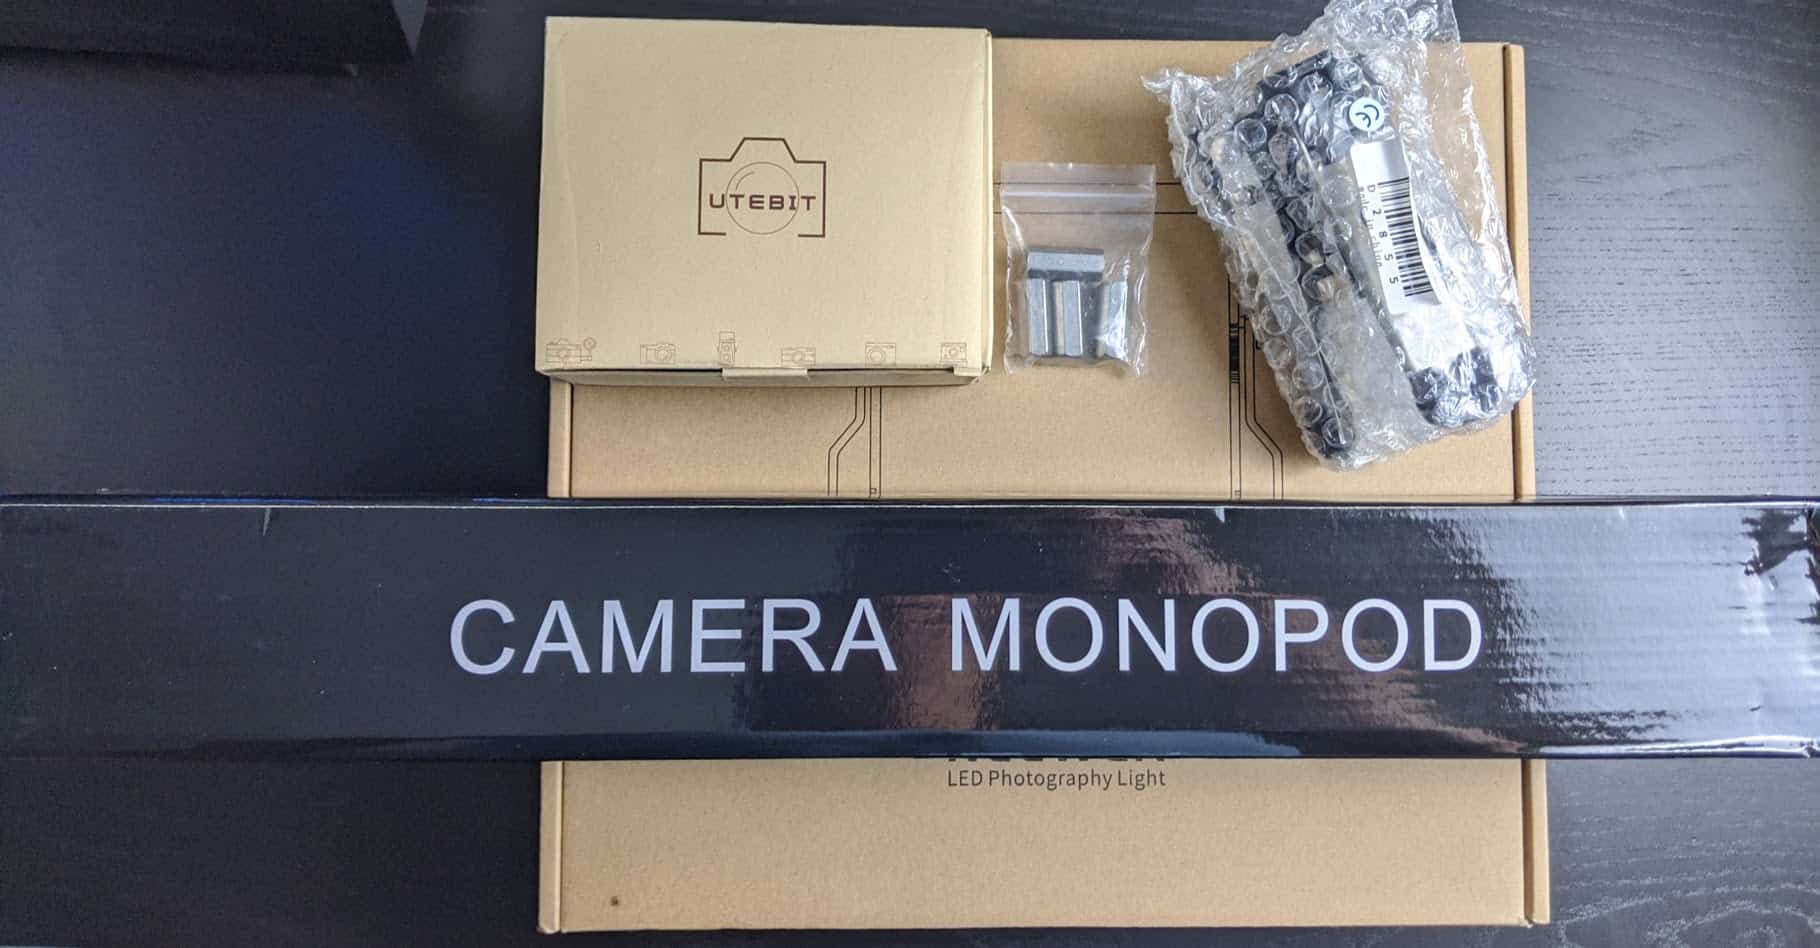
The material once we receive everything
Assembling the material is a breeze, when we have everything packed we will have something similar to this:
 Once we unpack everything, we can see the powerful light, it has some weight, it looks robust, besides the monopod, in my case of carbon fiber but it could be aluminum without any problem really to save more, besides we can see the wireless controller, the power supply, the table clamp, etc.
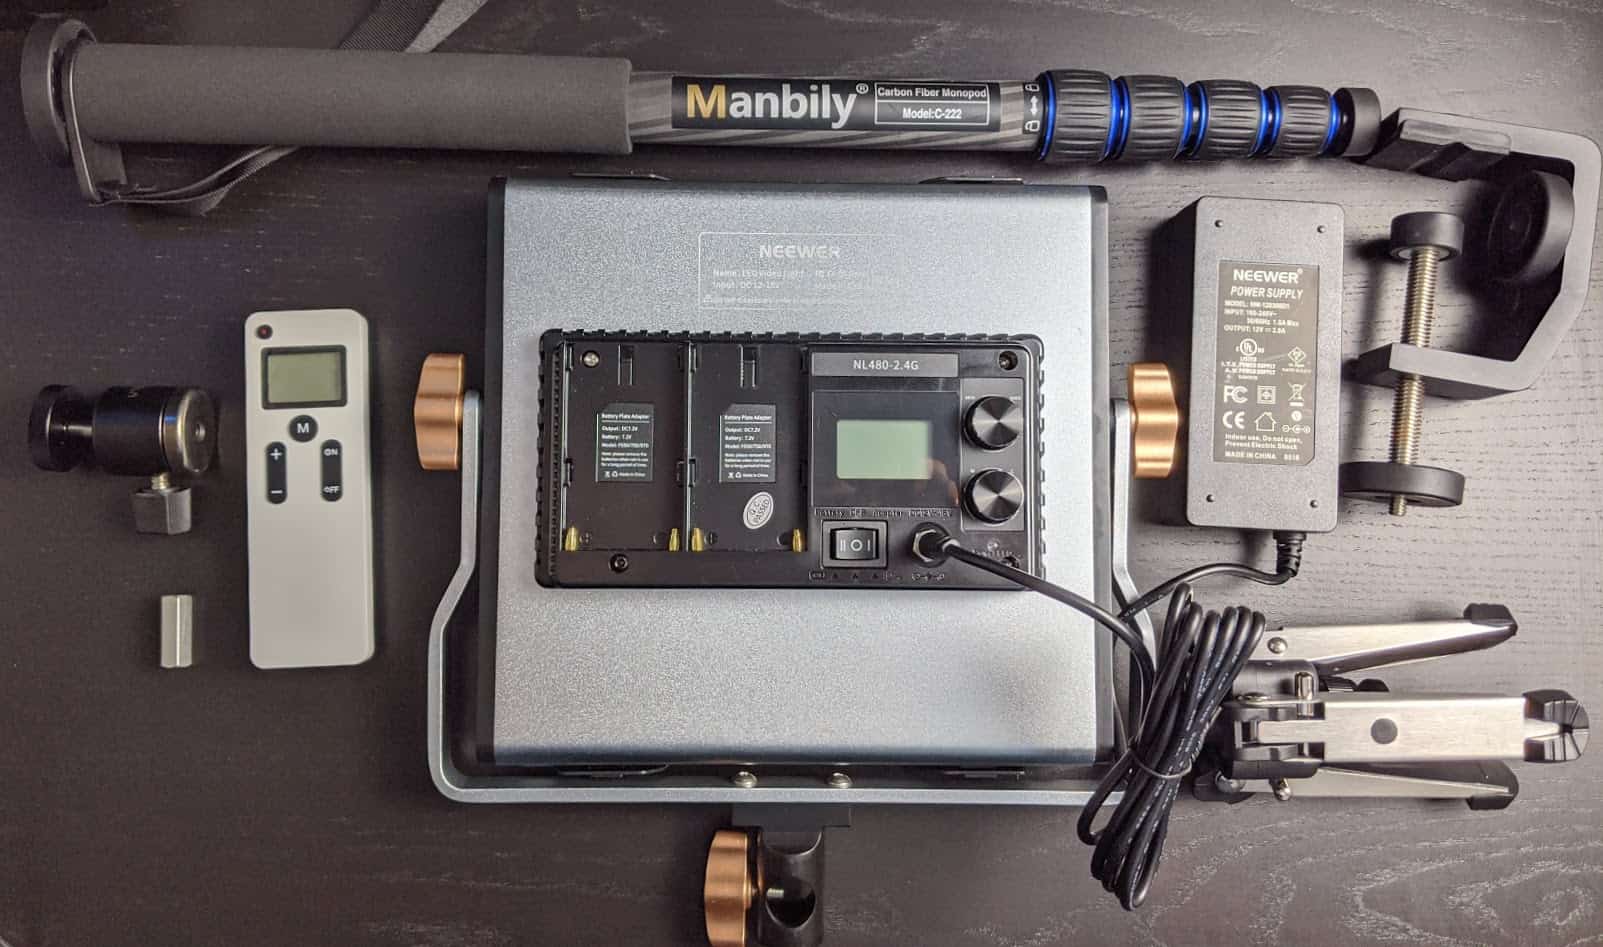 If you have noticed, the monopod already comes with a stand, the bottom right piece, so if we wanted to save more money on this kit, we could skip the clamp and use the foot only.
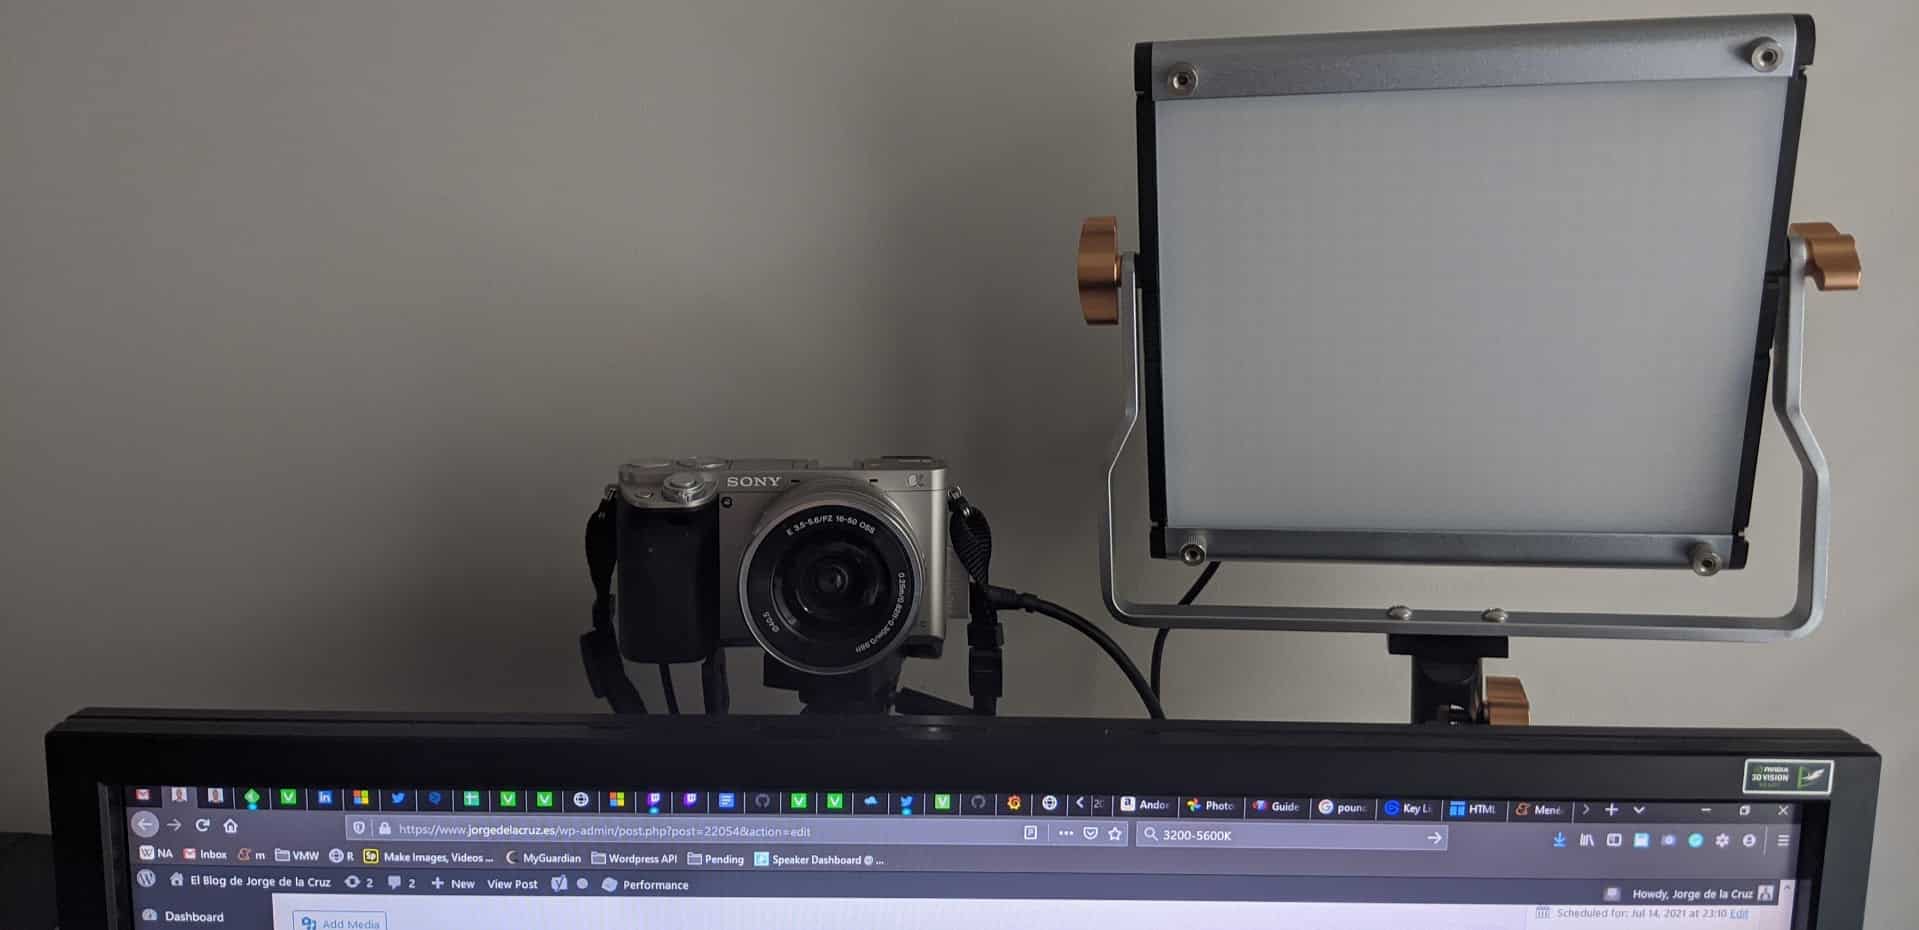
It is not very difficult to assemble everything, so I do not show you a step by step, but I leave the final result in my case:
Fast results from 3200K to 5600K playing with the power
The solution we’re setting up, HackGato Key Light, has its wireless controller and its everything, and it has allowed me to take several captures with different configurations without moving a finger, I leave you these funny captures with different illuminations (note: the room was completely dark and it’s night):
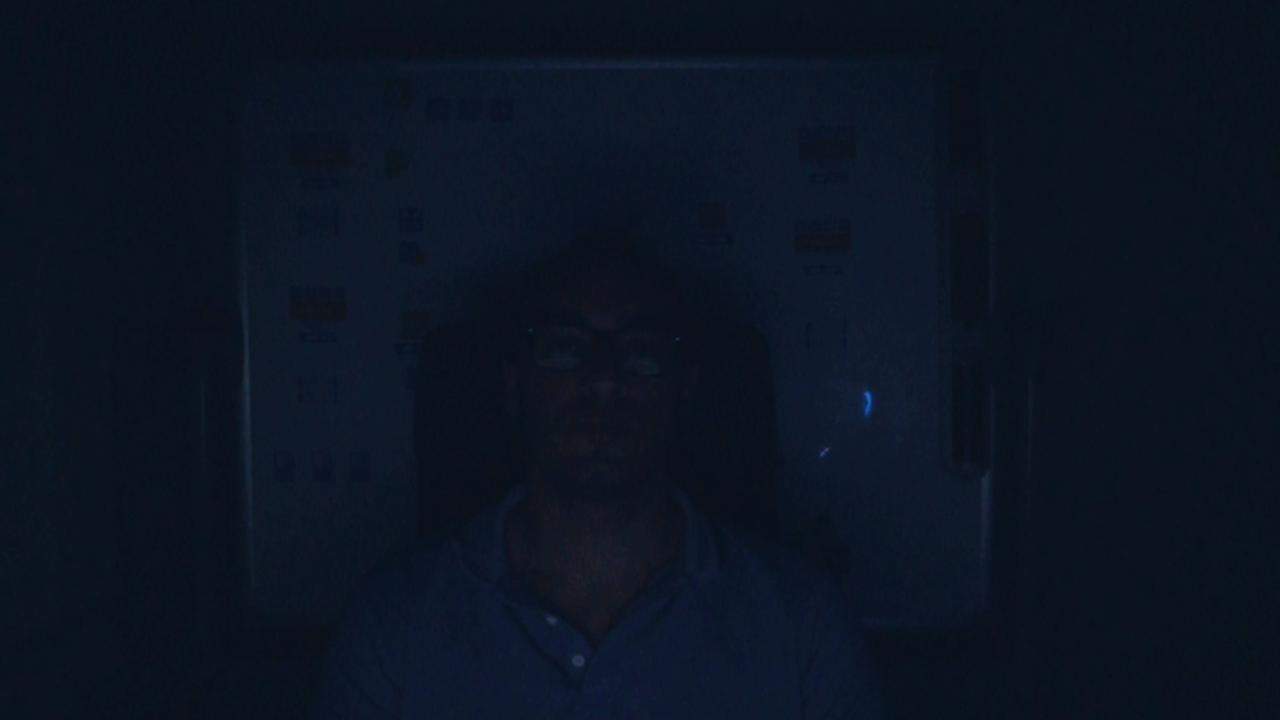
3200 Kelvin – From 10% to 100% Brightness level


3500 Kelvin – From 10% to 100% Brightness level


4000 Kelvin – From 10% to 100% Brightness level


4500 Kelvin – From 10% to 100% Brightness level


5000 Kelvin – From 10% to 100% Brightness level


5600 Kelvin – From 10% to 100% Brightness level


Quick video playing with illumination, from 5600 to 3200K and vice versa
That’s all friends, one of the biggest advantages is that you will find the components on Amazon, one of the disadvantages is that it is a solution created by you and does not have unique support in case of failures, as Elgato is.
Leave a Reply