
 Greetings friends, I continue with the series about Veeam and Microsoft Azure, if we remember the drawing of the first entry, we will see that in Microsoft Azure we will deploy a Veeam Backup & Replication server, with the purpose of serving as a Backup Repository, and at the same time be able to operate and recover jobs directly to Azure, in case our main datacenter fails:

Deploying Veeam Backup & Replication directly from the Azure Marketplace
Veeam has been offering Veeam Backup & Replication 9.5 U3 directly from the Azure Marketplace for some time now, this is very convenient and includes:
- A fully functional and installed Windows Server 2016.
- An automatically pre-installed instance of Veeam Backup & Replication 9.5U3, with SQLexpress
From our Microsoft Azure console, click on Create a resource, and search for Veeam, we will see several results, in this case select Veeam Backup & Replication 9.5
 Click on Create:
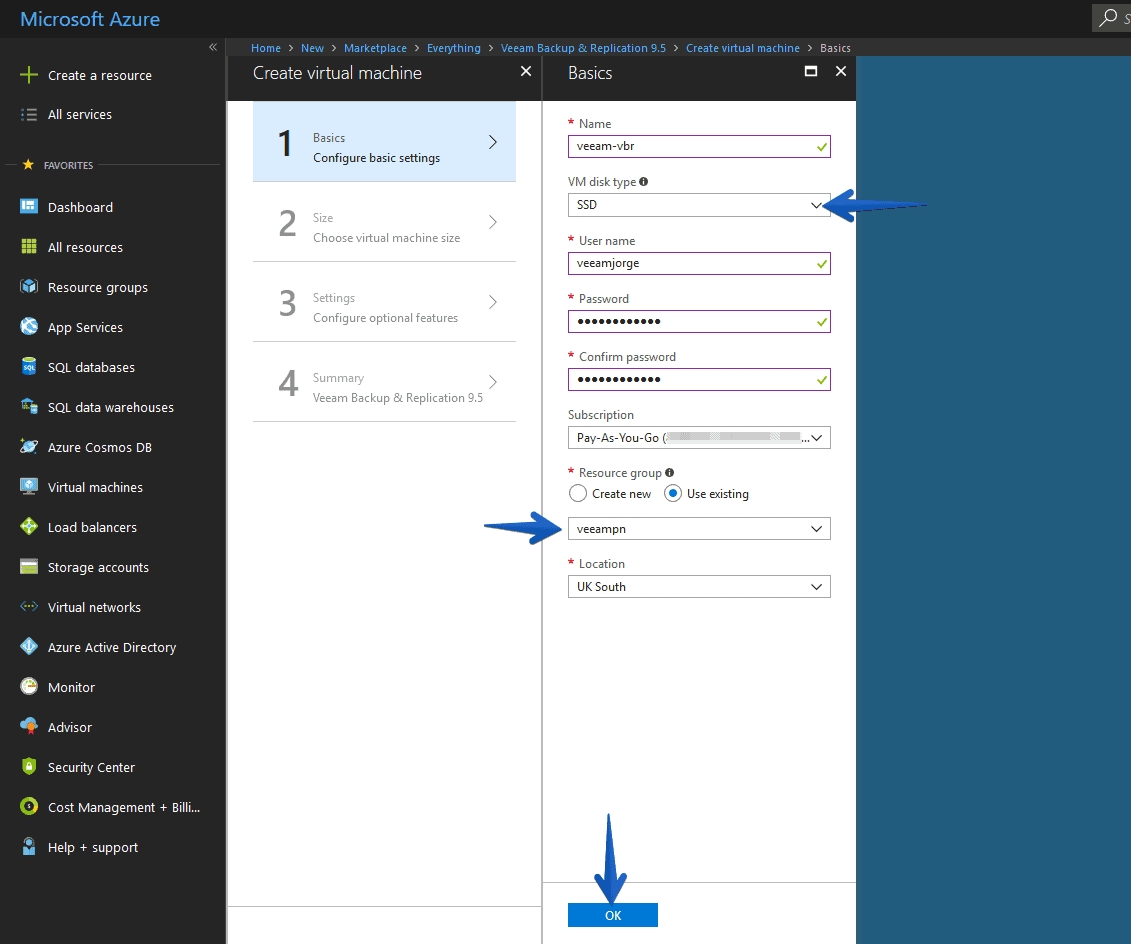
 In the data entry process, we will introduce the name of the VM, the type of disk, although in the end the template only works with HDD, the Windows username and password, the group of resources we already have, and also in location we adjust it to our needs.
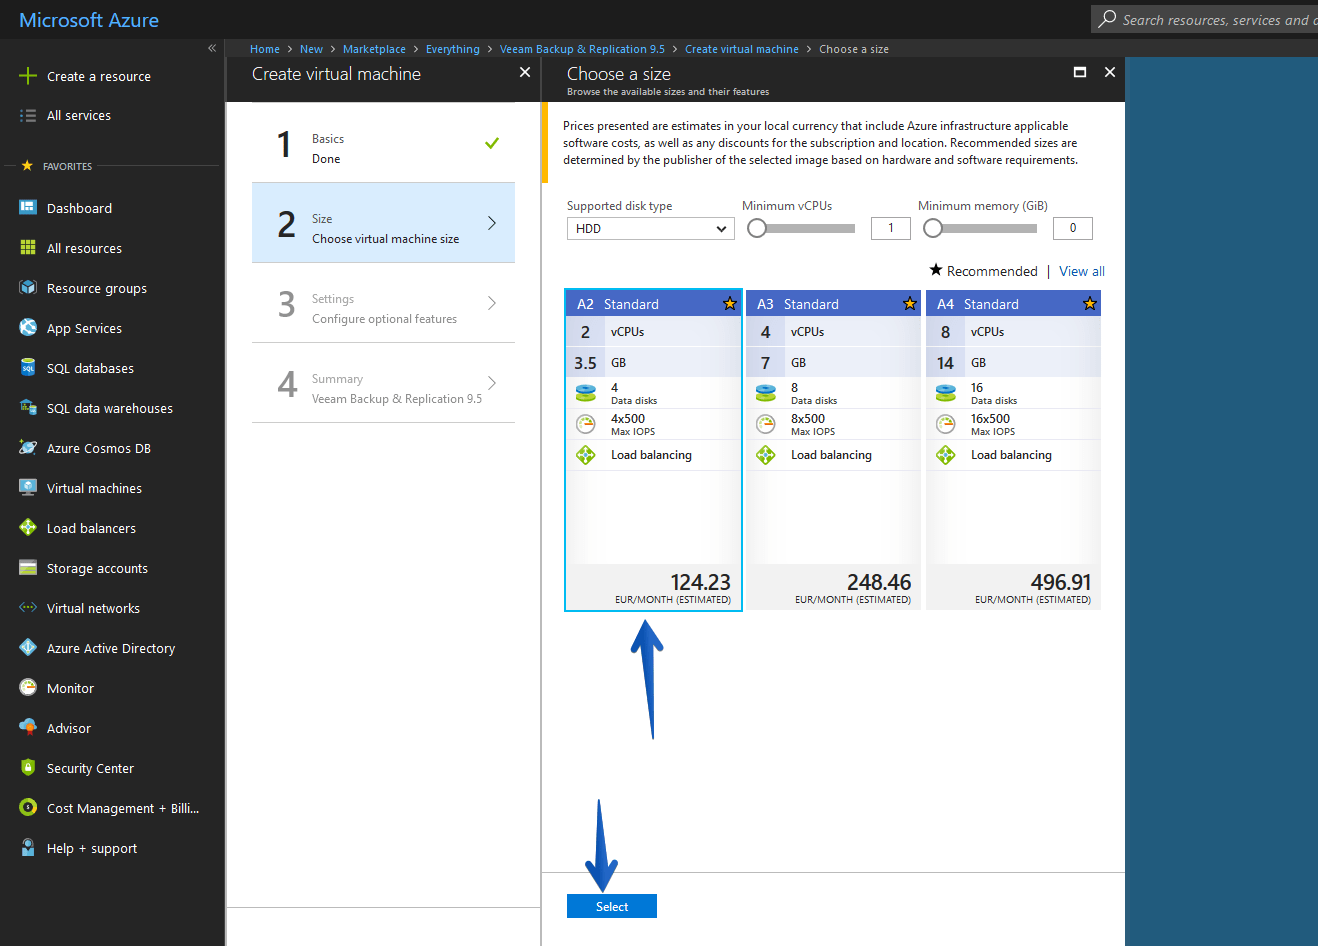
 When creating the VM, we can select different types of VM, depending on the size of our Backup Copy Jobs, we will have to select between the 3 here present, let’s see a little more:
- A2 – Standard: Something small for our purpose, but it can certainly be used without problems, since in the end no work will be done from this VBR other than Direct Restore to Microsoft Azure. Note that we can only attach 4 additional disks, and that each disk the maximum size is 4TB.
- A3 – Standard: This would be the option I recommend, as we can choose up to 8 4TB disks, and has more CPU and RAM power, in case we need it.
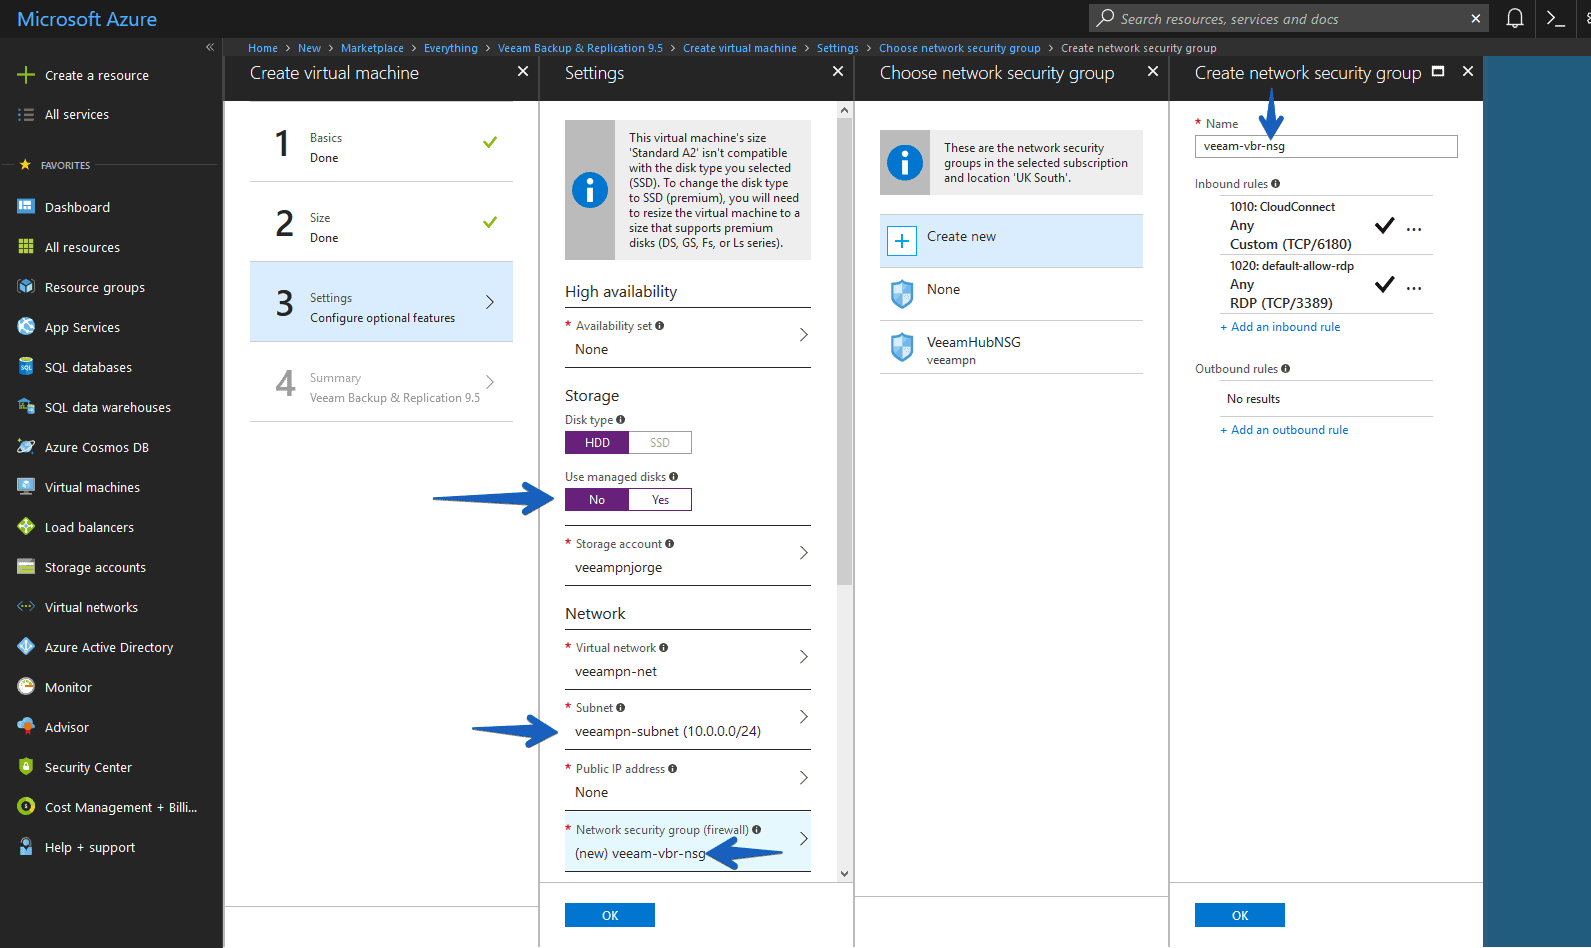
 At the Storage level we will select that we do not want managed disks, we will select our virtual network and subnet that we have created previously, and we will leave the firewall group that comes by default, with ports 6180 and 3389 open, none more.
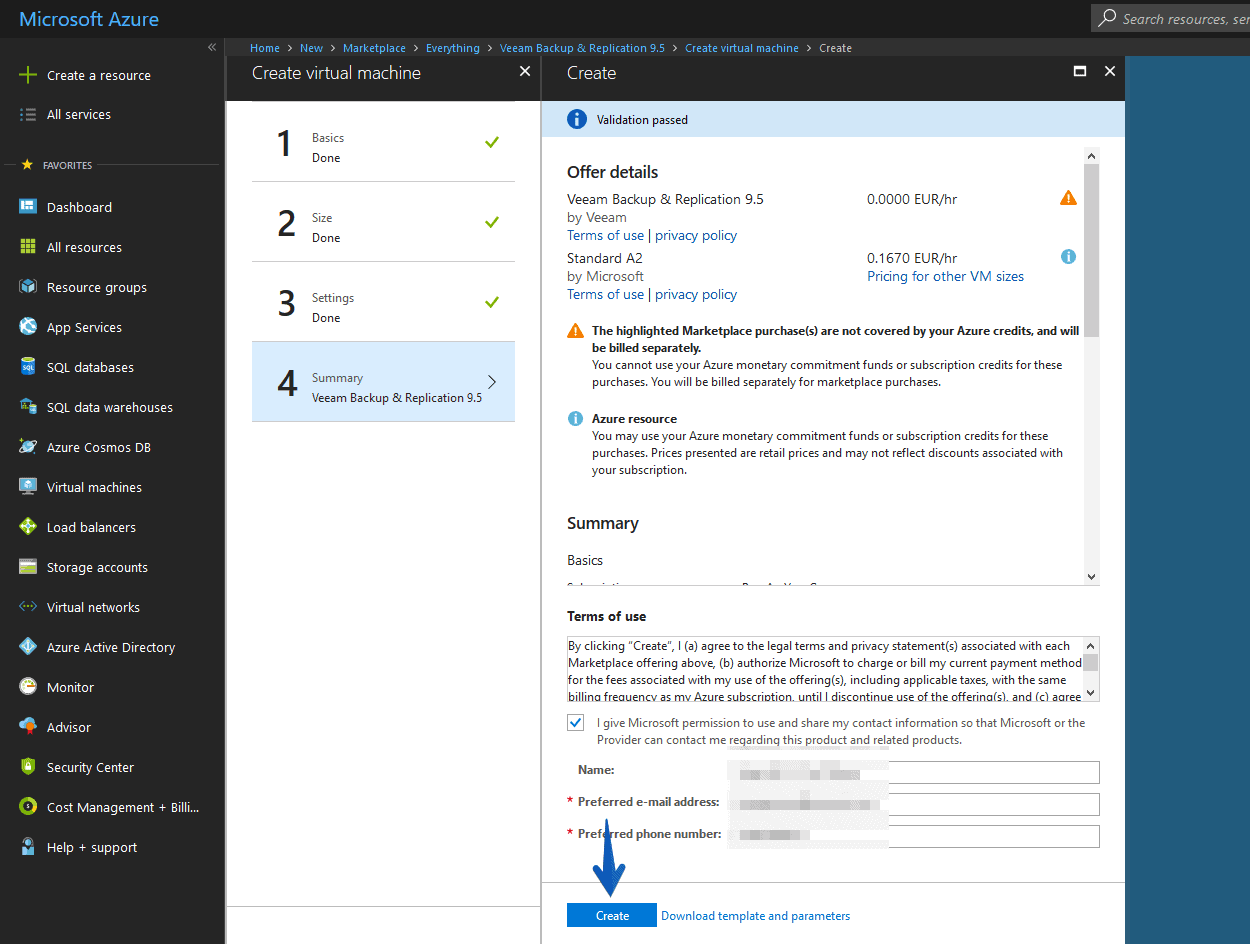
 The last step is to confirm that everything is OK, accept the terms of use and continue.
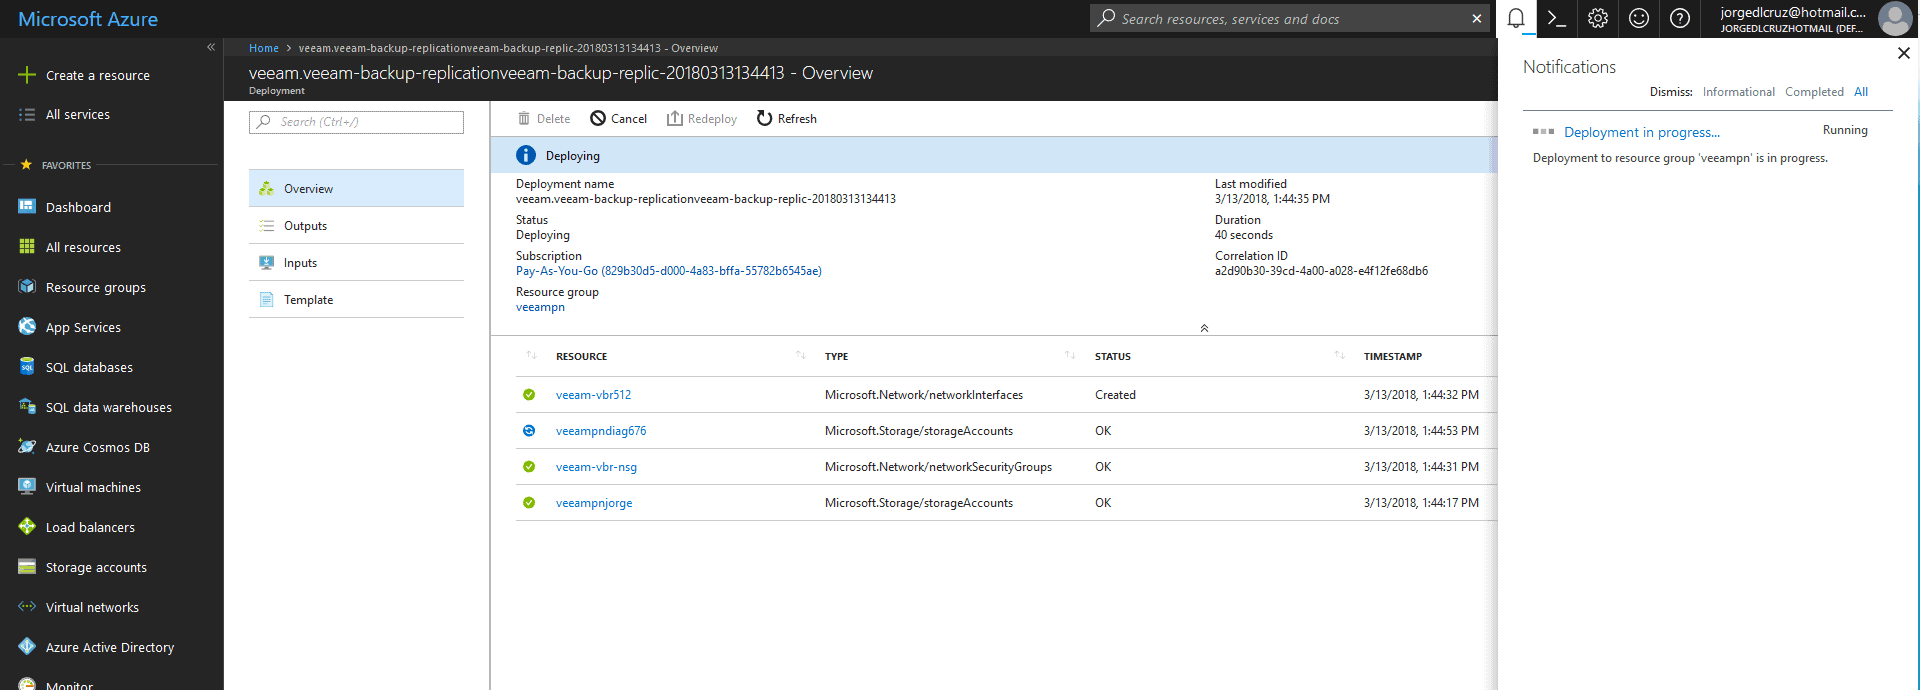
 We will see the process of creating the Virtual Machine live:
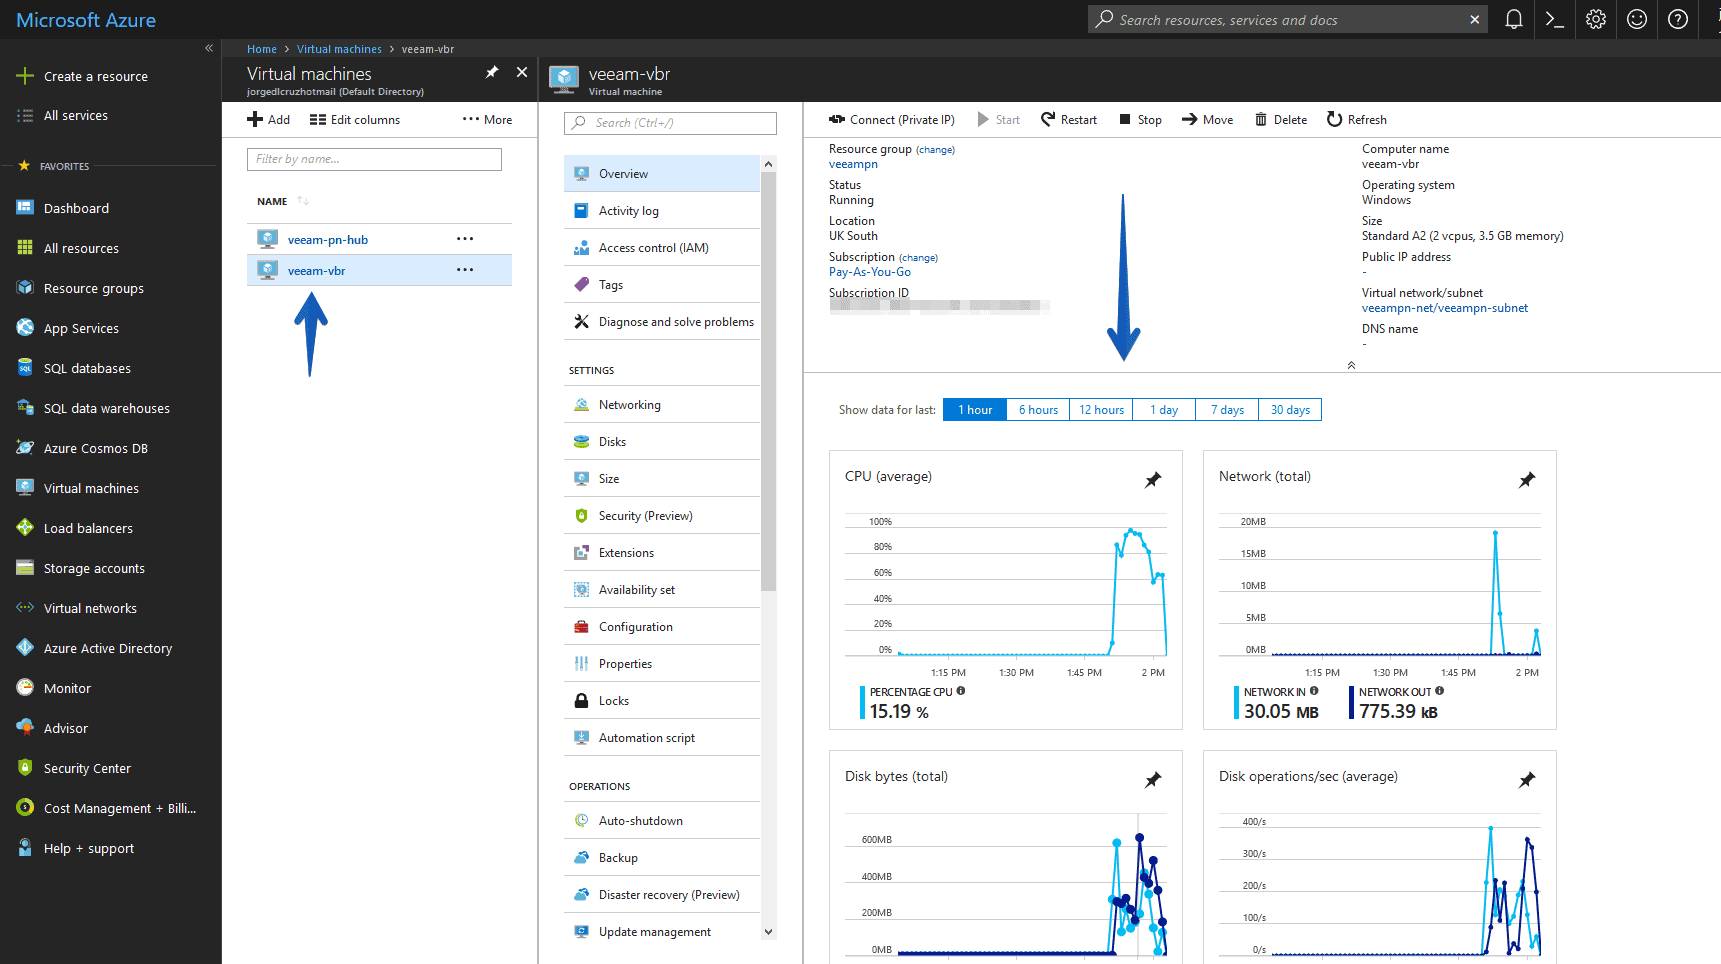
 And once created, we can see the consumption of CPU, RAM, and so on. In this case we don’t have a Public IP, as we obviously don’t need one.
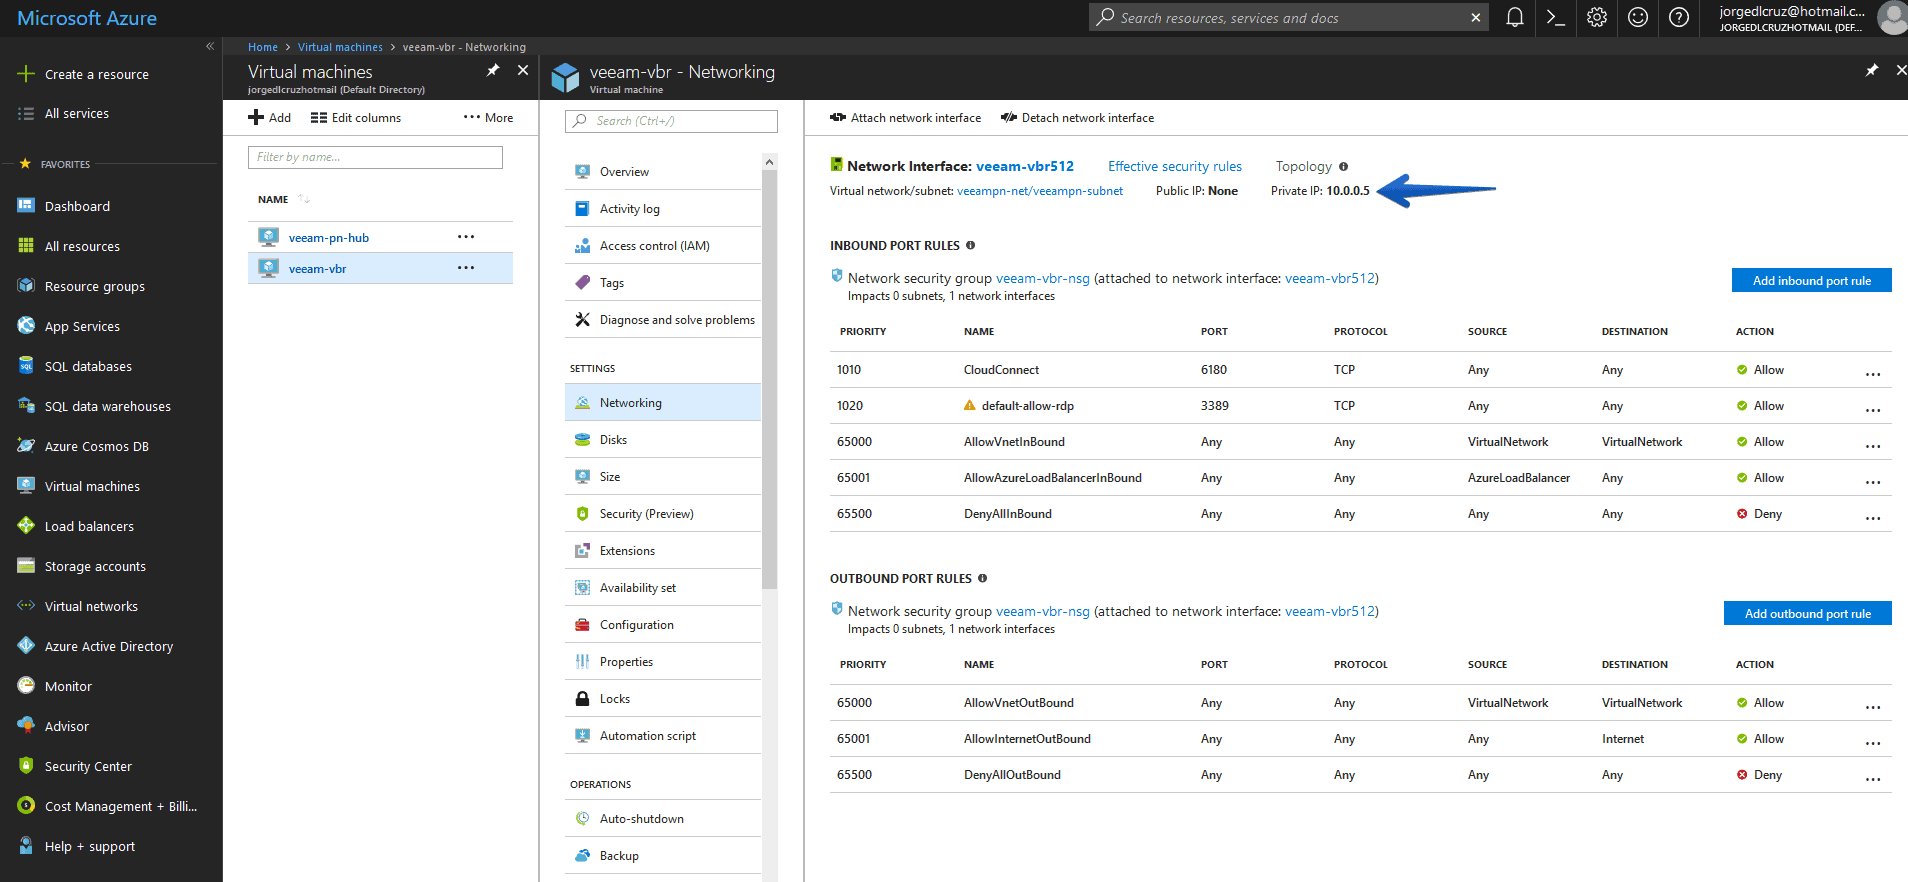
 However, if we go to Networking, we can see the private IP of this VM, which will be useful for the following Blog posts.
Adding extra disks for Veeam jobs
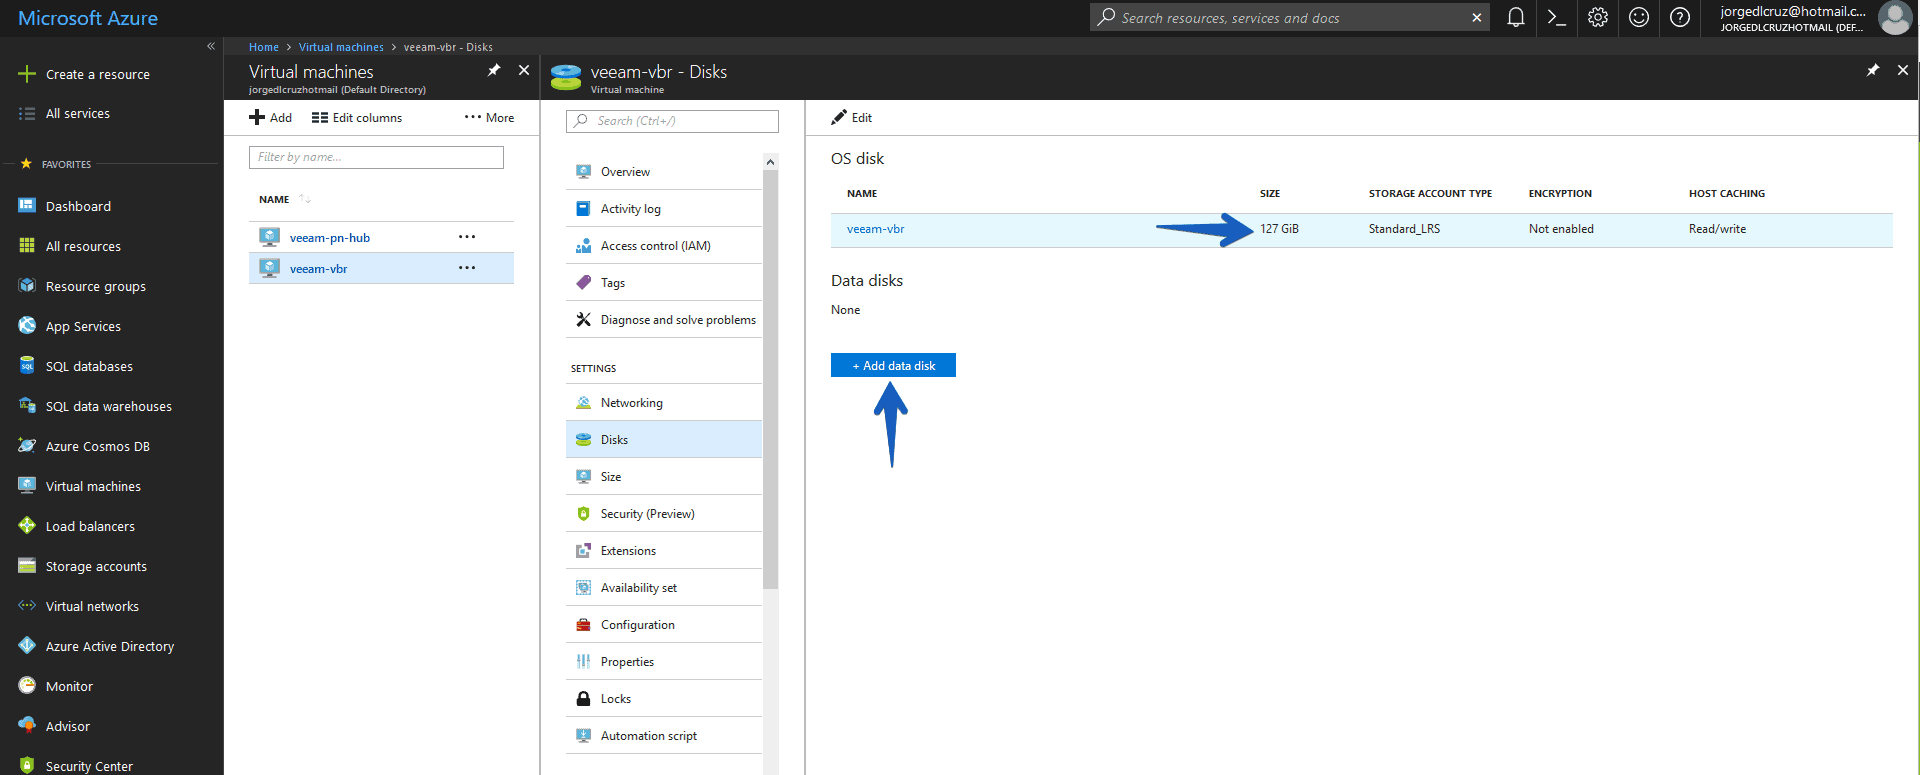
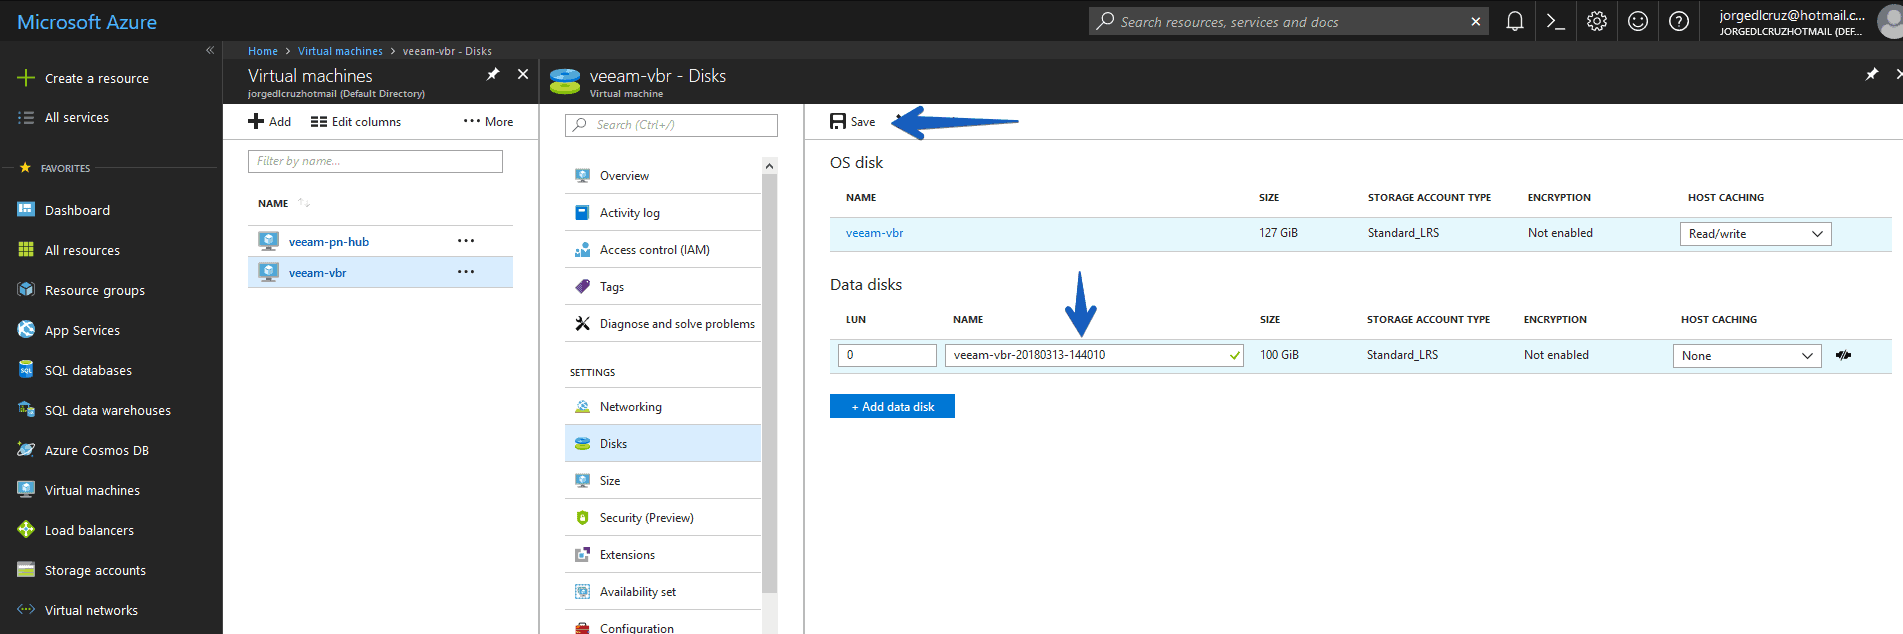
By default the VM comes with only the operating system disk which is 127GB, which is insufficient for our purpose, so from the Azure console, we will go to the VM Disks section of the VBR, and click Add data disk:
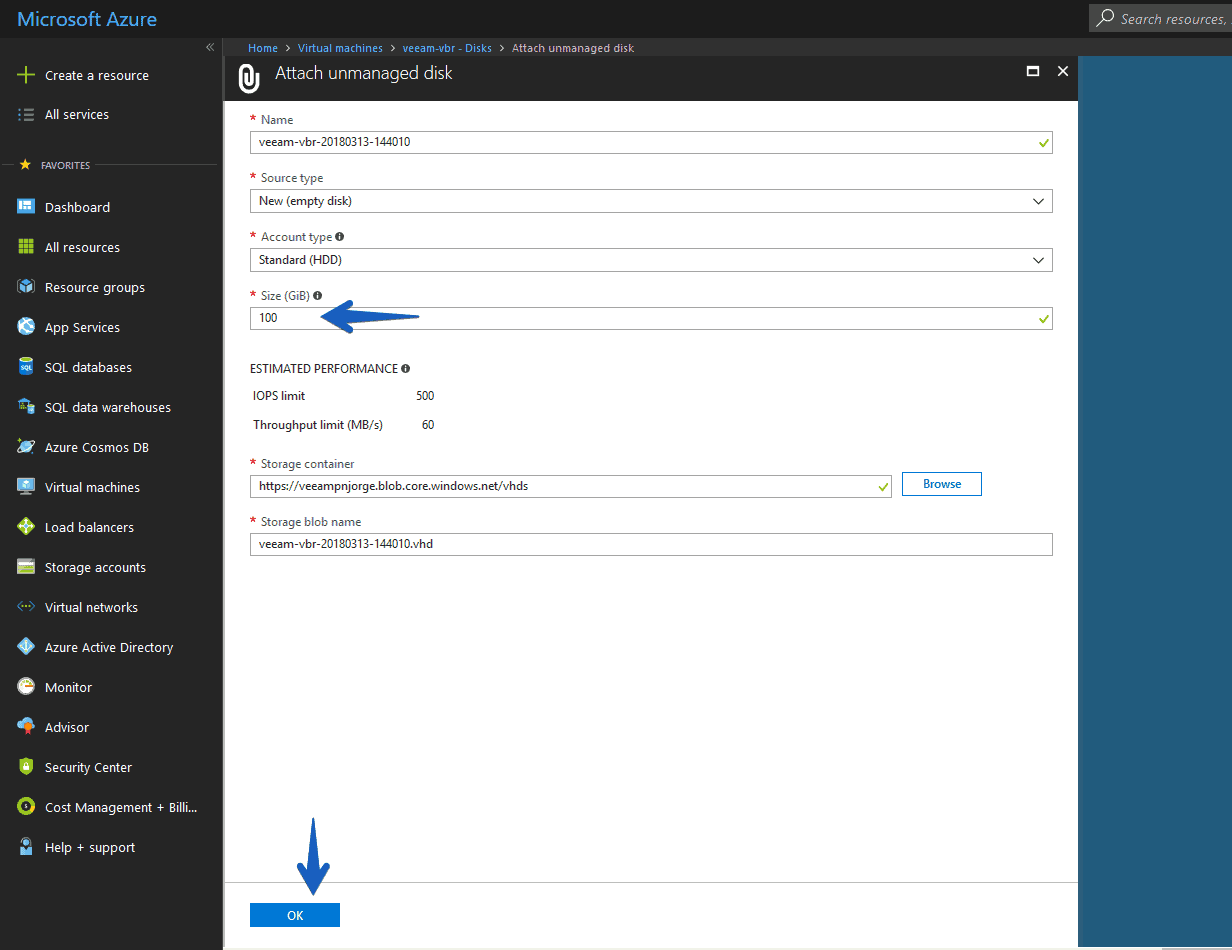
 Select the type of disk we want, and the size of it, to try I have created 100GB, maximum is 4TB. Keep in mind that the basic Azure disk type has a performance of 60MB/s and 500 iops, so the tasks of launching backup copy jobs and restoring Microsoft Azure can reach this limit if you have fast lines.
 Click Save, and we can see the disk connected to the VM.
Connecting for the first time by RDP to our Veeam Backup & Replication in Azure
When we have everything ready, we will make a RDP to the private IP that we have seen before, from our local datacenter we could connect thanks to VeeamPN as we have seen before.
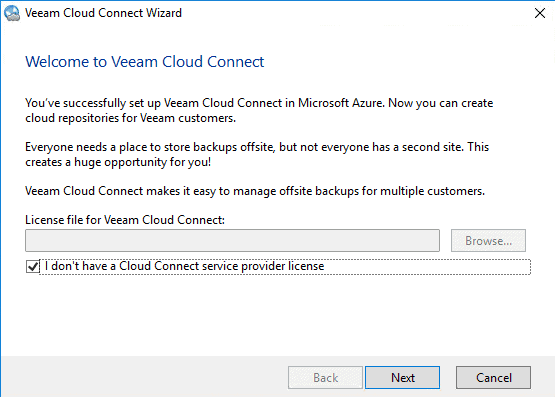
The first message we get is if we want to enter a Cloud Connect license, we’ll click that we don’t have a Cloud Connect license, and then Next.
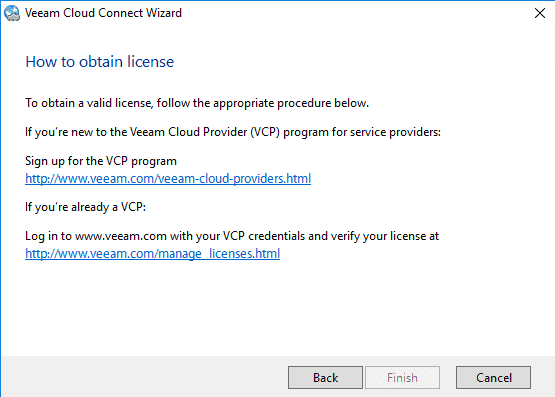
 This will show us a little more information about the VCSP program, we’ll click Cancel.
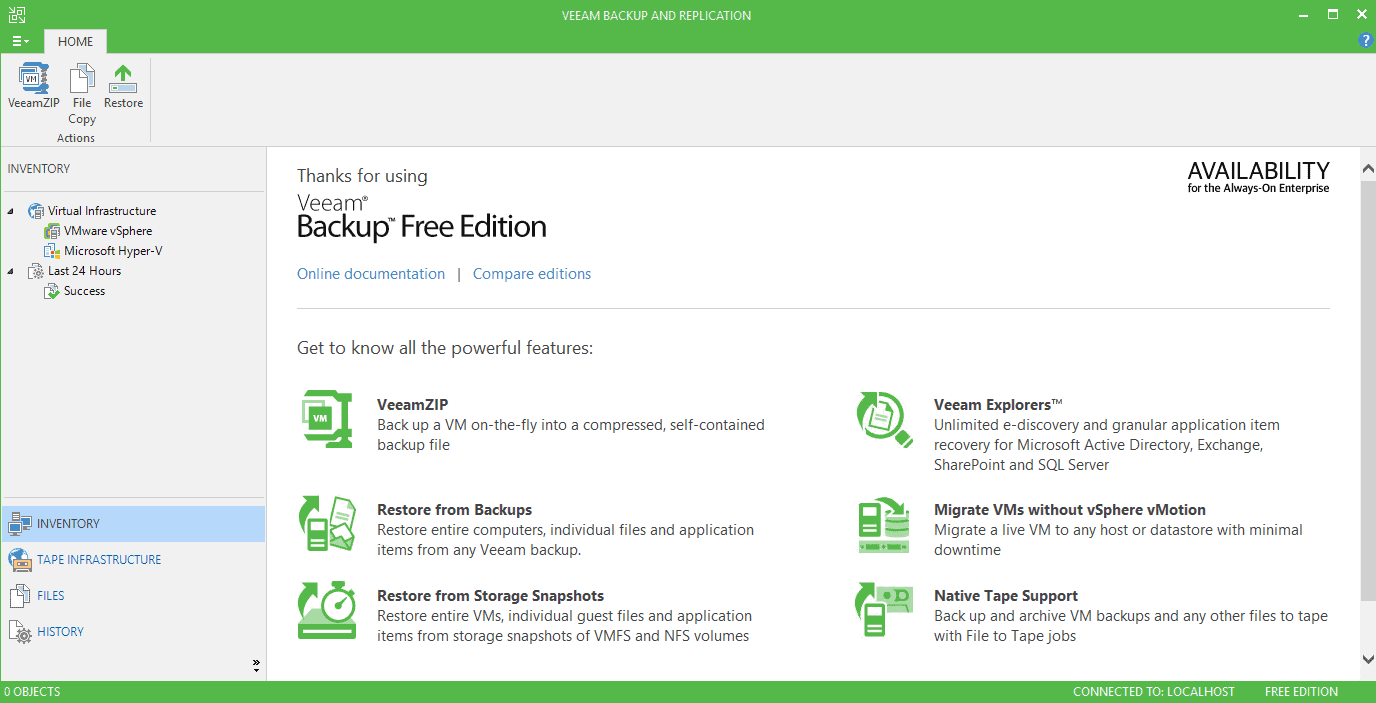
 If we open the VBR console, we will see that by default we are using the Veeam Backup Free Edition version.
 That’s all for now, we have everything ready on this server as well.
I would like to leave you the list of articles that we will be seeing throughout the series:
- Backup and restore workloads to Microsoft Azure – Introduction
- Backup and restore workloads to Microsoft Azure – Connectivity between our Datacenter and Microsoft Azure
- Backup and restore workloads to Microsoft Azure – Deploy Veeam Backup & Replication in Microsoft Azure
- Backup and restore workloads to Microsoft Azure – Configuration in our Datacenter for backup to Microsoft Azure
- Backup and restore workloads to Microsoft Azure – Restoring Microsoft Azure, from Microsoft Azure
- Backup and restore workloads to Microsoft Azure – Migrate workloads from Microsoft Azure to our Datacenter
[…] Backup and restore workloads to Microsoft Azure – Deploy Veeam Backup & Replication in Microso… […]