
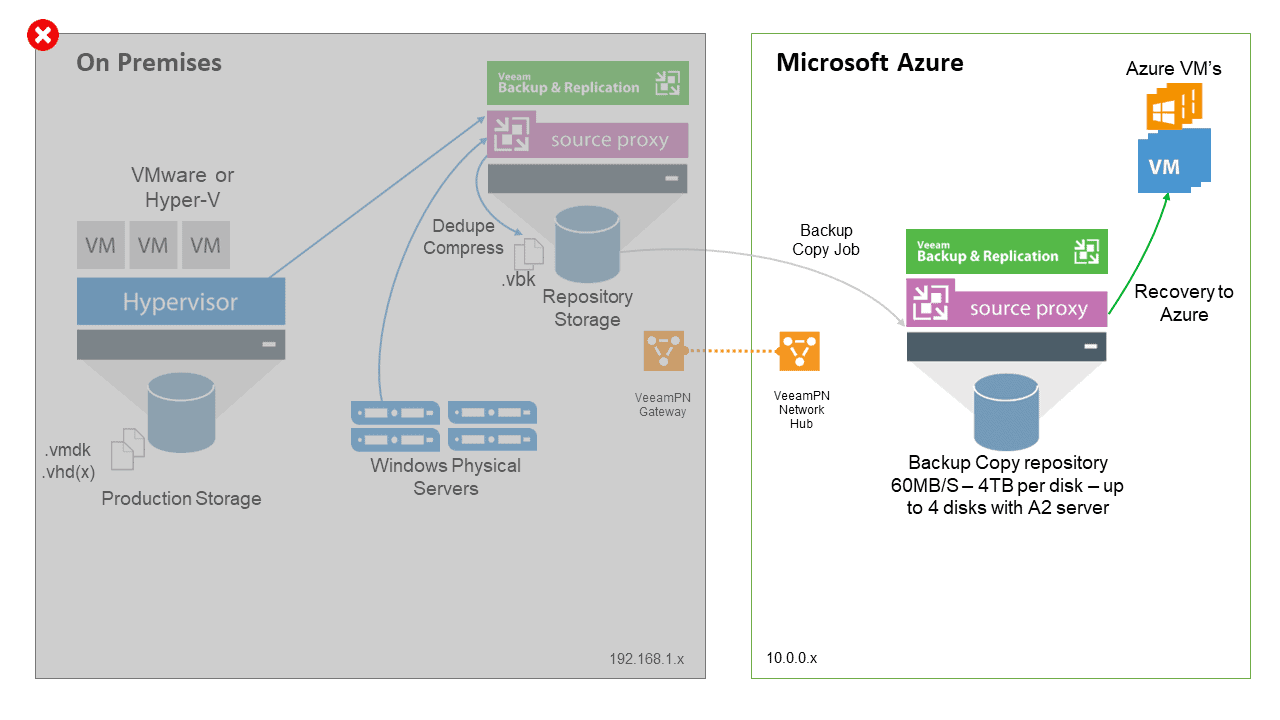
 Greetings friends, I continue with the series of blogs about how to move workloads from our Datacenter to Microsoft Azure, what we are going to see today is how to recover those backups that we have released in the previous series, using directly the functionality called Direct Restore to Microsoft Azure:
Adding our Microsoft Azure account to Veeam Backup & Replication Console
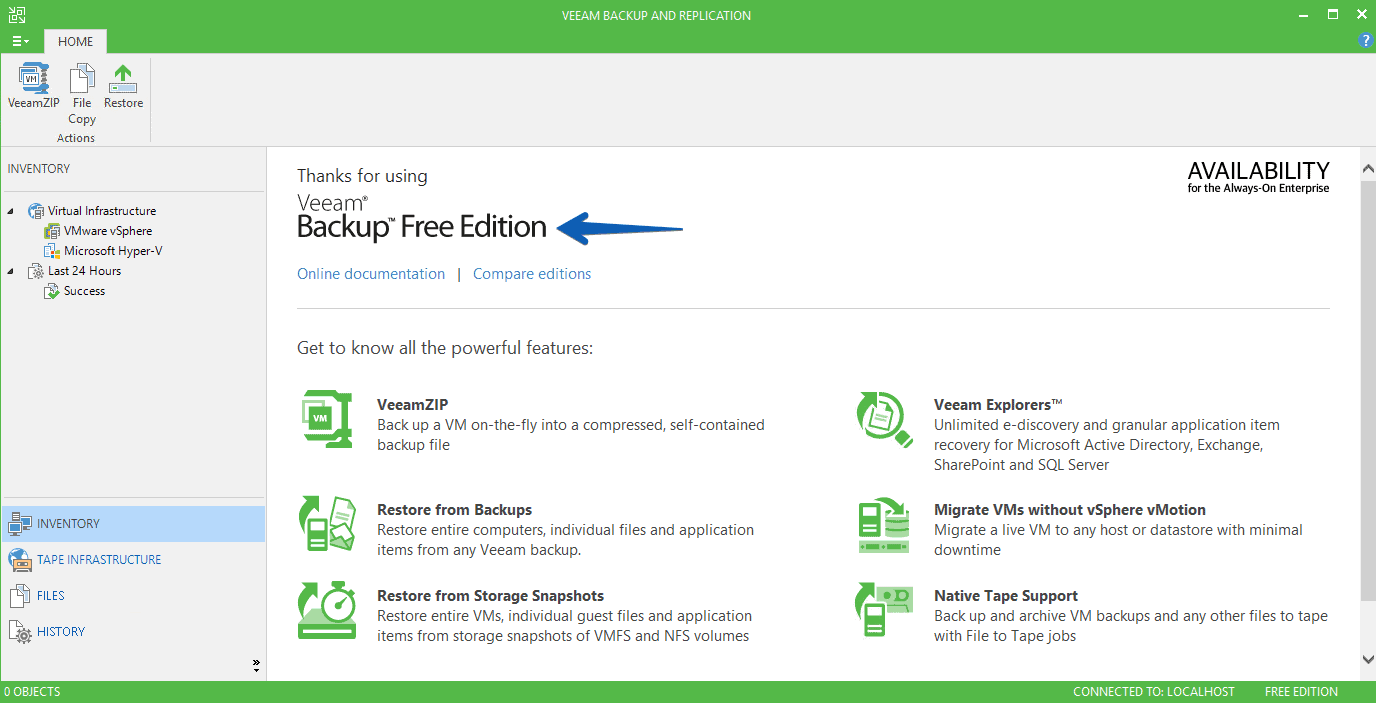
The first step will be to open our VBR, remember that I told you that it is better to use a 0 sockets license that you can ask Veeam, in this case I will show you the steps with the Free license of Veeam which is much more manual steps, here we go:
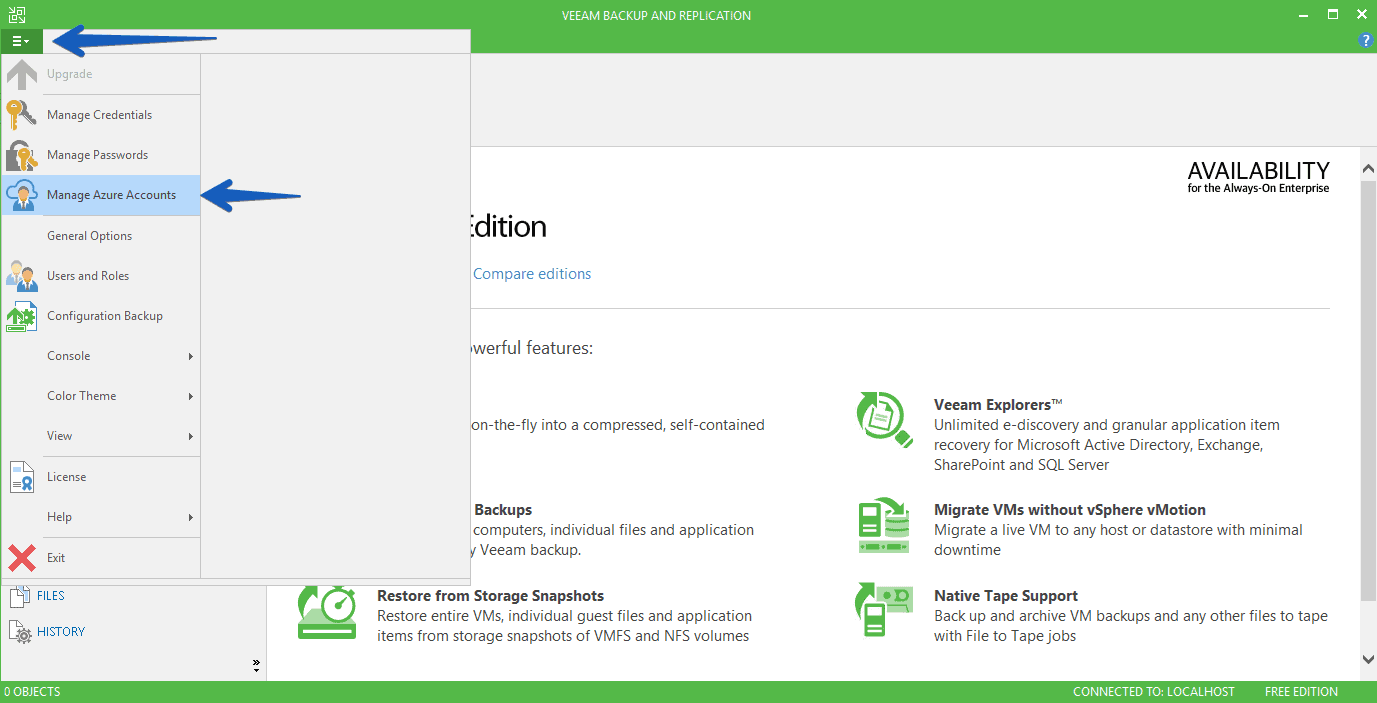
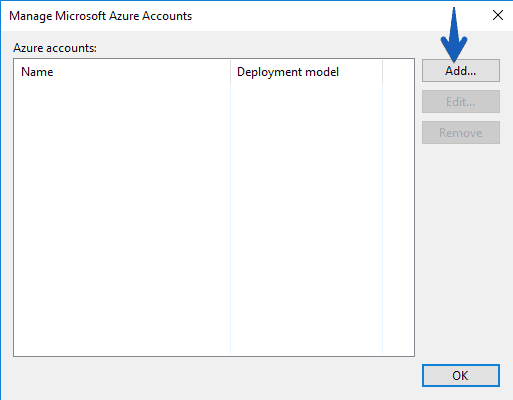
 In the top menu, click and select Manage Azure Accounts:
 We will not have any configured, so we will click on Add:
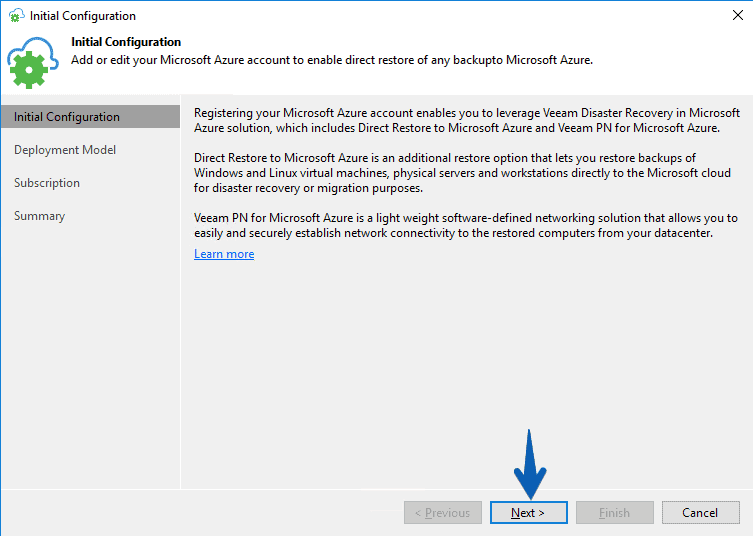
 Select Next >
 Select the first option, called Azure Resource Manager (recommended)
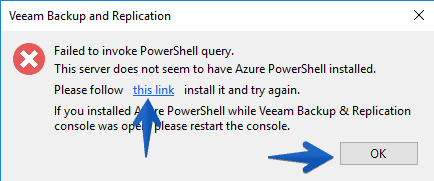
 As I do not have the Azure PowerShell installed, I will get an error, luckily if we click on the link will start the installation:
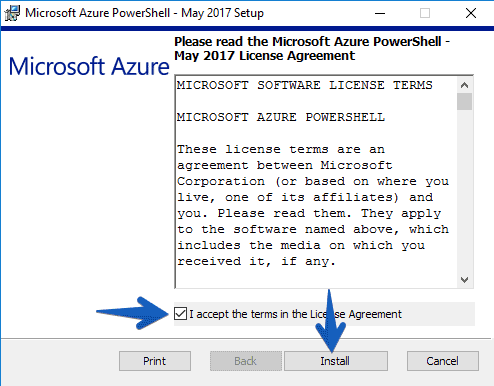
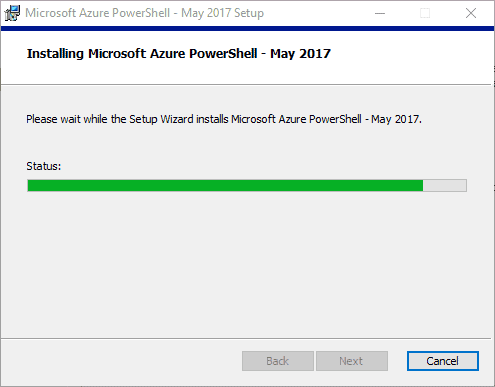
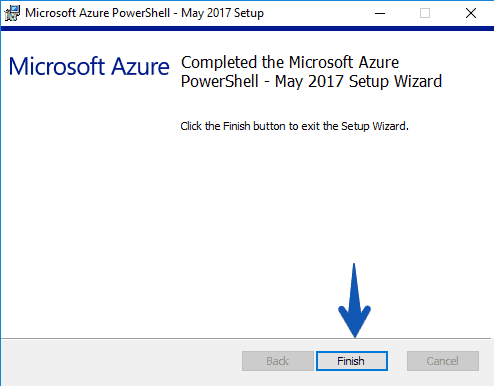
 The installer, very simple as follows, will install the latest version of Azure Powershell:
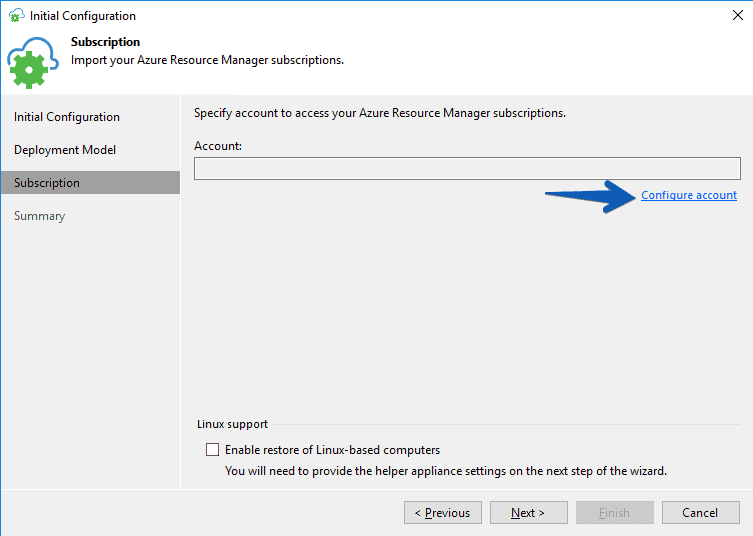
 Now that we already have the Microsoft Azure PowerShell, we can continue, in the Subscription section, click on Configure account:
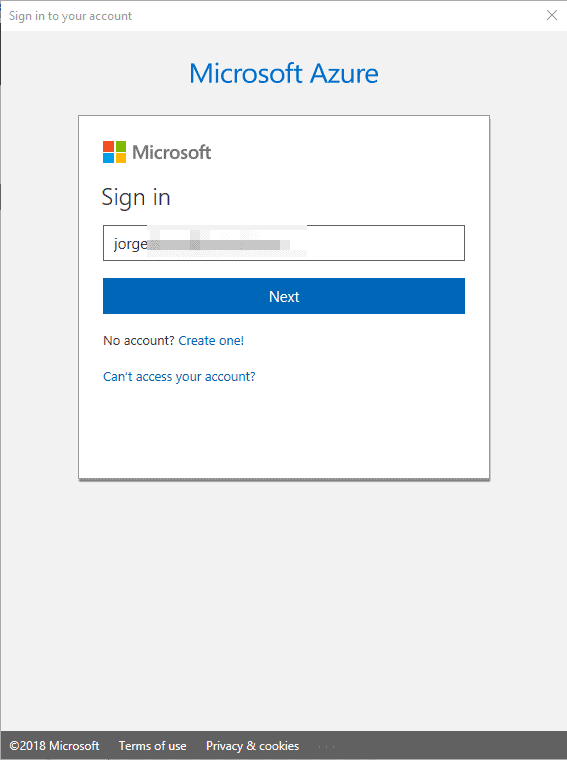
 We will see the typical Microsoft login popup:
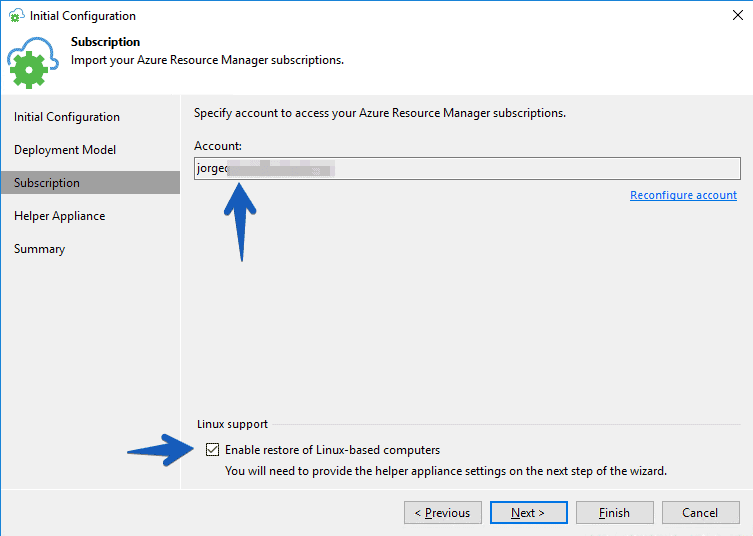
 Once we have our account, we will click on the checkbox of enable restore of Linux-based computers, as we probably have VM with Linux that we want to move to Azure:
 By clicking on the Linux checkbox, an extra step will appear, the Helper Appliance, we will configure it as follows:
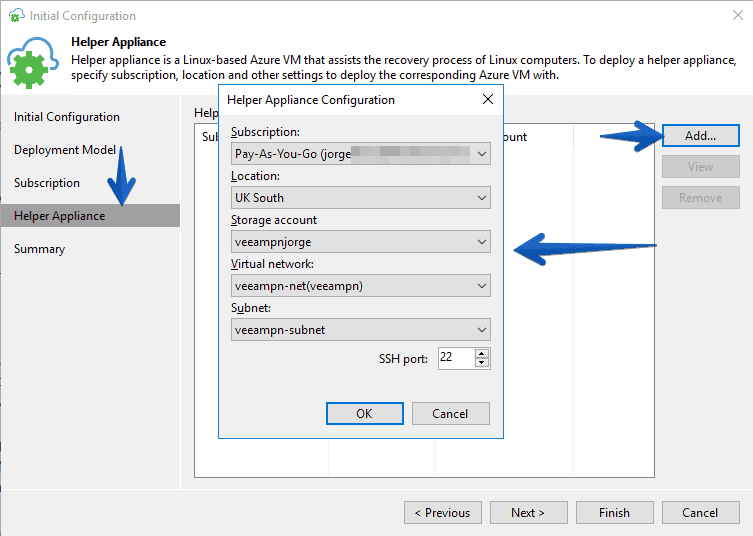 This will launch this appliance in Microsoft Azure to help us with the deployment of Linux VM:
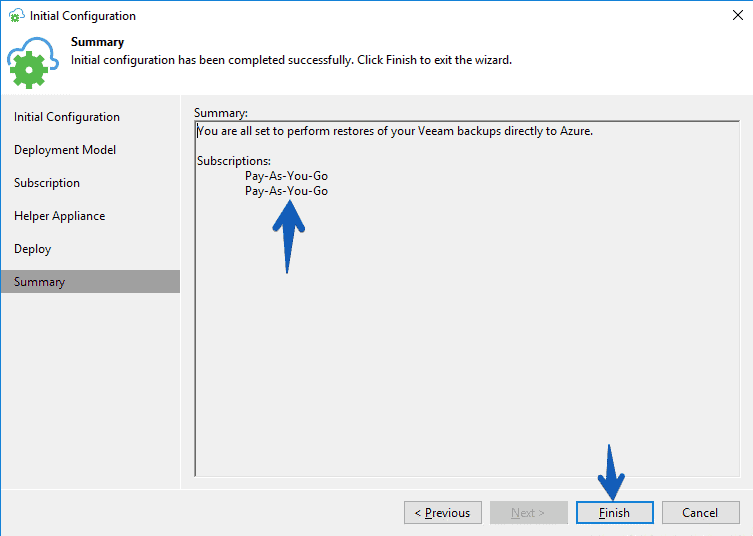
 Finally, if everything is correct, we will click on Finish:
Restoring backups to Microsoft Azure using the Veeam Backup & Replication Console
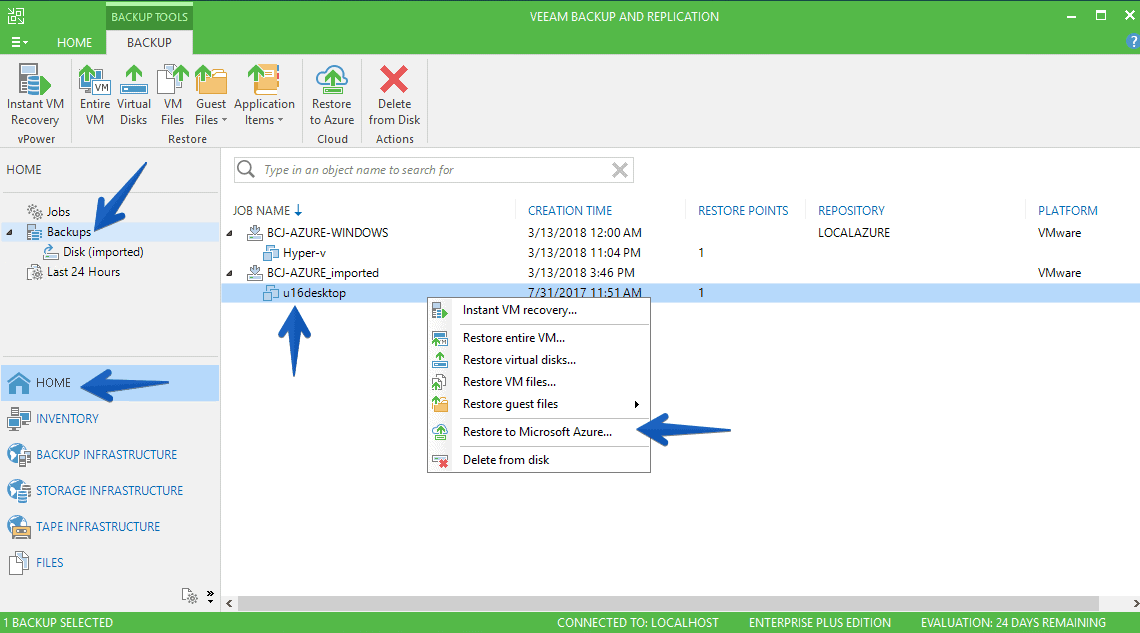
Once we have everything ready with the Azure credentials, we can select Restore
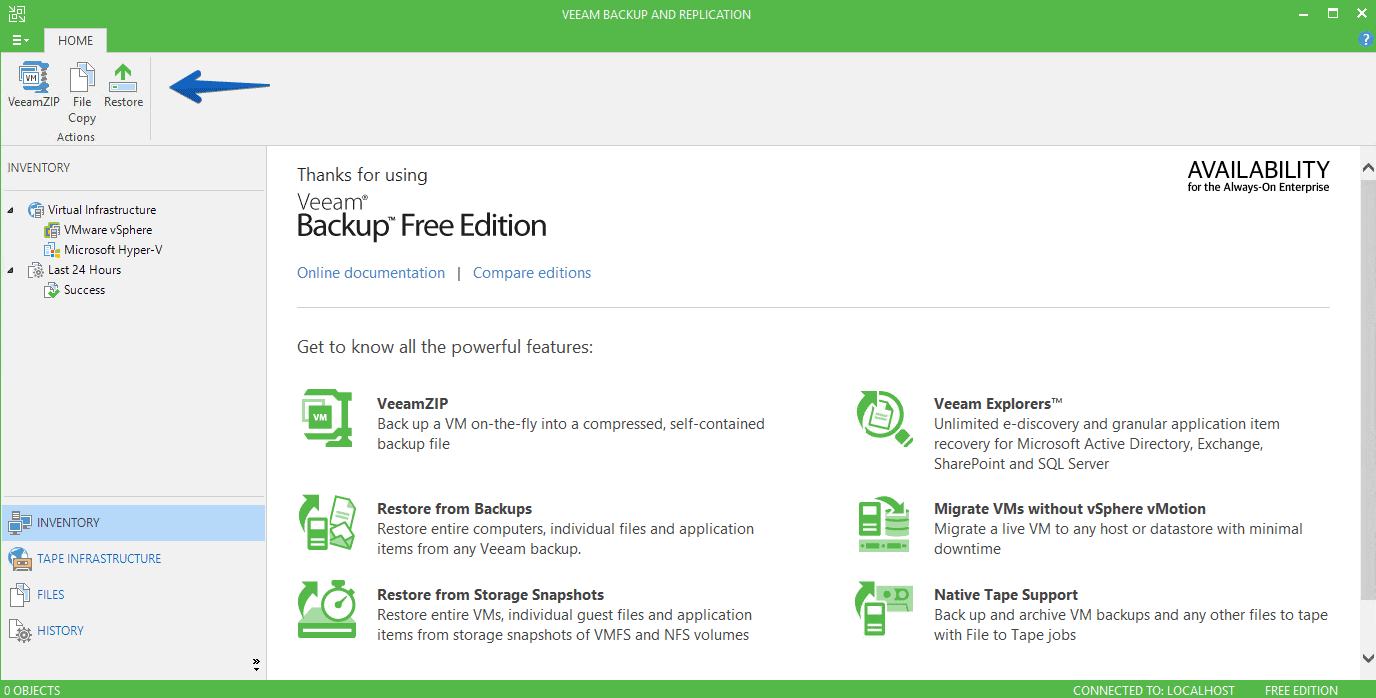 Search our hard drive for the Backup job (this is something manual that if we had a Veeam license is not necessary, since we can add the Backup Repository and see the jobs much better), once we select we will click Restore to Azure:
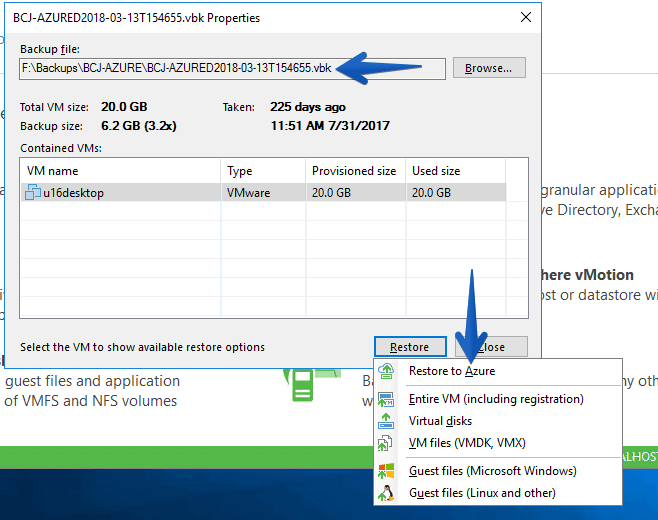 We will select Azure Resource Manager:
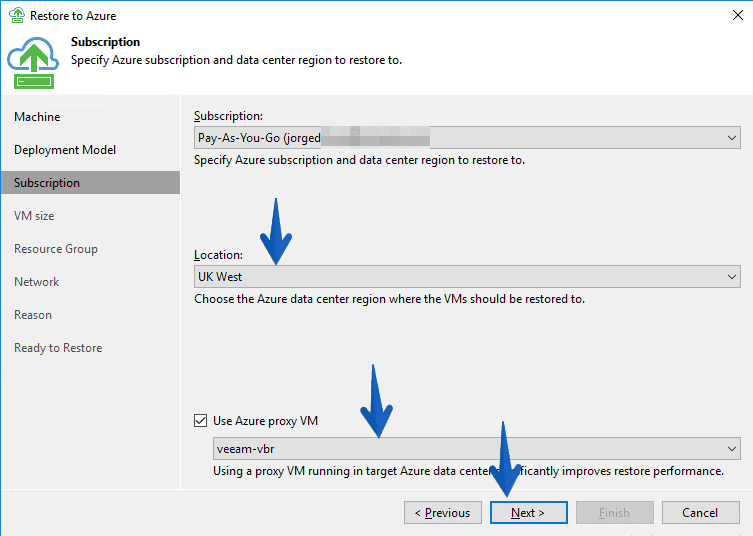
 The subscription we have for our Azure:
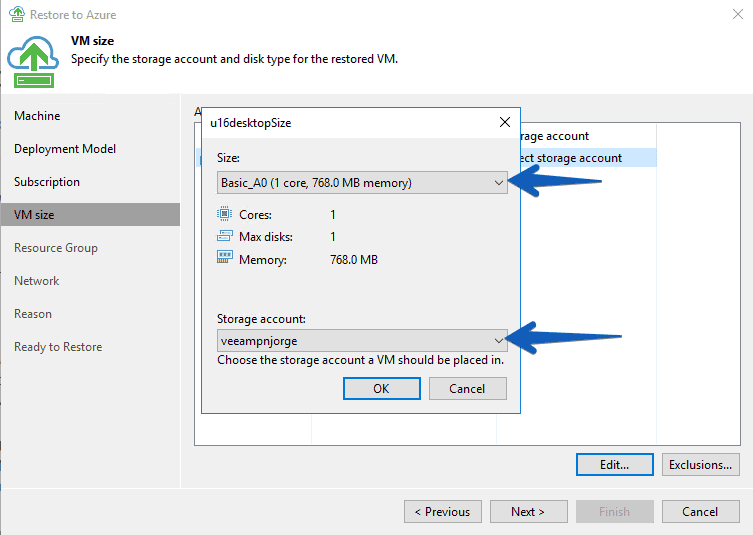
 Here comes the interesting thing, we can restore the VM to a lower hardware configuration, or higher or similar, to our own needs:
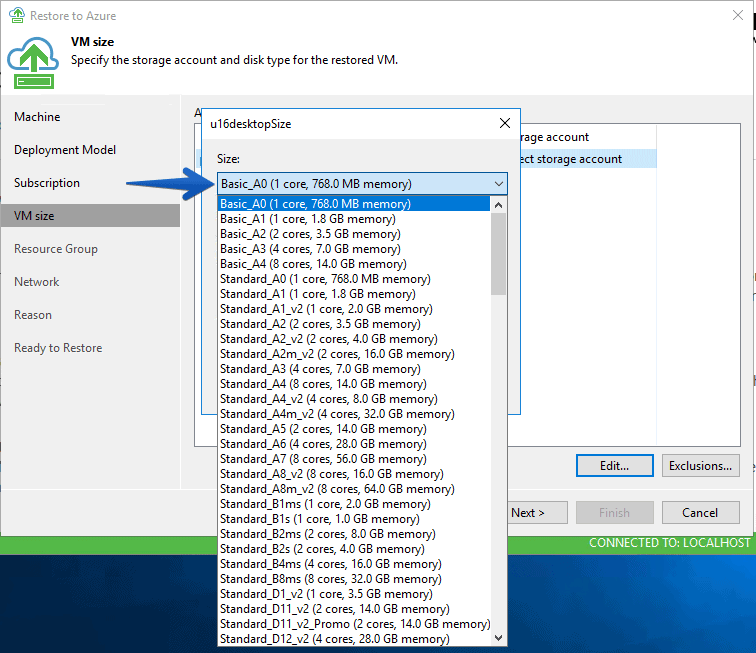 In my case I selected the same one I had, and the storage account we configured in previous steps:
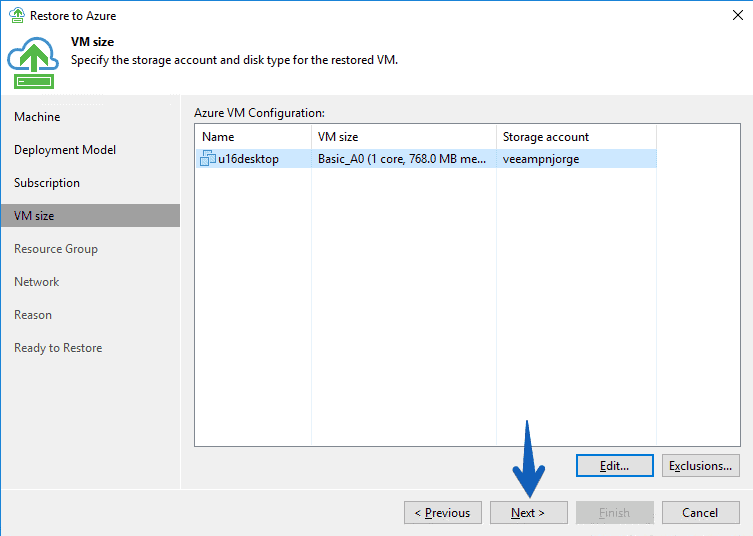
 We’ll click Next:
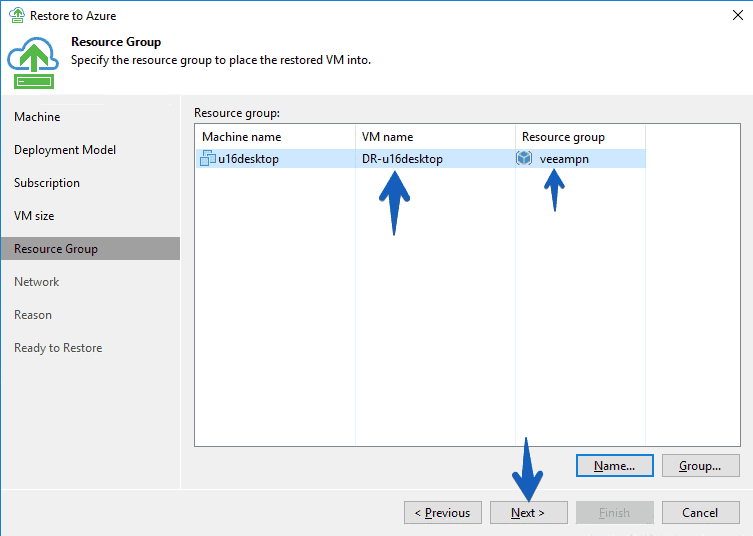
 I’ve changed the name of the VM, and I’ve put it in the resource group that belongs to it:
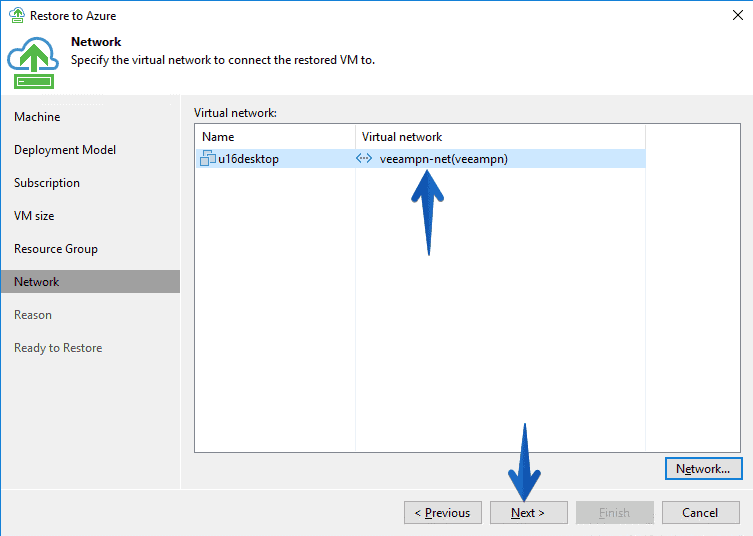
 Finally I’ve added this VM to the network that I already have interconnected with my Datacenter:
 The reason for the restoration:
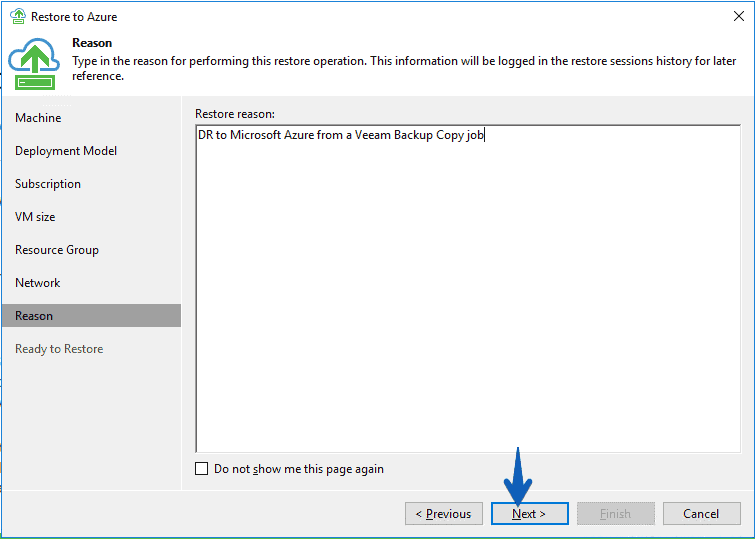 And finally we’ll click Finish:
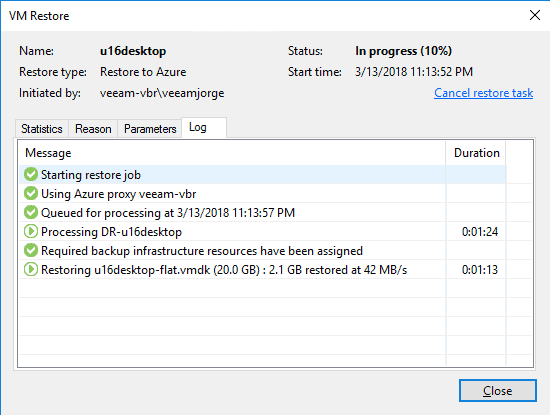
 The VM recovery process will start, from our Backup in Azure, to an Azure VM:
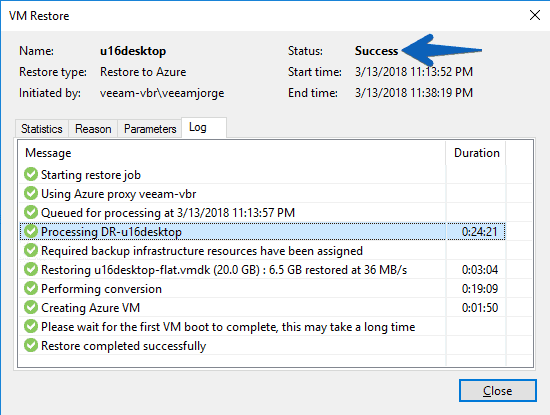
 After about 20 minutes I will have the VM up and running again:
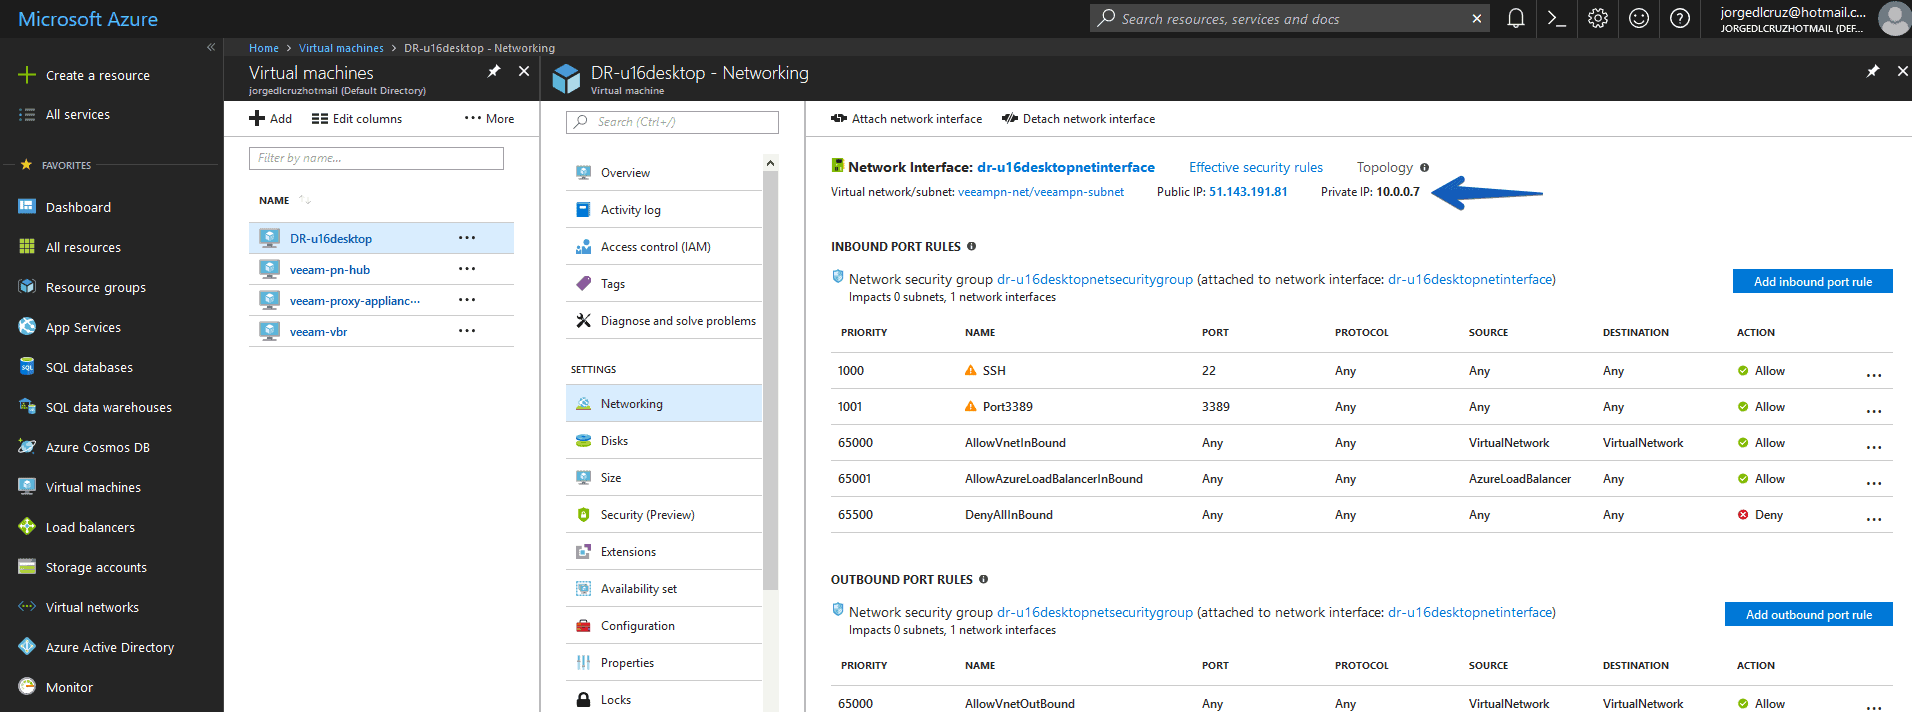
 We can see the VM, the IP, etc.
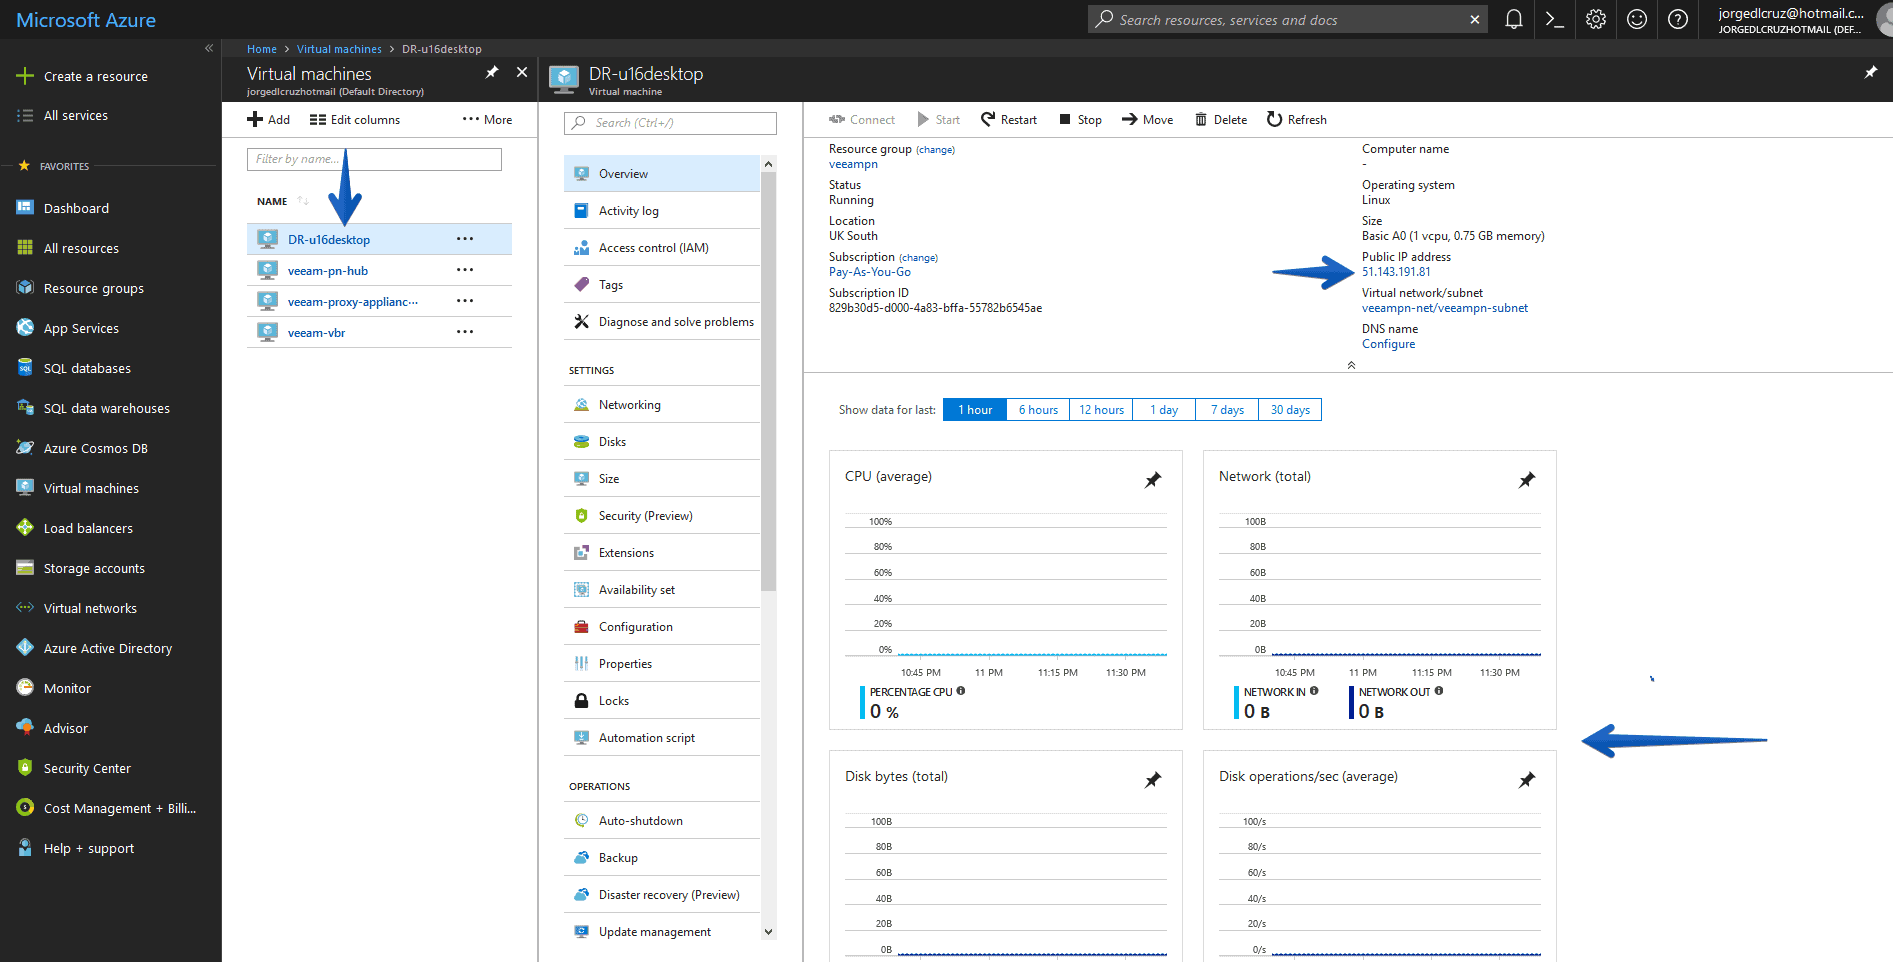 If we go to the network, we can see that it has an internal IP of the range we have created previously.
 That’s it, folks, the next entry will show you how to move this workload from Azure to our Datacenter.
Using a Veeam Backup & Replication license in this instance of Microsoft Azure
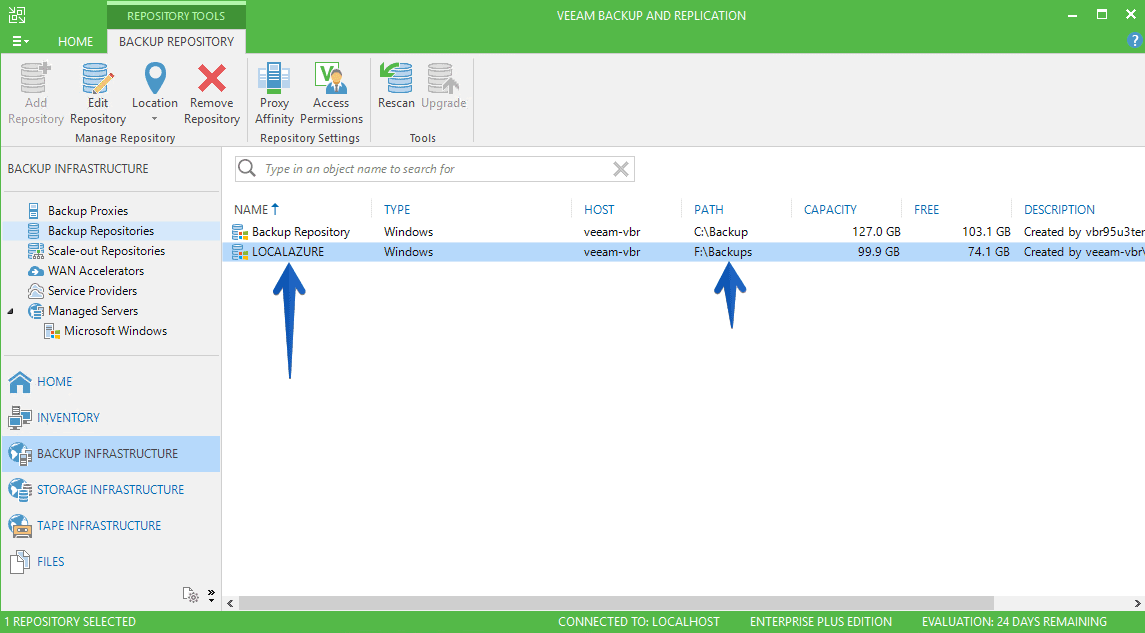
One of the things I strongly recommend is to use a valid 0-socket license in the VBR instance of Microsoft Azure, so you can add the local repository:
 Then from our Home tab, in Backups we can see all the jobs and directly restore from there, much more convenient:
 I would like to leave you the list of articles that we will be seeing throughout the series:
- Backup and restore workloads to Microsoft Azure – Introduction
- Backup and restore workloads to Microsoft Azure – Connectivity between our Datacenter and Microsoft Azure
- Backup and restore workloads to Microsoft Azure – Deploy Veeam Backup & Replication in Microsoft Azure
- Backup and restore workloads to Microsoft Azure – Configuration in our Datacenter for backup to Microsoft Azure
- Backup and restore workloads to Microsoft Azure – Restoring Microsoft Azure, from Microsoft Azure
- Backup and restore workloads to Microsoft Azure – Migrate workloads from Microsoft Azure to our Datacenter
[…] Backup and restore workloads to Microsoft Azure – Restoring Microsoft Azure, from Microsoft Azure […]